
The aroma of freshly baked cookies wafting through the house is enough to make anyone feel like a kid again. That’s exactly how I felt when I whipped up these Pistachio Dream Cookie Bars. Each bar transforms the simple pleasure of homemade treats into a nostalgic delight, thanks to their chewy texture and the satisfying crunch of pistachios. These bars are a fantastic crowd-pleaser, ideal for sharing at gatherings or enjoying as a sweet pick-me-up after a long day. And if you’re navigating dietary preferences, don’t worry—I’ve included a gluten-free option too! Ready to treat yourself and create a little magic in the kitchen? Let’s dive into the recipe!
Why are these cookie bars a game changer?
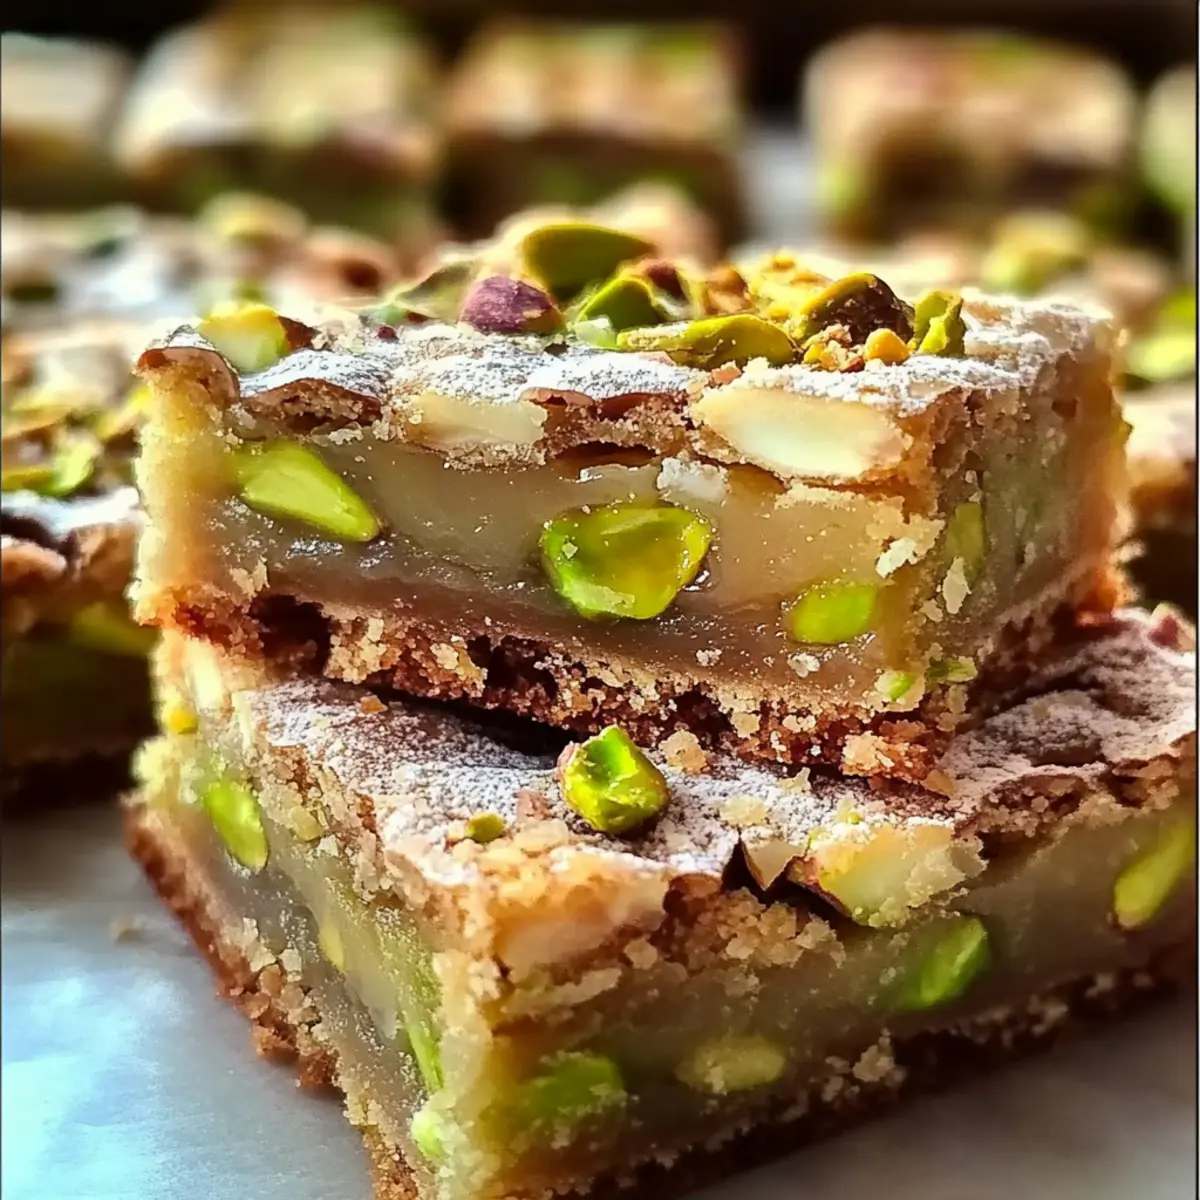
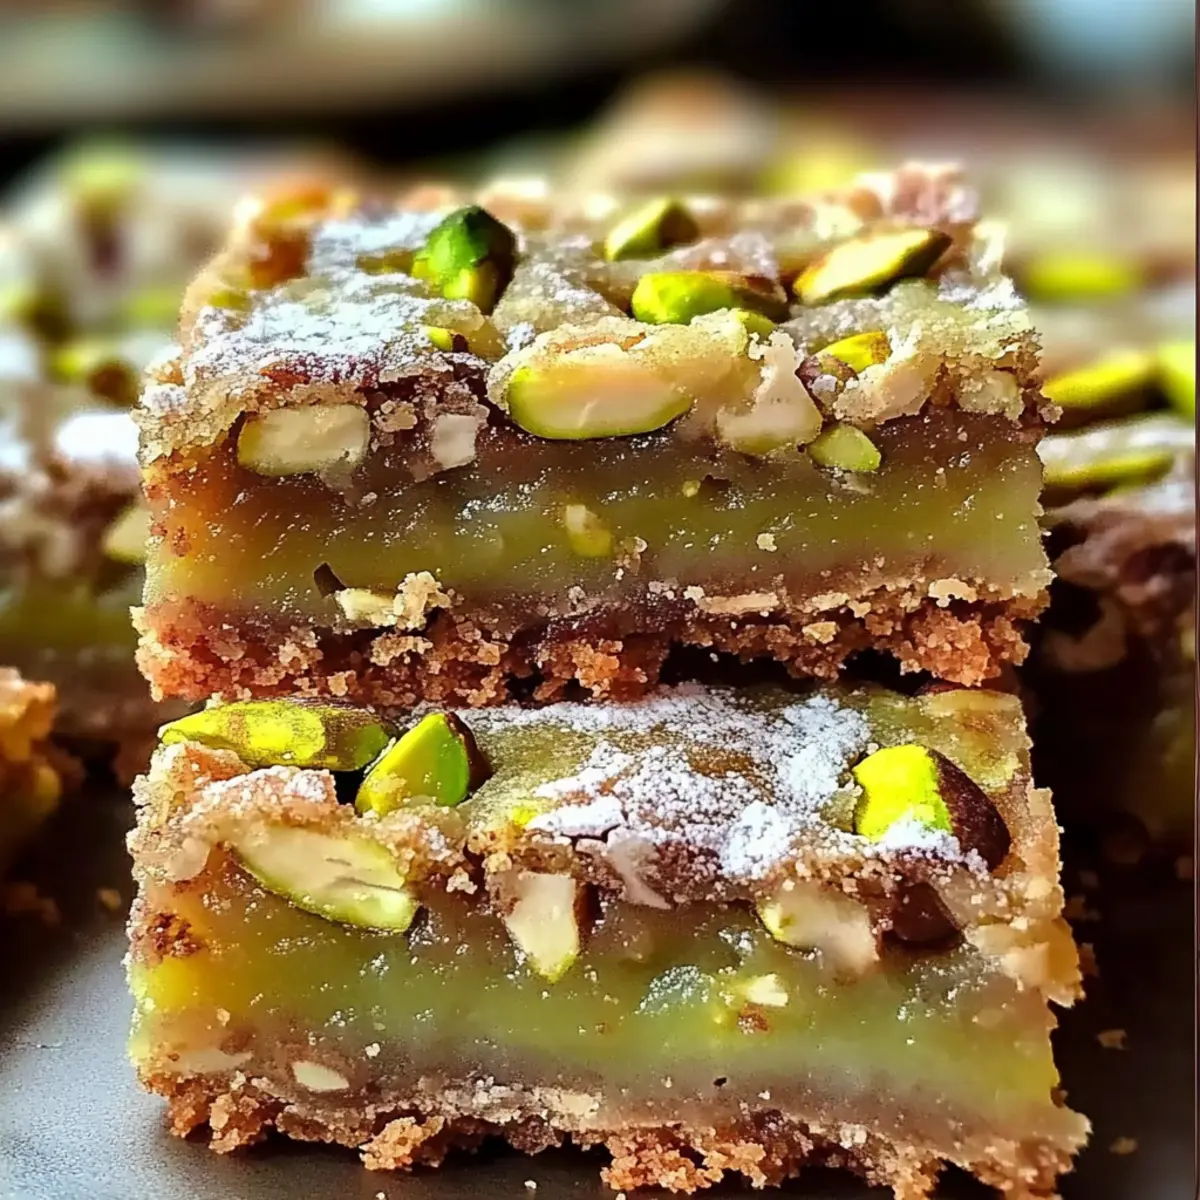
Irresistible flavor: These Pistachio Dream Cookie Bars deliver a fantastic blend of chewy goodness and nutty crunch that will keep you reaching for more.
Crowd-pleaser: Perfect for potlucks or family gatherings, these bars are sure to impress every palate, making them the star of any dessert table.
Customizable options: Want to switch things up? Use chopped almonds or even throw in some coconut flakes for a twist, just like with a delicious batch of Pecan Shortbread Bars.
Quick and easy: With straightforward steps, you’ll have your cookie bars ready in no time, leaving you with more time to enjoy life.
Gluten-free friendly: With a simple flour swap, you can cater to dietary needs, ensuring everyone can enjoy this delightful treat! If you love easy gluten-free options, don’t forget to check out my recipe for Olive Lovers Dream.
Sure to become a family favorite, these bars blend nostalgia and flavor like no other!
Pistachio Dream Cookie Bars Ingredients
For the Bars
• All-purpose flour – Base of the bars for structure. Substitution: Can use gluten-free flour blend for a gluten-free option.
• Baking powder – Provides lift to achieve the desired texture.
• Salt – Enhances flavors and balances sweetness.
• Unsalted butter – Adds richness; must be softened for easy creaming.
• Brown sugar – Offers caramel-like sweetness and moisture.
• Granulated sugar – Balances overall sweetness.
• Eggs – Binds ingredients together for a cohesive bar.
• Vanilla extract – Adds classic warm flavor.
• Chopped pistachios – The star ingredient, bringing crunch and nuttiness to the bars.
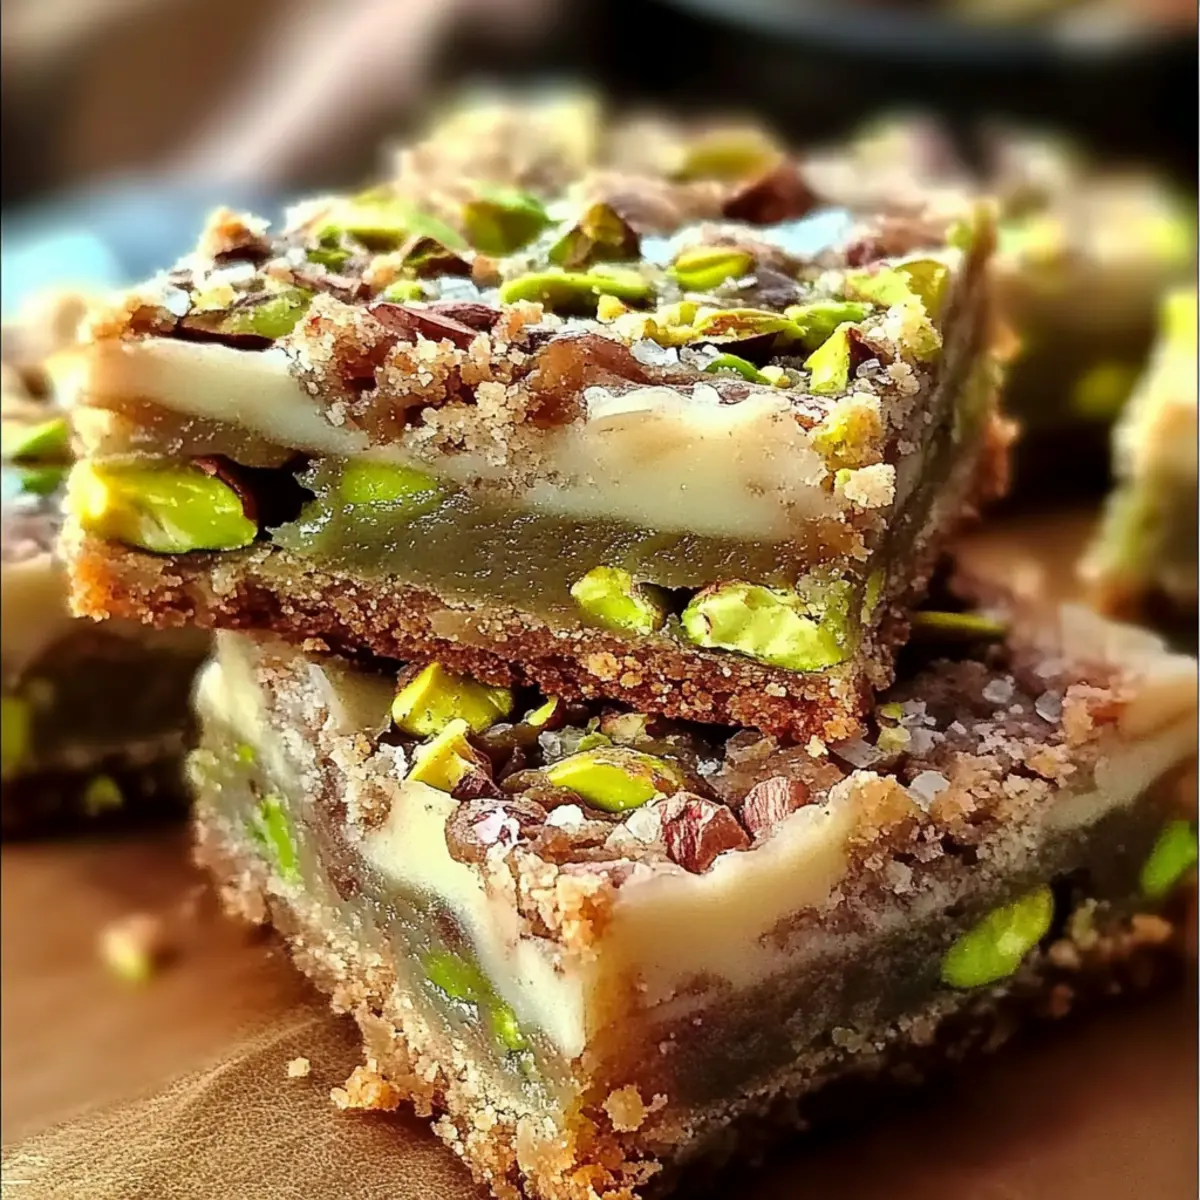
• White chocolate chips (optional) – Adds a sweet contrast; can be omitted based on preference.
These Pistachio Dream Cookie Bars feature ingredients that come together to create a truly heavenly treat!
Step‑by‑Step Instructions for Pistachio Dream Cookie Bars
Step 1: Preheat and Prepare
Begin by preheating your oven to 350°F (175°C). While the oven warms up, line an 8×8 inch baking dish with parchment paper, leaving some overhang for easy removal later. This preparation ensures that your Pistachio Dream Cookie Bars will have a lovely golden finish and won’t stick to the pan.
Step 2: Whisk the Dry Ingredients
In a medium-sized mixing bowl, whisk together 1 ½ cups of all-purpose flour, 1 teaspoon of baking powder, and ½ teaspoon of salt until well combined. This step helps to evenly distribute the baking powder and salt, which are essential for achieving the perfect chewy texture in your cookie bars. Once mixed, set this dry mixture aside for later.
Step 3: Cream the Sugars and Butter
In another large bowl, use an electric mixer to beat ½ cup of softened unsalted butter along with ½ cup of brown sugar and ½ cup of granulated sugar. Continue mixing for about 2-3 minutes until the mixture becomes light and fluffy, filling your kitchen with a delightful aroma. This creaming process is crucial for a soft and buttery finish in your Pistachio Dream Cookie Bars.
Step 4: Incorporate Eggs and Vanilla
Add 2 large eggs and 1 teaspoon of vanilla extract to the creamy mixture, mixing until fully combined. You should see a lovely glossy texture emerge. Make sure everything is well blended to bind the ingredients together, which will contribute to the chewy richness of your cookie bars.
Step 5: Combine Wet and Dry Ingredients
Gradually add the dry flour mixture to the wet ingredients, mixing on low speed until just combined. Be careful not to overmix; a few streaks of flour are perfectly fine. This gentle integration ensures the integrity of the dough, resulting in deliciously chewy Pistachio Dream Cookie Bars.
Step 6: Fold in the Nuts and Chocolate
Gently fold in 1 cup of chopped pistachios and, if desired, ½ cup of white chocolate chips using a spatula. Take your time with this step to retain the integrity of the pistachios, ensuring every bite of your bars is filled with nutty crunch and sweetness.
Step 7: Pour and Smooth the Batter
Pour the thick batter into your lined baking dish, using a spatula to smooth out the top evenly. This ensures that your Pistachio Dream Cookie Bars will bake uniformly, resulting in a perfect texture throughout.
Step 8: Bake to Perfection
Place the baking dish in the preheated oven and bake for 25-30 minutes. Keep an eye on the edges, which should turn lightly golden, while a toothpick inserted in the center reveals moist crumbs, indicating that your cookie bars are ready to be taken out of the oven.
Step 9: Cool and Slice
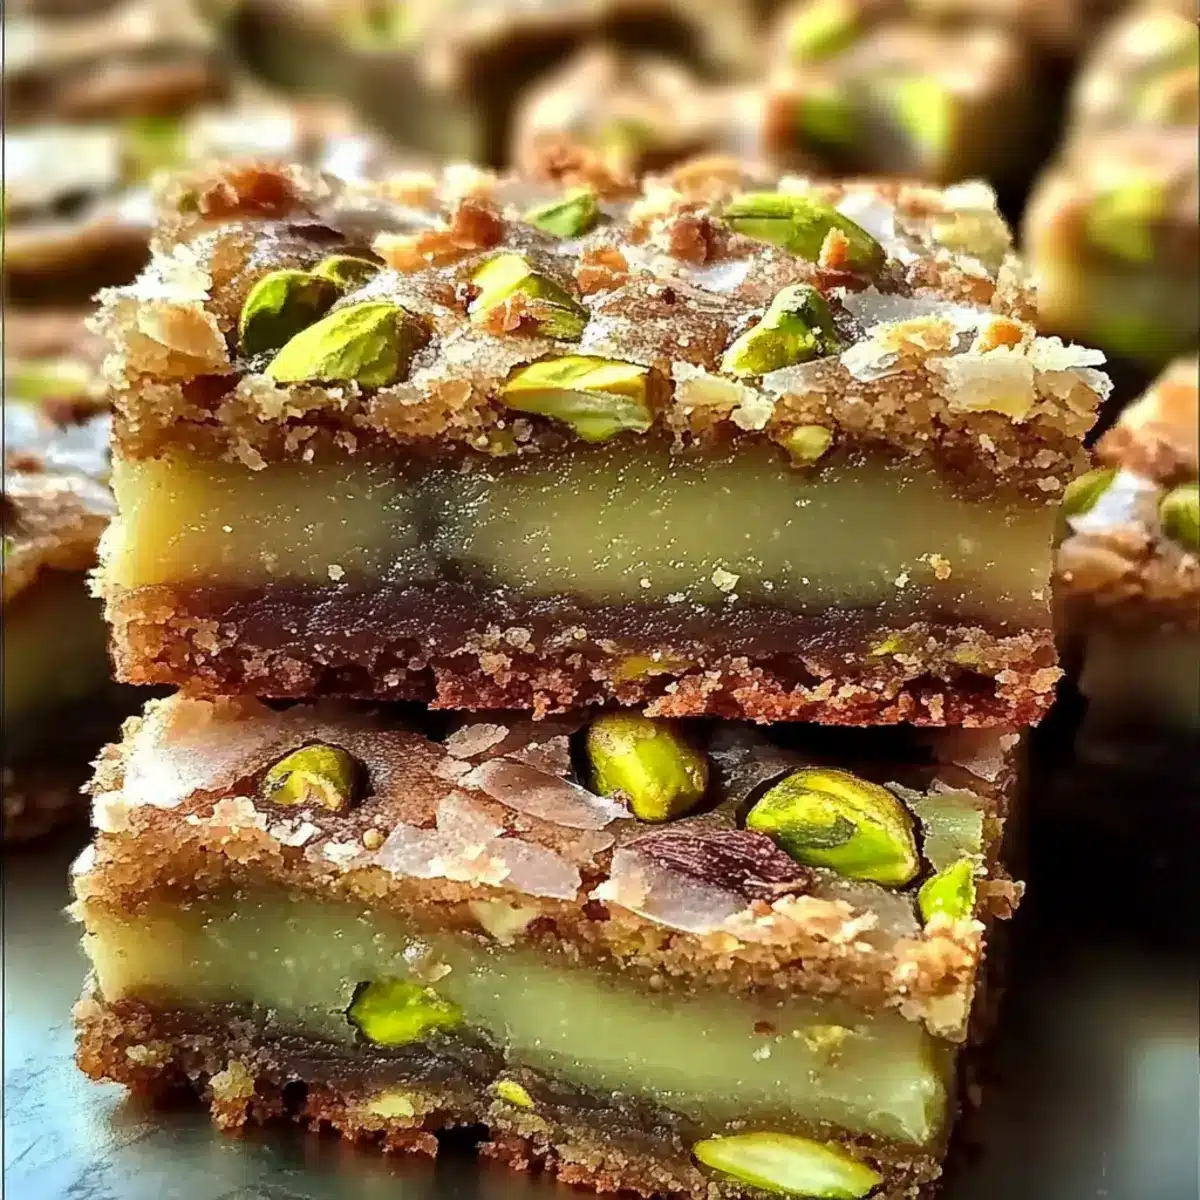
Once baked, remove the dish from the oven and let the bars cool in the pan for about 10-15 minutes. Using the overhanging parchment paper, lift the bars out and place them on a cooling rack. Once cool, slice into squares and enjoy your delightful Pistachio Dream Cookie Bars!
What to Serve with Pistachio Dream Cookie Bars?
Indulge your senses with delightful pairings that elevate your dessert experience beyond the Pistachio Dream Cookie Bars.
-
Vanilla Ice Cream: The creamy, cold texture beautifully contrasts the chewy bars, melting into every delicious bite for an ultimate treat.
-
Chocolate Drizzle: A warm drizzle of chocolate sauce adds a rich sweetness, enhancing the nutty flavors for a decadent finish.
-
Fresh Berries: Juicy strawberries or tart raspberries provide a burst of freshness, balancing the bars’ sweetness with a zesty note.
-
Caramel Sauce: A sweet and buttery caramel sauce not only drizzles beautifully but also adds an irresistible gooeyness to every slice.
-
Coffee: A steaming cup of coffee complements the sweetness perfectly, enhancing the nutty flavors with its rich bitterness for a well-rounded dessert experience.
-
Sparkling Water: For a refreshing twist, serve with a splash of sparkling water or lemonade, cutting through the richness of the bars and cleansing your palate.
-
Mint Leaves: A garnish of fresh mint adds a pop of color and refreshing flavor, making every bite feel lighter and more vibrant.
Each pairing offers a unique touch, creating memorable moments as you savor your delightful Pistachio Dream Cookie Bars!
Expert Tips for Pistachio Dream Cookie Bars
-
Watch Baking Time: Keep an eye on your bars during baking; slightly underbaking will ensure they remain chewy while overbaking can lead to a dry texture.
-
Butter Temperature: Ensure your unsalted butter is softened to room temperature before creaming, as this is key to achieving that rich, buttery texture in your Pistachio Dream Cookie Bars.
-
Combine Gently: When mixing dry and wet ingredients, do it gently to avoid overmixing, which can lead to tough bars—stick to a few streaks of flour.
-
Customize Crunch: Feel free to substitute pistachios with almonds or walnuts if desired, or add in some coconut flakes for a delightful texture shift.
-
Serve Warm: For the ultimate indulgence, serve your bars warm with a scoop of vanilla ice cream and a drizzle of chocolate or caramel sauce for a heavenly dessert experience!
Make Ahead Options
These Pistachio Dream Cookie Bars are perfect for busy home cooks looking to save time during the week! You can prepare the batter up to 24 hours in advance by mixing the wet and dry ingredients, storing the mixture in an airtight container in the refrigerator to maintain freshness. For added convenience, you can also chop the pistachios ahead of time and keep them in a separate container. When you’re ready to bake, simply pour the chilled batter into your lined baking dish and bake as directed, allowing a few extra minutes if the batter is cold. This prep-ahead strategy means you’ll enjoy delicious, chewy bars with minimal effort!
Pistachio Dream Cookie Bars Variations
Feel free to explore these creative substitutions to make the Pistachio Dream Cookie Bars truly yours!
- Gluten-Free: Substitute the all-purpose flour with a gluten-free flour blend to cater to gluten sensitivities.
- Nut-Free: Replace pistachios with sunflower seeds or pumpkin seeds for a safe, nut-free option that still packs a crunch.
- Chocolate Lovers: Add semi-sweet or dark chocolate chips to the batter for an extra layer of indulgence. Imagine the chocolate melting and mingling with the delightful nuts!
- Dried Fruit: Toss in a handful of dried cranberries or cherries for a tangy pop of flavor and chewy texture. It’s a fun way to balance the sweetness!
- Coconut Flakes: Mix in unsweetened shredded coconut for a tropical twist that complements the nuttiness perfectly. Each bite becomes an exotic escape!
- Spicy Kick: For those who like a little heat, add a pinch of cayenne pepper or chili powder. This unexpected twist will surprise your taste buds in the best way!
- Sugar Alternatives: Use coconut sugar or maple syrup instead of brown and granulated sugars for a more natural sweetness with a caramel-like flavor. Feel better about indulging!
- Experiment with Extracts: Swap the vanilla extract for almond or coconut extract for a unique flavor profile that surprises and delights with every bar.
Customize away, and you may find a new favorite variation! If you’re still in the mood for exploring, check out my recipes for Korean Honey Cookies or the delightful Sugar Cookie Cheesecake for more deliciousness!
How to Store and Freeze Pistachio Dream Cookie Bars
Room Temperature: Keep your cookie bars in an airtight container at room temperature for up to 3 days. This way, you can enjoy their chewy goodness without any loss of flavor.
Fridge: For a chilled treat, refrigerate the bars in an airtight container. They can be stored this way for up to 5 days, giving you a delightful dessert at any time.
Freezer: If you want to extend their shelf life, freeze the bars individually wrapped in plastic wrap, then placed in a sealed freezer bag. They can last for up to 3 months without losing their deliciousness.
Reheating: When you’re ready to enjoy, simply thaw them in the fridge overnight or microwave for 10-15 seconds until warm. This will help to revive their soft, chewy texture, making every bite just as delightful as the first!
Pistachio Dream Cookie Bars Recipe FAQs
What is the best way to choose ripe pistachios for this recipe?
Absolutely! When selecting pistachios, look for those that are bright green and have a slightly moist surface. Avoid any that have dark spots or a dull appearance, as these may indicate they are stale or spoiled. Fresh pistachios will bring the best flavor and texture to your cookie bars.
How should I store leftover Pistachio Dream Cookie Bars?
You can keep your cookie bars in an airtight container at room temperature for up to 3 days. If you prefer them chilled, pop them in the refrigerator for up to 5 days. Just ensure they’re well-covered to maintain their freshness!
Can I freeze Pistachio Dream Cookie Bars?
Very! To freeze, individually wrap each bar in plastic wrap and then place them in a sealed freezer bag or airtight container. They can be frozen for up to 3 months. When you’re ready to enjoy, simply thaw at room temperature or microwave for 10-15 seconds until warmed.
What should I do if my bars turn out too dry?
If your cookie bars are dry, there are a couple of possibilities to consider. First, check that you didn’t overbake them; even a few minutes can make a significant difference. Secondly, ensure that your measurements for ingredients were accurate, especially for the butter and sugar, which add moisture. If all else fails, serving them warm with ice cream can mask the dryness beautifully!
Are there any dietary restrictions I should be aware of?
Yes! If you have nut allergies or are cooking for someone who does, be cautious with the pistachios. For gluten-free needs, replace the all-purpose flour with a gluten-free flour blend. Always check labels to ensure safety and consider personal preferences when serving your Pistachio Dream Cookie Bars.
Can pets eat any of the ingredients in these bars?
It’s best to avoid giving cookie bars to pets, particularly because they contain ingredients like sugar and butter that aren’t suitable for them. Nuts can also be problematic for some pets, so keep these delicious bars out of your furry friends’ reach!
Pistachio Dream Cookie Bars: Chewy Bliss in Every Bite
Ingredients
Equipment
Method
- Preheat your oven to 350°F (175°C) and line an 8x8 inch baking dish with parchment paper.
- Whisk together the flour, baking powder, and salt in a medium bowl and set aside.
- Cream the butter, brown sugar, and granulated sugar in a large bowl for 2-3 minutes until fluffy.
- Add eggs and vanilla extract to the creamed mixture, mixing until well combined.
- Gradually add the dry mixture to the wet ingredients, mixing on low until just combined.
- Fold in the chopped pistachios and white chocolate chips gently.
- Pour the batter into the lined baking dish and smooth the top with a spatula.
- Bake in the preheated oven for 25-30 minutes until edges are lightly golden.
- Cool in the pan for 10-15 minutes, then lift out using parchment and slice into squares.
Leave a Reply