
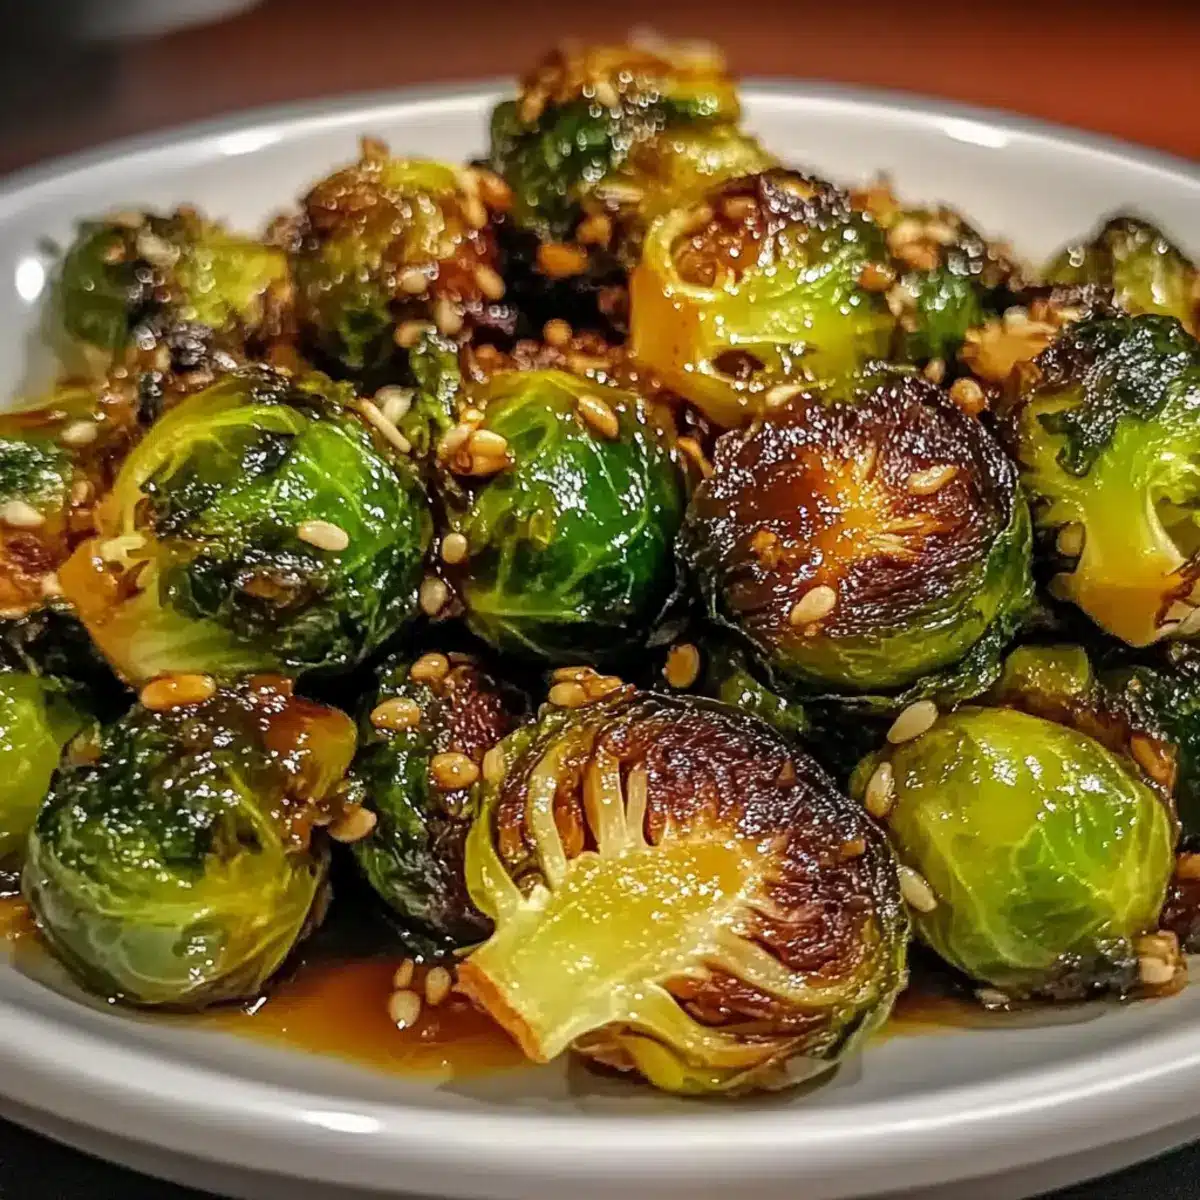
The sweet scent of honey mingling with savory garlic has a magical way of making anyone’s stomach growl. That’s precisely the charm of my Honey Garlic Roasted Brussels Sprouts—a dish that effortlessly elevates even the most basic weeknight dinners. Whipping up this healthy side dish takes only 35 minutes, and it’s an instant crowd-pleaser for both gatherings and cozy family meals. What truly excites me is the versatility: you can enjoy it as is or mix it up with your favorite twists, like a splash of balsamic or a sprinkle of herbs. This recipe not only encourages you to step away from fast food but also invites you to savor home-cooked goodness that’s both quick and easy. Are you ready to bring some healthy comfort to your table?
Why are Honey Garlic Roasted Brussels Sprouts irresistible?
Simplicity of preparation makes this recipe a breeze, perfect for both novice cooks and seasoned chefs. Irresistible flavor arises from the sweet and savory blend of honey and garlic, creating a glaze that caramelizes beautifully. Versatility shines through as you can customize it with balsamic vinegar or fresh herbs for a unique twist. Quick cooking time means you can serve this dish in just 35 minutes, easily fitting into your busy weeknights. It’s also a crowd-pleaser, delighting friends and family alike and making it the star of any gathering. If you love the balance of flavors here, don’t miss out on my other favorites like Honey Garlic Butter and Garlic Parmesan Roasted.
Honey Garlic Roasted Brussels Sprouts Ingredients
For this delightful dish, gather these fresh ingredients that make up the crowd-pleasing Honey Garlic Roasted Brussels Sprouts.
For the Sprouts
• Brussels Sprouts – Choose fresh, bright green sprouts for their naturally sweet flavor and tenderness.
• Olive Oil – A drizzle will help achieve that crispy texture while adding a subtle richness.
For the Glaze
• Honey – This is key to the sweet glaze; opt for pure honey or substitute with maple syrup for a vegan option.
• Soy Sauce – Adds depth and umami; low-sodium varieties are a healthier choice.
• Minced Garlic – Fresh garlic boosts the aromatic flavor; try to avoid using pre-minced for best results.
• Red Pepper Flakes – These create a spicy kick; adjust according to your heat preference.
Step‑by‑Step Instructions for Honey Garlic Roasted Brussels Sprouts
Step 1: Preheat the Oven
Start by preheating your oven to 400°F (200°C) to ensure even roasting. This is crucial for achieving that perfectly crispy texture. While the oven warms up, gather your ingredients and line a baking sheet with parchment paper, which will help prevent sticking and make cleanup a breeze.
Step 2: Prepare the Glaze
In a mixing bowl, whisk together honey, soy sauce, minced garlic, and olive oil until the mixture is smooth and well combined. This delicious glaze is the star of your Honey Garlic Roasted Brussels Sprouts, creating a flavorful coating that balances sweetness and savoriness. Set the bowl aside for a moment to let the flavors meld.
Step 3: Coat the Brussels Sprouts
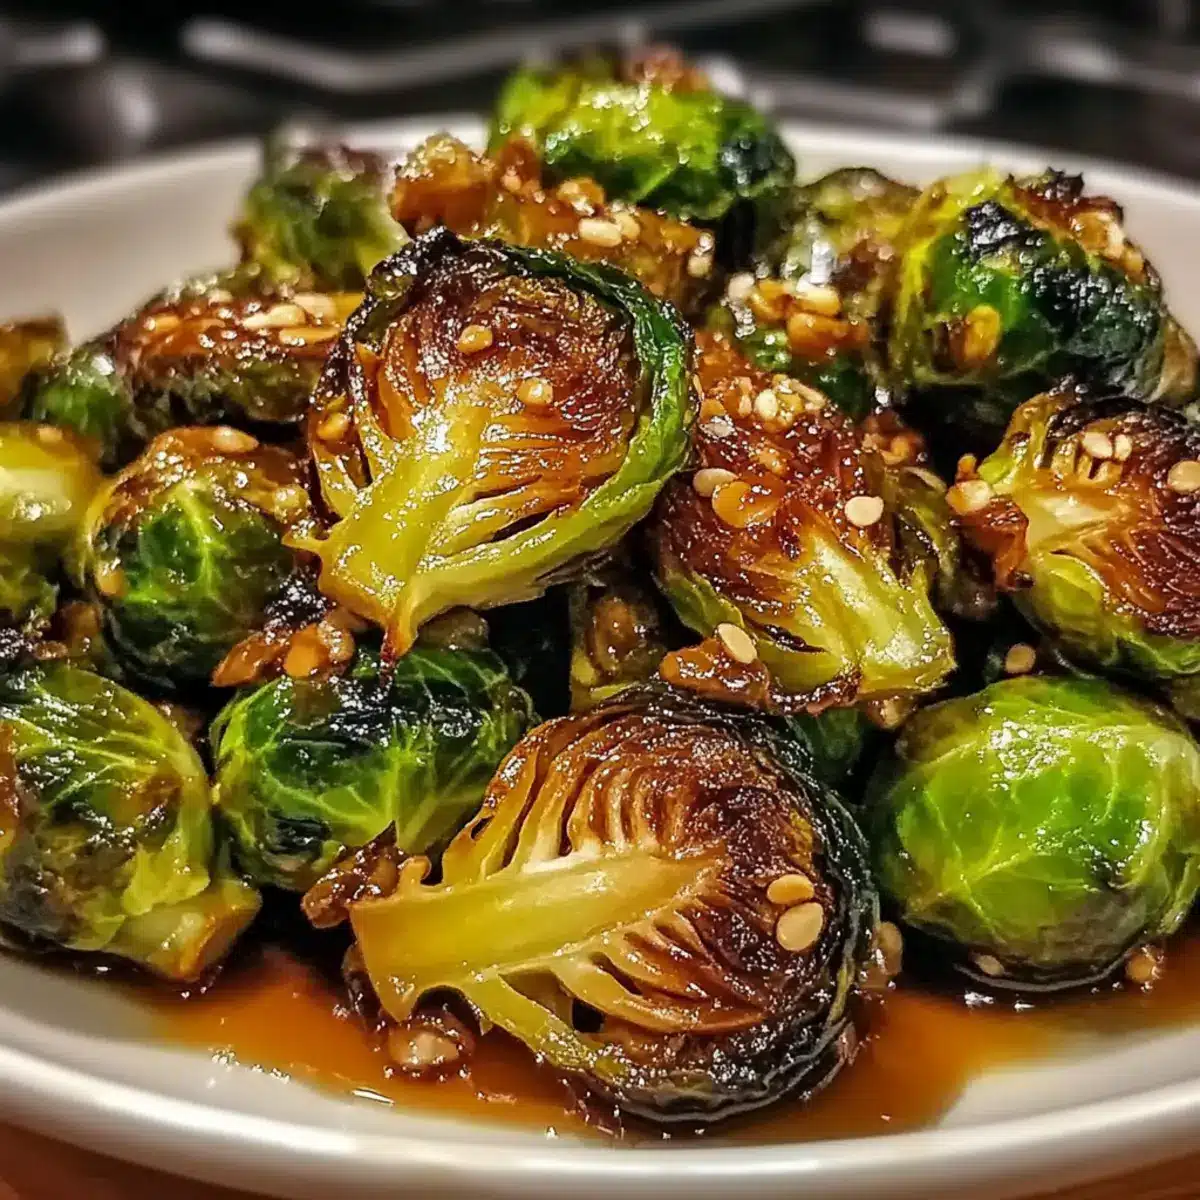
Take fresh Brussels sprouts and trim the ends before cutting them in half. Toss these halved sprouts into the bowl with the glaze, ensuring each piece is evenly coated. The glossy sheen of the glaze should cover every sprout, which will help them caramelize beautifully in the oven.
Step 4: Arrange for Roasting
Spread the coated Brussels sprouts in a single layer on the prepared baking sheet. Make sure they have enough space between them; overcrowding can lead to steaming rather than roasting. If you see any extra glaze in the bowl, drizzle it over the top of the sprouts for added flavor.
Step 5: Roast in the Oven
Place the baking sheet in the preheated oven and roast for 20-25 minutes. About halfway through the cooking time, take a moment to stir the sprouts to ensure even browning. You’ll know they’re done when they are golden brown, crispy on the edges, and tender on the inside.
Step 6: Serve and Enjoy
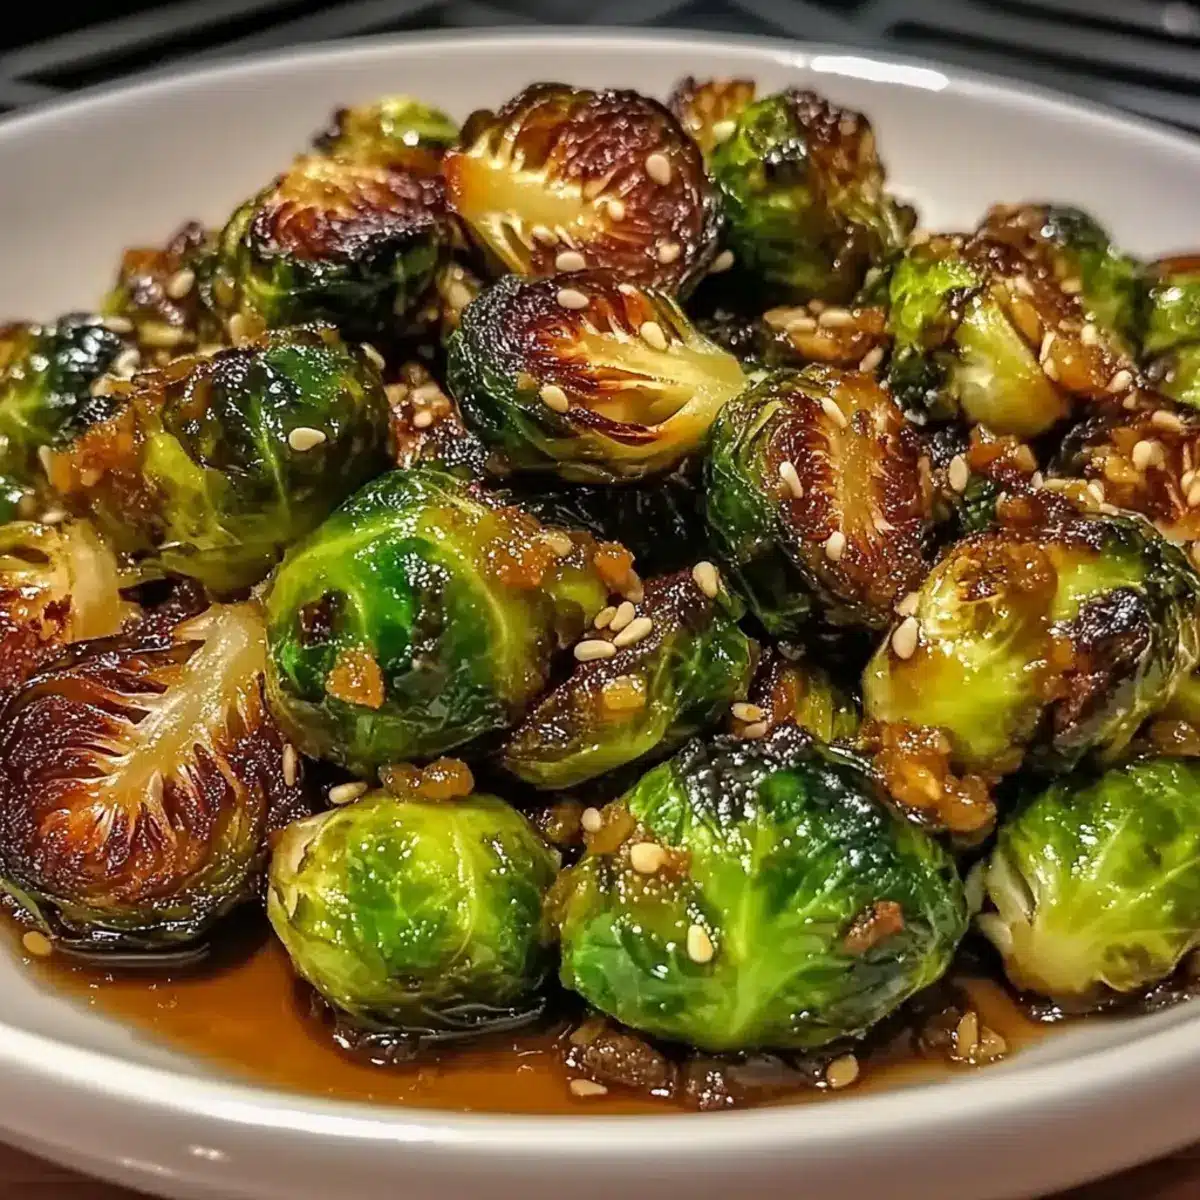
Once your Honey Garlic Roasted Brussels Sprouts are perfectly caramelized, remove them from the oven and let them cool slightly. For an extra touch, you can garnish them with sesame seeds or fresh herbs. Serve warm as a delightful side dish, and watch them quickly disappear from your table!
What to Serve with Honey Garlic Roasted Brussels Sprouts
Add a touch of magic to your meal by pairing these sweet-savory sprouts with complementary flavors and textures.
-
Creamy Mashed Potatoes:
Their buttery richness perfectly balances the sweetness of the sprouts, creating a comforting and hearty side dish. -
Grilled Chicken:
Seasoned chicken offers a protein punch while the smoky flavors contrast beautifully with the honey garlic glaze. -
Quinoa Salad:
A light, fluffy quinoa salad adds a nutritious crunch, and the nutty flavor complements the caramelized sprouts exquisitely. -
Roasted Sweet Potatoes:
Their natural sweetness harmonizes with the sprout’s glaze, plus their soft texture creates a delightful contrast. -
Fresh Green Salad:
A crisp salad of mixed greens and tangy vinaigrette brightens the plate and serves as a refreshing palette cleanser. -
Toasted Baguette Slices:
Crunchy bread makes for an excellent vessel to scoop up the honey garlic goodness, enhancing every bite. -
Lemonade or Iced Tea:
A refreshing drink can elevate the meal. The acidity and coolness of lemonade contrast well with the rich flavors. -
Chocolate Mousse:
A light and fluffy dessert rounds off the meal, offering a sweet end contrasting with the savory sprouts.
Let your taste buds enjoy this delightful ensemble while savoring the comforting flavors of home-cooked goodness!
Storage Tips for Honey Garlic Roasted Brussels Sprouts
Fridge: Store leftovers in an airtight container for up to 3 days. This helps maintain flavor while keeping them fresh and delightful for your next meal.
Freezer: For longer storage, freeze cooled Brussels sprouts in a single layer before transferring them to a freezer-safe bag. They can last up to 3 months.
Reheating: When ready to enjoy, reheat frozen sprouts at 400°F (200°C) for 15-20 minutes. This ensures they remain crispy, just like when they were freshly roasted.
Serving Recommendation: To maintain the sweet-savory flavor, enjoy reheated Honey Garlic Roasted Brussels Sprouts as a side dish to your favorite main course.
Expert Tips for Honey Garlic Roasted Brussels Sprouts
-
Even Spacing: Ensure Brussels sprouts are spread apart on the baking sheet; overcrowding can cause them to steam instead of roast evenly.
-
Fresh Ingredients: Use fresh garlic and high-quality honey for the best flavor. Pre-minced garlic can lose its potency and aromas.
-
Adjusting Sweetness: If you prefer less sweetness, start with less honey and gradually add more to your glaze until you achieve your desired taste for these Honey Garlic Roasted Brussels Sprouts.
-
Perfect Crispiness: Stir the sprouts halfway through roasting for even browning, which enhances their crispiness and prevents sogginess.
-
Flavor Variations: Experiment with different glazes by adding a splash of balsamic vinegar or tossing in your favorite herbs for a personal touch.
Make Ahead Options
These Honey Garlic Roasted Brussels Sprouts are perfect for meal prep and make your busy weeknights easier! You can prepare the glaze (honey, soy sauce, minced garlic, and olive oil) up to 24 hours in advance and refrigerate it for flavor enhancement. Additionally, you can clean and halve the Brussels sprouts, storing them in an airtight container in the fridge for up to 3 days. When you’re ready to serve, simply toss the sprouts in the pre-made glaze, spread them on a baking sheet, and roast them in the oven as directed. By taking these steps, you’ll save time while still enjoying delicious, freshly roasted sprouts that are just as delightful as they were on the day you prepped!
Honey Garlic Roasted Brussels Sprouts Variations
Feel free to explore these delightful twists that elevate your Honey Garlic Roasted Brussels Sprouts into new territories of flavor and texture.
-
Vegan Option: Substitute honey with maple syrup to keep it plant-based without sacrificing sweetness.
-
Balsamic Bliss: Add a splash of balsamic vinegar to the glaze for a tangy depth that beautifully balances the sweetness.
-
Herb Infusion: Toss in fresh herbs like thyme or rosemary before roasting for an aromatic lift that complements the dish’s existing flavors.
-
Mixed Veggies: Stir in colorful vegetables like carrots or cauliflower before roasting to create a vibrant veggie medley. This adds both nutrition and a visual feast to your plate.
-
Nutty Crunch: Sprinkle chopped walnuts or pecans on top after roasting for a delightful crunch and added nuttiness, enhancing textural contrast.
-
Spicy Kick: Increase red pepper flakes or add a dash of sriracha to the glaze for those who love a spicy twist that dances on the palate.
-
Citrus Zest: Grate some lemon or orange zest into the glaze right before roasting; the citrus will brighten the dish and provide a refreshing aroma.
These variations not only bring excitement to your Brussels sprouts but also align beautifully with other delicious recipes, like Maple Balsamic Roasted or even Garlic Shrimp Coconut which can complement your meal wonderfully. Enjoy these customization ideas as you transform your side dish into something uniquely yours!

Honey Garlic Roasted Brussels Sprouts Recipe FAQs
What type of Brussels sprouts should I use?
Absolutely! Always choose fresh, bright green Brussels sprouts to ensure the best flavor and tenderness. Avoid any that are wilted or have dark spots all over, as these can indicate they are past their prime.
How should I store leftovers?
Very! Store any leftovers in an airtight container in the refrigerator for up to 3 days. This will help keep the flavors intact while maintaining that delightful crispness. When you’re ready to enjoy them, I recommend reheating in the oven for optimal texture.
Can I freeze Honey Garlic Roasted Brussels Sprouts?
Certainly! To freeze, allow the Brussels sprouts to cool completely after cooking. Spread them in a single layer on a baking sheet and place them in the freezer for about an hour. Once frozen, transfer the sprouts to a freezer-safe bag, removing as much air as possible. They can be stored for up to 3 months. When you’re ready to eat them, just reheat in a preheated oven at 400°F (200°C) for 15-20 minutes, and they’ll be crispy again!
What if my Brussels sprouts turn out soggy?
Oh no! This can happen if the Brussels sprouts are overcrowded on the baking sheet, preventing them from roasting properly. To fix this, ensure they are spread out in a single layer. Also, stir them halfway through cooking for even browning and crispness. If you find they are soggy after baking, you can place them under the broiler for a few minutes to help them crisp back up.
Any dietary considerations for this recipe?
Absolutely! This recipe can easily be made vegan by substituting honey with maple syrup. If you have a soy allergy, consider using coconut aminos instead of soy sauce for that sweet-savory flavor. Always feel free to customize the recipe to suit your dietary needs and preferences!
Can I add other ingredients to the recipe?
The more the merrier! You can easily make it your own by adding vegetables like carrots or cauliflower for added color and flavor. Fresh herbs like thyme or rosemary can also be mixed in for extra aroma and taste. Just make sure not to overcrowd the baking sheet!
Honey Garlic Roasted Brussels Sprouts You'll Crave Again and Again
Ingredients
Equipment
Method
- Preheat your oven to 400°F (200°C) to ensure even roasting. Line a baking sheet with parchment paper.
- In a mixing bowl, whisk together honey, soy sauce, minced garlic, and olive oil until smooth and well combined.
- Trim the ends of Brussels sprouts and cut them in half. Toss the halved sprouts into the bowl with the glaze until evenly coated.
- Spread the coated Brussels sprouts in a single layer on the prepared baking sheet. Drizzle any extra glaze over the top.
- Roast in the oven for 20-25 minutes, stirring halfway through for even browning. They are done when golden brown and crispy.
- Remove from the oven and let cool slightly. Garnish with sesame seeds or fresh herbs before serving warm.
Leave a Reply