
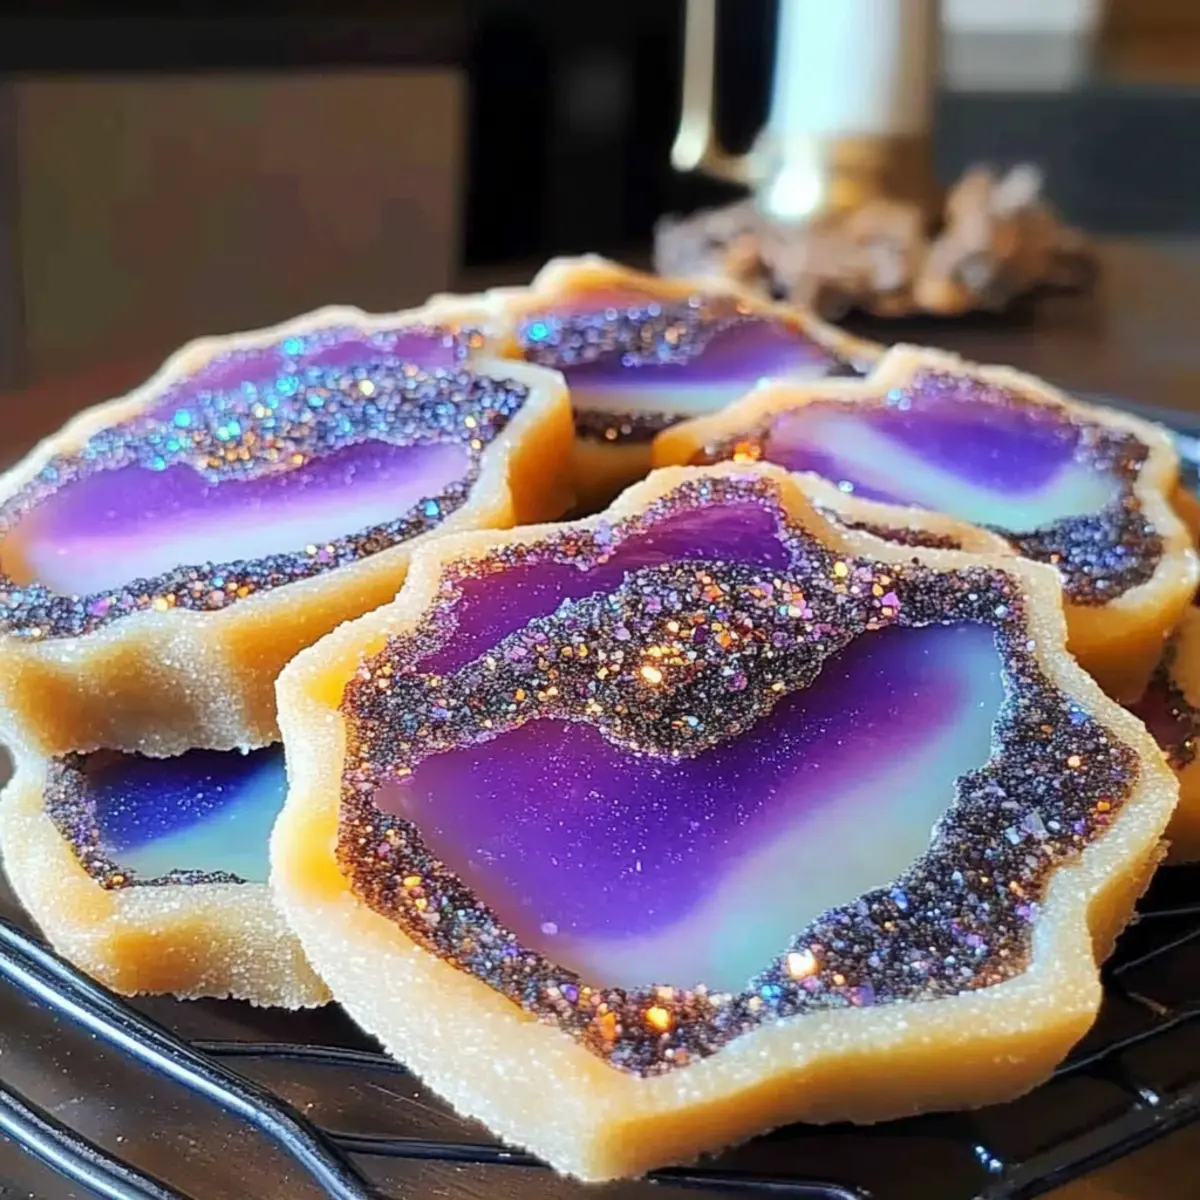
As I sifted through a rainbow of candy crystals, I couldn’t help but smile at the idea of creating an edible masterpiece. Geode Cookies are not just a treat; they’re a dazzling display of color and creativity! Combining a soft, chewy texture with the crunch of vibrant crystallized candy, these delightful cookies are perfect for everything from birthday parties to cozy evenings at home. The best part? They’re incredibly simple to whip up and allow for endless customization to match any mood or occasion. Who wouldn’t want a cookie that not only tastes great but also shines like a jewel? Are you ready to make your kitchen sparkle with these irresistible Geode Cookies?
Why are Geode Cookies a Must-Try?
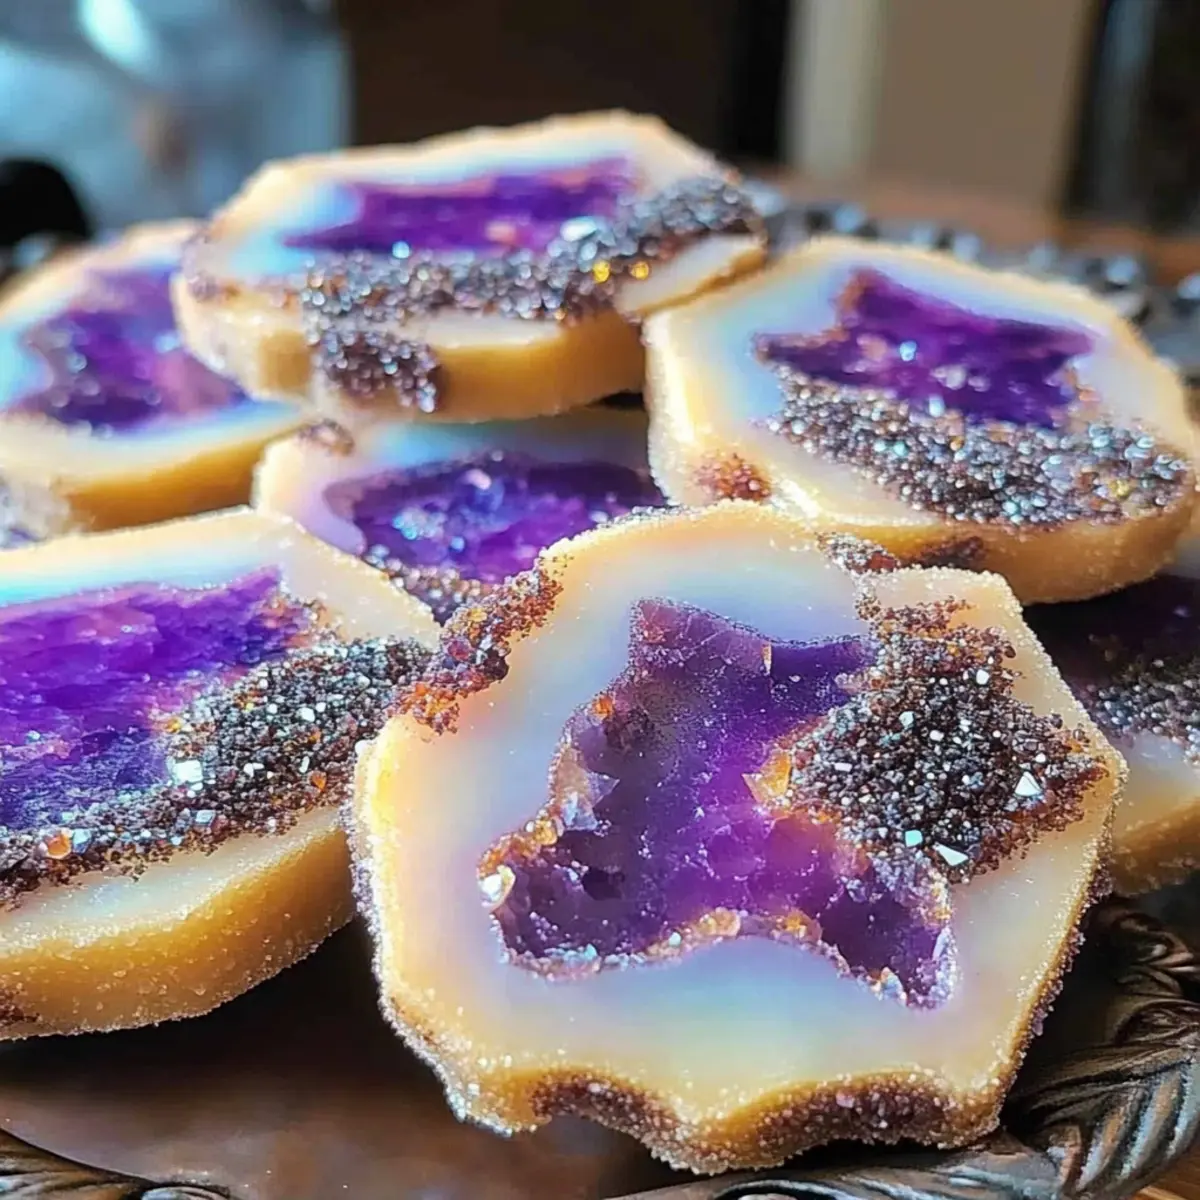
Colorful, eye-catching treats: Geode Cookies are a feast for the eyes, showcasing vibrant hues that can brighten up any dessert table.
Endless customization options: Feel free to experiment with different candies or add flavors to suit your preferences; the possibilities are only limited by your imagination!
Simple preparation: With easy-to-follow steps, these cookies are perfect for bakers of all skill levels, allowing you to focus on fun rather than fuss.
Chewy and delicious: The soft texture combined with the crunchy candy crystals creates a heavenly bite that keeps you coming back for more.
Perfect for any occasion: From birthday parties to just-because treats, these cookies not only taste fantastic but also add a wow factor that will impress friends and family. Don’t forget to check out more fun ideas like Korean Honey Cookies or Almond Cherry Cookies for your next dessert adventure!
Geode Cookies Ingredients
For the Cookie Dough
- All-purpose flour – Provides structure for the cookies; substitute with gluten-free flour for a gluten-free version.
- Baking soda – Acts as a leavening agent, ensuring the cookies rise perfectly.
- Granulated sugar – Adds sweetness and helps create that chewy texture; can be replaced with coconut sugar for a unique flavor.
- Brown sugar – Contributes moisture and richness; if dark is unavailable, use light brown sugar instead.
- Unsalted butter – Provides tenderness and flavor; use vegan butter for a dairy-free option.
- Eggs – Bind the ingredients together for the ideal texture; for a vegan alternative, opt for flax eggs or applesauce.
- Vanilla extract – Enhances the overall flavor; almond extract can be a delightful substitute for a different taste.
For the Colorful Finish
- Candy crystals or rock candy – These add vibrant color and a satisfying crunch; feel free to swap with colored sprinkles or different candies to match your theme.
Get ready to bake some stunning Geode Cookies that are as delicious as they are dazzling!
Step‑by‑Step Instructions for Geode Cookies
Step 1: Prep the Oven
Preheat your oven to 350°F (175°C) so it’s nice and hot for baking. While the oven warms up, line several baking sheets with parchment paper to prevent the cookies from sticking and to make cleanup easier.
Step 2: Mix Dry Ingredients
In a medium-sized mixing bowl, whisk together the all-purpose flour and baking soda until well combined. This step ensures that the leavening agent is evenly distributed throughout the flour, contributing to the perfect rise of your Geode Cookies.
Step 3: Cream Butter and Sugars
In a large mixing bowl, use an electric mixer to cream together the softened unsalted butter, granulated sugar, and brown sugar until the mixture is light and fluffy, about 2-3 minutes. This process incorporates air, helping create chewy cookies with the right tender texture.
Step 4: Combine Wet Ingredients
Beat in the eggs one at a time, mixing well after each addition to ensure everything is well incorporated. Add in the vanilla extract, mixing until smooth. This combination creates a rich, flavorful base for your Geode Cookies.
Step 5: Combine Mixtures
Carefully add the dry ingredient mixture to the wet ingredients in batches, stirring gently until just combined. Be cautious not to overmix, as this can affect the softness of your Geode Cookies, leading to a more cake-like texture.
Step 6: Add Candy Crystals
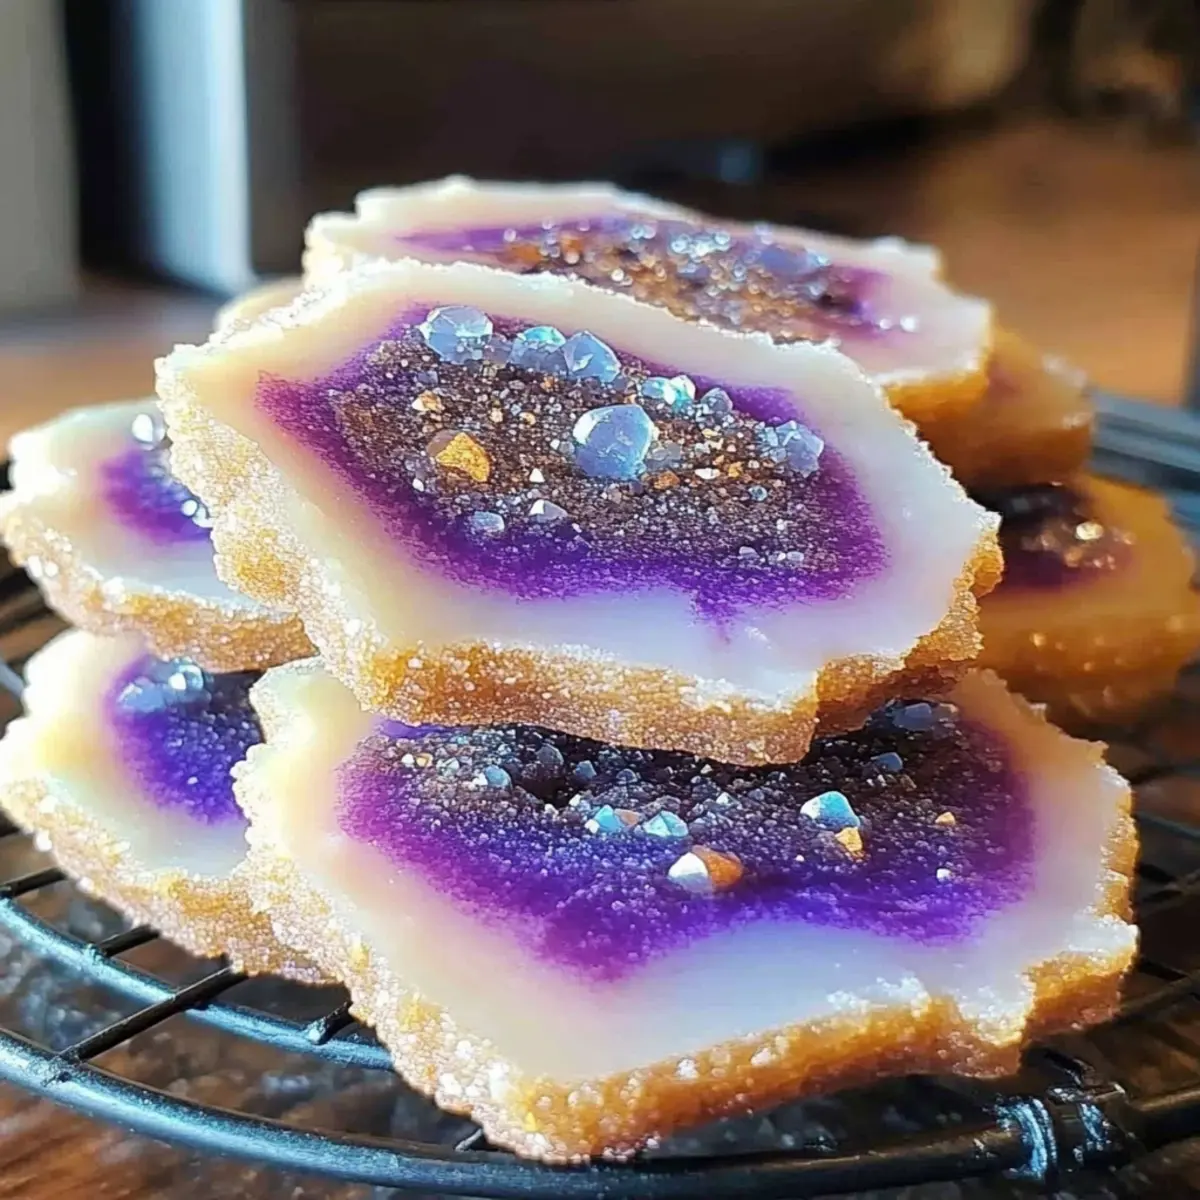
Gently fold in the vibrant candy crystals or rock candy into the cookie dough. This step not only adds the signature look of Geode Cookies but also infuses the dough with bursts of sweetness and color while ensuring even distribution.
Step 7: Scoop and Bake
Scoop generous spoonfuls of cookie dough onto the prepared baking sheets, leaving space between each dough ball to allow for spreading. Bake in the preheated oven for 10-12 minutes, until the edges are lightly golden while the centers remain soft and slightly underbaked.
Step 8: Cool and Serve
After baking, let the cookies cool on the baking sheets for about 5 minutes before transferring them to wire racks. This allows them to set properly while maintaining that wonderful chewy texture typical of Geode Cookies. Enjoy these delightful, colorful treats!
Expert Tips for Geode Cookies
-
Choose Quality Ingredients: Use high-quality butter and fresh eggs for the best flavor and texture in your Geode Cookies.
-
Don’t Overmix: Gently combine your wet and dry ingredients. Overmixing can lead to dense cookies rather than soft and chewy perfection.
-
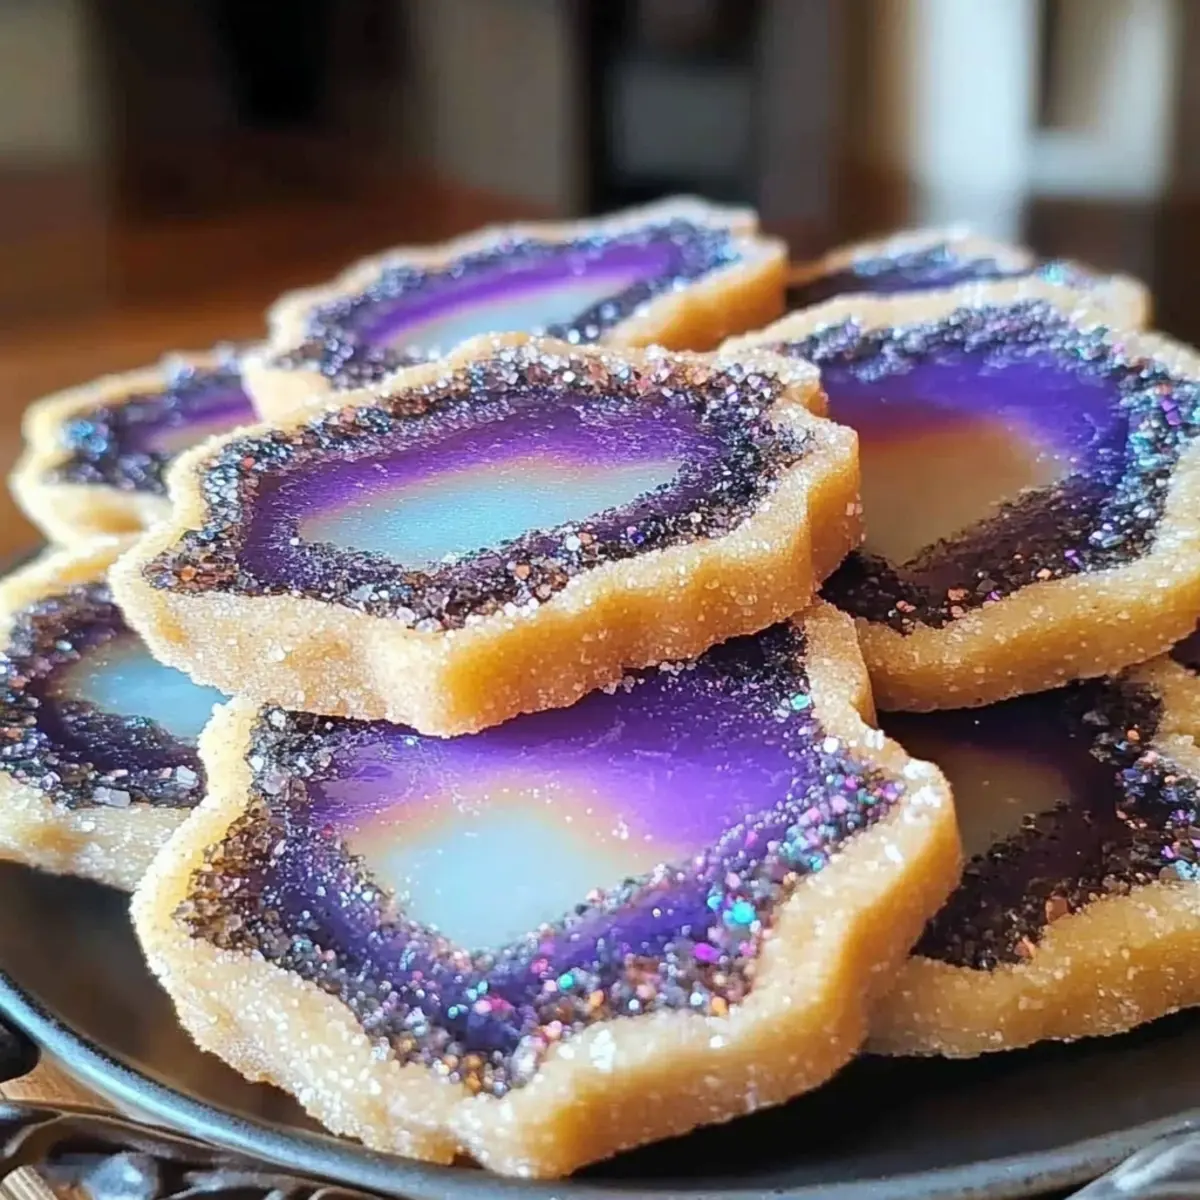
Candy Crystal Placement: For a more vibrant look, place additional candy crystals on top of the cookies before baking. They’ll melt slightly, enhancing the geode effect.
-
Baking Sheet Adjustment: Ensure you bake in batches if necessary; overloading the baking sheets can prevent even cooking and may produce uneven cookie shapes.
-
Cool Completely: Let your Geode Cookies cool completely on wire racks to enhance their chewy texture before serving or storing.
Make Ahead Options
These Geode Cookies are perfect for meal prep enthusiasts! You can prepare the cookie dough up to 24 hours in advance by mixing all the ingredients except the candy crystals. Simply cover the bowl with plastic wrap and refrigerate to maintain freshness and prevent drying out. For an even quicker option, scoop the dough into individual portions and freeze them for up to 3 months; just place them on a baking sheet, freeze until firm, and transfer them to a freezer bag. When you’re ready to bake, you can bake them directly from frozen; just add a couple of extra minutes to the baking time. Enjoy delightfully chewy and colorful cookies without the fuss on busy weeknights!
Storage Tips for Geode Cookies
Room Temperature: Store your Geode Cookies in an airtight container at room temperature for up to 3 days to maintain their chewy texture and vibrant color.
Fridge: If you want to extend their freshness, place the cookies in the refrigerator for up to a week. Just be sure to let them warm up slightly before enjoying again!
Freezer: Freeze your Geode Cookies in a single layer on a baking sheet, then transfer to a zip-top bag for up to 3 months. Thaw at room temperature before serving to bring back that delightful softness.
Reheating: To refresh the cookies, simply pop them in the microwave for 10-15 seconds or warm them in a preheated oven at 300°F (150°C) for 5-7 minutes. Enjoy the gooey goodness of your Geode Cookies all over again!
Geode Cookies Variations & Substitutions
Feel free to explore and get creative with your Geode Cookies to make them truly your own!
- Dairy-Free: Use vegan butter and substitute eggs with flax eggs or applesauce for a delicious dairy-free treat.
- Gluten-Free: Swap all-purpose flour with a gluten-free flour blend for equally tasty cookies that everyone can enjoy.
- Flavor Boost: Add a teaspoon of almond extract instead of vanilla for a nutty twist that enhances the cookie’s flavor profile.
- Textural Contrast: Mix in a handful of chopped nuts or chocolate chips for an extra layer of crunch and richness.
- Vibrant Visuals: Incorporate food coloring into the cookie dough before adding candy crystals to create multi-colored cookie gems.
- Festive Themes: Use holiday-themed candy crystals or colored sprinkles to match celebrations, ensuring your cookies shine on every occasion.
- Spice it Up: Add a pinch of cinnamon or nutmeg to the dough for a warm, cozy flavor that pairs beautifully with the sweetness of the candy.
- Savory Surprise: Experiment with bacon bits or pretzel pieces mixed into the dough for a sweet and salty twist that will delight adventurous eaters.
No matter how you choose to customize your Geode Cookies, the joy of baking and sharing them will always be the highlight! If you’re looking for more diverse ideas, check out these fun recipes like Korean Honey Cookies or Almond Cherry Cookies. Happy baking!
What to Serve with Geode Cookies
Indulging in colorful Geode Cookies opens the door to numerous pairing possibilities that can elevate your dessert experience.
- Milkshake Delight: A rich, creamy milkshake balances the sweetness of the cookies, creating a nostalgic treat that’s utterly irresistible.
- Fruit Salad Medley: Fresh, juicy fruit salad adds a burst of freshness, contrasting beautifully with the chewy texture of the cookies.
- Chocolate Dipping Sauce: Melted chocolate for dipping enhances the flavor profile, offering an indulgent twist to your crunchy candy gems.
- Vanilla Ice Cream: Creamy vanilla ice cream complements the colorful cookies, providing a cool and refreshing treat that melts in your mouth.
- Nutty Caramel Sauce: Drizzle nutty caramel sauce over the top for a sweet, salty combination that pairs beautifully with the candy crystals.
For a delightful evening, set up a small dessert table featuring Geode Cookies alongside these delightful pairs. Let your guests pick their favorites!
Geode Cookies Recipe FAQs
What type of candy is best to use for Geode Cookies?
For a vibrant finish, I recommend using candy crystals or rock candy, as they provide not only beautiful color but also a satisfying crunch. If you prefer a different texture or flavor, you can also substitute with colored sprinkles or small pieces of flavored hard candies. Just make sure whatever you choose complements the cookie base!
How should I store Geode Cookies?
Store your Geode Cookies in an airtight container at room temperature for up to 3 days for optimal freshness and chewiness. If you’d like to keep them for a bit longer, refrigerating them can extend their life to about a week. Just let them warm up slightly before enjoying for the best experience!
Can I freeze Geode Cookies?
Absolutely! To freeze your Geode Cookies, simply lay them in a single layer on a baking sheet to freeze until solid. Then, transfer them into a zip-top freezer bag, where they can last for up to 3 months. When you’re ready to enjoy, let them thaw at room temperature, and they’ll be ready to devour!
What should I do if my cookies spread too much during baking?
If your Geode Cookies spread out too much while baking, it could be due to the butter being too soft when mixed, or the dough not being chilled. Ensure that your butter is softened, not melted, and if you notice your dough is too soft, chill it in the fridge for 30 minutes before scooping to help maintain its shape during baking.
Are Geode Cookies suitable for those with allergies?
While Geode Cookies can be a delightful treat, they do contain common allergens such as eggs and dairy. For a dairy-free option, use vegan butter, and for an egg substitute, consider flax eggs or unsweetened applesauce. Be sure to check that your candy crystals are free of allergens if you are serving someone with dietary restrictions!
Colorful Geode Cookies: Chewy Sweet Gems of Delight
Ingredients
Equipment
Method
- Preheat your oven to 350°F (175°C) and line baking sheets with parchment paper.
- Whisk together the all-purpose flour and baking soda until well combined.
- Cream the unsalted butter, granulated sugar, and brown sugar until light and fluffy.
- Beat in the eggs one at a time, followed by the vanilla extract.
- Add the dry ingredients to the wet ingredients and stir gently until just combined.
- Fold in the candy crystals or rock candy into the dough.
- Scoop dough onto baking sheets, allowing space for spreading, and bake for 10-12 minutes.
- Let cookies cool on baking sheets for about 5 minutes before transferring to wire racks.
Leave a Reply