
The tantalizing aroma of sizzling beef and melted cheese fills the kitchen as I roll up my sleeves, ready to create a Tex-Mex masterpiece. Today, I’m excited to share my Beef and Cheese Chimichangas Recipe, where crispy tortillas cradle a savory filling that will make your taste buds dance. Not only are these chimichangas a quick and easy crowd-pleaser, perfect for those hectic weeknight dinners, but they also offer great versatility—whether you’re craving a spicy kick or a hearty breakfast twist, the possibilities are endless! Join me on this delicious journey as we explore how to make these delectable delights that promise to elevate your homemade Mexican fare. What flavor combination will you try first?
What Makes Chimichangas So Irresistible?
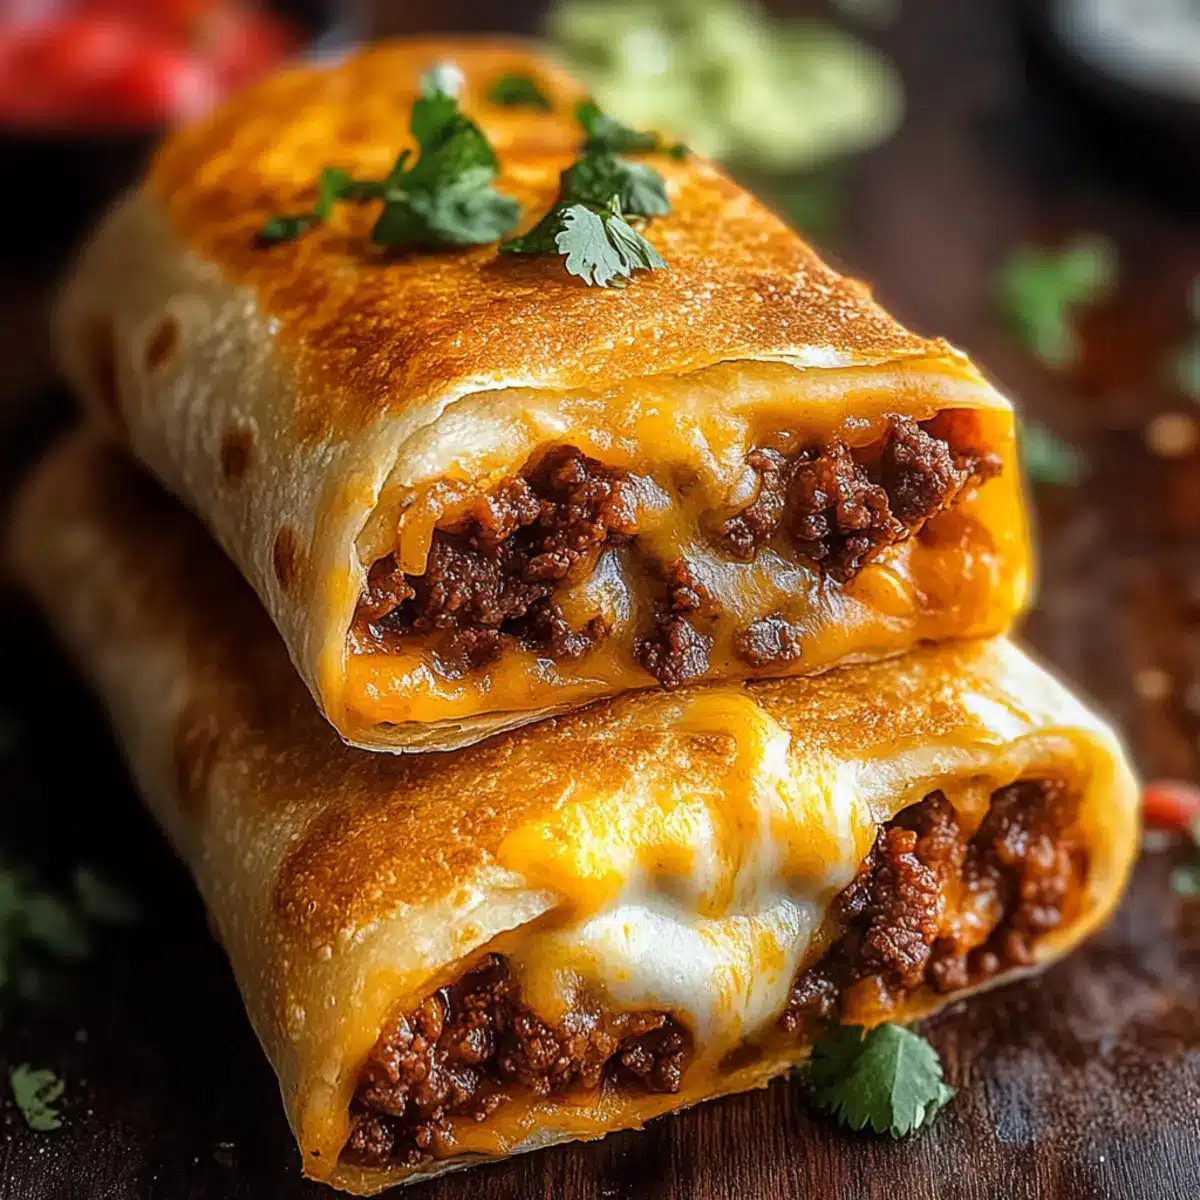
Crispy Texture: The magic truly begins with a perfectly crispy exterior that gives way to a rich, savory filling. Every bite delivers delightful crunch!
Endless Customization: From spicy jalapeño-infused fillings to hearty breakfast versions, these chimichangas can be tailored to any palate or occasion.
Quick & Easy: Ready in under 30 minutes, this recipe is a lifesaver for busy weeknights, allowing you to serve up something impressive without the stress.
Crowd-Pleaser: Ideal for gatherings, these chimichangas are sure to impress friends and family alike—pair them with a side of guacamole for added zing!
Make-Ahead Option: Assemble ahead of time and freeze for a quick meal later, making them both time-saving and convenient for meal prep enthusiasts. Enjoy the joy of homemade flavors without hitting the drive-thru, and don’t forget to check out my other recipes for Casserole Ground Beef or Chinese Beef Broccoli to jazz up your dinner rotation!
Beef and Cheese Chimichangas Ingredients
-
For the Filling
Ground Beef – Main protein source for filling; substitute with ground turkey or shredded chicken for lighter options.
Small Onion – Adds depth of flavor; use shallots for a milder taste or omit for a simpler filling.
Garlic – Enhances overall flavor; fresh minced garlic is recommended; garlic powder can be a substitute.
Taco Seasoning – Provides spice and seasoning; use homemade for control over ingredients.
Salsa – Keeps the filling moist and adds flavor; swap with tomato sauce if preferred.
Refried Beans – Adds creaminess and texture; can be omitted for a lighter version or replaced with black beans.
Shredded Cheese – Melts beautifully for a cheesy bite; use cheddar, Monterey Jack, or a Mexican blend. -
For the Wrap
Large Flour Tortillas – Acts as the wrapper; whole wheat or gluten-free tortillas can be used for variations. -
For Cooking
Vegetable Oil – Necessary for frying or brushing for baking; can substitute with canola or olive oil.
Enjoy whipping up these Beef and Cheese Chimichangas that are sure to be a hit at your dinner table!
Step‑by‑Step Instructions for Beef and Cheese Chimichangas Recipe
Step 1: Cook Filling
In a large skillet over medium heat, brown 1 pound of ground beef until fully cooked, about 5-7 minutes. Add in a diced small onion and sauté until translucent, about 3-4 minutes. Drain excess grease, then stir in 2 cloves of minced garlic, 2 tablespoons of taco seasoning, and ½ cup of salsa. Simmer for 2-3 minutes, and let the filling cool slightly.
Step 2: Assemble Chimichangas
On each large flour tortilla, spread a layer of refried beans and add a generous spoonful of the beef mixture. Sprinkle a handful of shredded cheese on top, then fold in the sides and roll tightly to enclose the filling. Make sure they are well-sealed to prevent leaking during cooking. Repeat with the remaining tortillas until all filling is used.
Step 3: Cook Chimichangas
For frying, heat about 2 inches of vegetable oil in a deep pan or fryer to 350°F. Carefully place the chimichangas seam-side down and fry for 2-3 minutes per side, until golden brown and crispy. For a healthier option, preheat your oven to 400°F, brush the chimichangas with oil, place seam-side down on a baking sheet, and bake for 20-25 minutes or until crisp and golden.
Step 4: Serve
Once the chimichangas are cooked, allow them to rest on a paper towel-lined plate for a couple of minutes to absorb excess oil. Serve warm, topped with your favorite garnishes like sour cream, guacamole, or additional salsa for an extra zing. Dig into these delicious Beef and Cheese Chimichangas while they’re hot for the best flavor!
What to Serve with Beef and Cheese Chimichangas
Elevate your meal with delightful sides and drinks that will complement the bold flavors of your crispy chimichangas.
-
Mexican Rice: Serve up fluffy, seasoned rice that balances the richness of the chimichangas. The subtle tomato flavors harmonize beautifully.
-
Fresh Guacamole: Creamy and zesty, guacamole adds a refreshing touch. This crowd-favorite dip provides a cool contrast to the warmth of the chimichangas.
-
Spicy Black Beans: Offer a protein-packed side that adds depth. Their spiced, earthy flavors enhance the Tex-Mex experience.
-
Corn Salsa: This sweet and tangy salsa brimming with fresh corn and diced tomatoes brings a bright flavor pop. It’s a perfect summer accompaniment.
-
Tortilla Chips: Crispy chips for dipping in salsa or guacamole create a fun appetizer. Their crunch adds a playful texture before the main event.
-
Coconut Lime Agua Fresca: Sweet and refreshing, this drink complements the spicy flavors with a bright citrus zing. It’s the perfect thirst-quencher for any Tex-Mex feast.
-
Churros with Chocolate Sauce: End your meal on a sweet note. These crispy treats with a chocolate drizzle provide a delightful finish that leaves everyone smiling.
How to Store and Freeze Beef and Cheese Chimichangas
Fridge: Store leftover cooked chimichangas in an airtight container for up to 3 days. Reheat in the oven or air fryer for that crispy texture.
Freezer: For long-term storage, freeze uncooked, assembled chimichangas. Wrap each tightly in plastic wrap and foil to prevent freezer burn. They can last up to 2 months.
Cooking from Frozen: Cook the frozen chimichangas directly without thawing. Just add an extra 5-10 minutes to the cooking time for those perfectly crispy beef and cheese chimichangas.
Reheating: Reheat leftover chimichangas in a preheated oven at 375°F for about 10-15 minutes or until heated through. This helps maintain their original crispiness!
Make Ahead Options
These Beef and Cheese Chimichangas are perfect for busy home cooks looking to save time! You can assemble the chimichangas up to 24 hours in advance. Simply wrap them tightly in plastic wrap and store in the refrigerator to keep them fresh. If you want to prep even further ahead, you can freeze the uncooked chimichangas for up to 2 months. To maintain their quality, make sure they’re well-wrapped to prevent freezer burn. When you’re ready to enjoy them, cook straight from frozen by adding an extra 5-10 minutes to the cooking time, either frying or baking until they’re golden brown and crispy. Enjoy quick, delicious homemade meals without the fuss!
Beef and Cheese Chimichangas Variations
Feel free to unleash your creativity and customize these chimichangas to suit your taste buds!
-
Spicy Chimichangas: Add diced jalapeños or use pepper jack cheese for a zesty kick. Fire up your taste buds with this simple change!
-
Breakfast Chimichangas: Swap ground beef for scrambled eggs, crumbled bacon, or sausage for a hearty breakfast treat. Imagine indulging in a savory morning delight!
-
Vegetarian Option: Replace meat with sautéed bell peppers, zucchini, and black beans for a fulfilling veggie-packed option. It’s just as satisfying without the beef!
-
Sauced Chimichangas: Top your chimichangas with enchilada sauce or a drizzle of queso for a cheesy “smothered” version. It’s like a hug in every bite!
-
Cheesy Variations: Mix in different types of cheese like feta or goat cheese for unique flavor profiles. Just a small tweak can create a whole new experience!
-
Herbed Chimichangas: Incorporate fresh herbs like cilantro or parsley into the filling for a burst of freshness. This adds a delightful twist that brightens each bite!
-
Keto Version: Ditch the tortilla and wrap the filling in large leaves of lettuce instead. It’s a low-carb alternative that’s still packed with flavor!
Looking for more tasty ideas? Try accompanying these chimichangas with a refreshing cucumber salad or indulge in a classic Casserole Ground Beef dish for added variety in your meals!
Expert Tips for Beef and Cheese Chimichangas
-
Cool Filling: Allow your filling to cool slightly before assembling. It helps to maintain the integrity of the chimichangas and prevents sogginess.
-
Hot Oil: For crispy chimichangas, make sure the oil is hot enough (around 350°F) before frying. If the oil is too cool, they’ll absorb excess oil and become greasy.
-
Sealing Tips: To avoid filling leakage, ensure you tightly roll and seal the chimichangas. Secure with toothpicks if necessary while cooking.
-
Make Ahead: Prepare chimichangas in advance and refrigerate uncooked for up to 2 days, or freeze for up to 2 months. This makes for an easy, customizable beef and cheese chimichangas recipe.
-
Baking Option: If frying isn’t your style, brush chimichangas with oil and bake them for a healthier alternative. They’ll still turn out golden and crispy!

Beef and Cheese Chimichangas Recipe FAQs
What type of ground beef should I use?
I recommend using 80/20 ground beef for the best flavor and juiciness. However, for a lighter option, you could substitute it with ground turkey or shredded chicken, which offers a healthier twist while still maintaining a delicious filling.
How do I store leftover chimichangas?
Store leftover cooked chimichangas in an airtight container in the refrigerator for up to 3 days. When reheating, I suggest using the oven or air fryer to restore their crispy texture. Simply preheat your oven to 375°F and bake for about 10-15 minutes until heated through!
Can I freeze uncooked chimichangas?
Absolutely! To freeze uncooked chimichangas, wrap each one tightly in plastic wrap and then in aluminum foil to prevent freezer burn. When stored this way, they can last up to 2 months in the freezer. When you’re ready to cook them, you can fry or bake them straight from frozen—just remember to add an extra 5-10 minutes to the cooking time for perfect results.
What should I do if my chimichangas are leaking during cooking?
If you’re experiencing leaking, it’s likely due to them not being sealed tightly enough. To prevent this, make sure to roll them tightly, folding in the sides securely. If needed, you can use toothpicks to hold them together while cooking. Also, be sure to let the filling cool slightly before assembling to keep the tortillas firm!
Are there any notable dietary considerations for chimichangas?
Yes! If you’re cooking for someone with food allergies, be sure to check the labels on your taco seasoning and other ingredients for possible allergens. Additionally, if you’re aiming to accommodate a gluten-free diet, you can easily swap regular flour tortillas for gluten-free ones. For vegetarian options, replace the beef with sautéed vegetables and black beans, ensuring it’s still a delicious meal for everyone.
How can I make chimichangas spicier?
To add a spicy kick, consider mixing diced jalapeños into the beef filling or using pepper jack cheese instead of regular cheese. You could also serve your chimichangas with a side of spicy salsa or hot sauce for an extra layer of flavor!
Beef and Cheese Chimichangas Recipe: Crispy Tex-Mex Bliss
Ingredients
Equipment
Method
- In a large skillet over medium heat, brown ground beef until fully cooked, about 5-7 minutes. Add in a diced small onion and sauté until translucent, about 3-4 minutes. Drain excess grease, then stir in minced garlic, taco seasoning, and salsa. Simmer for 2-3 minutes and let the filling cool slightly.
- On each large flour tortilla, spread a layer of refried beans and add a generous spoonful of the beef mixture. Sprinkle shredded cheese on top, then fold in the sides and roll tightly to enclose the filling. Repeat with the remaining tortillas.
- For frying, heat about 2 inches of vegetable oil in a deep pan to 350°F. Carefully place the chimichangas seam-side down and fry for 2-3 minutes per side until golden brown and crispy. For a healthier option, preheat your oven to 400°F, brush the chimichangas with oil, place seam-side down on a baking sheet, and bake for 20-25 minutes or until crisp and golden.
- Once cooked, allow chimichangas to rest on a paper towel-lined plate for a couple of minutes. Serve warm, topped with garnishes like sour cream, guacamole, or additional salsa.
Leave a Reply