
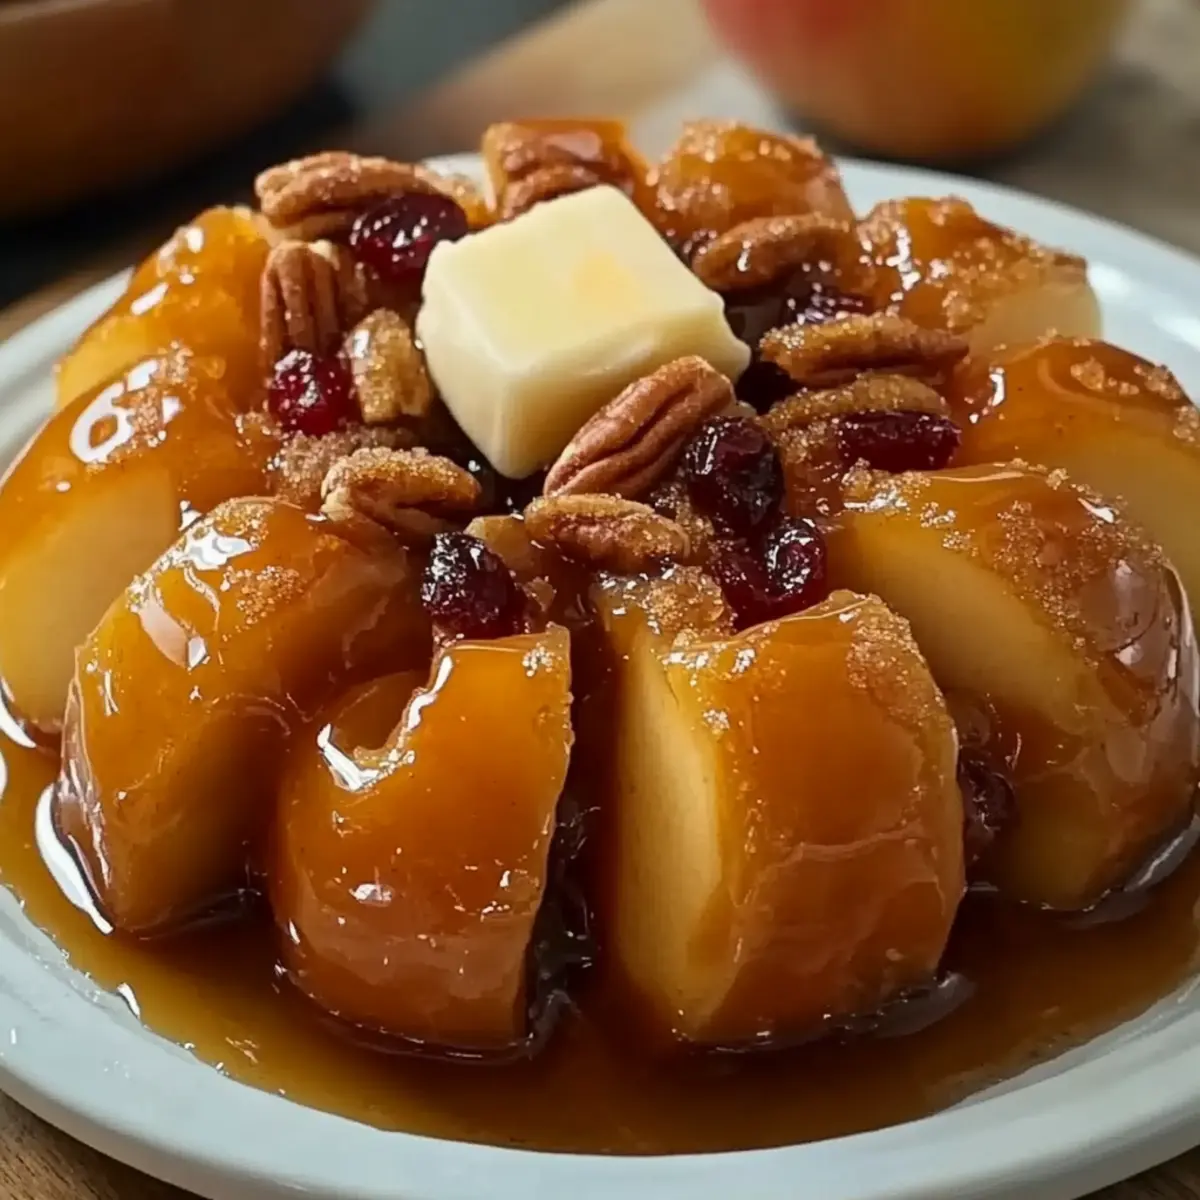
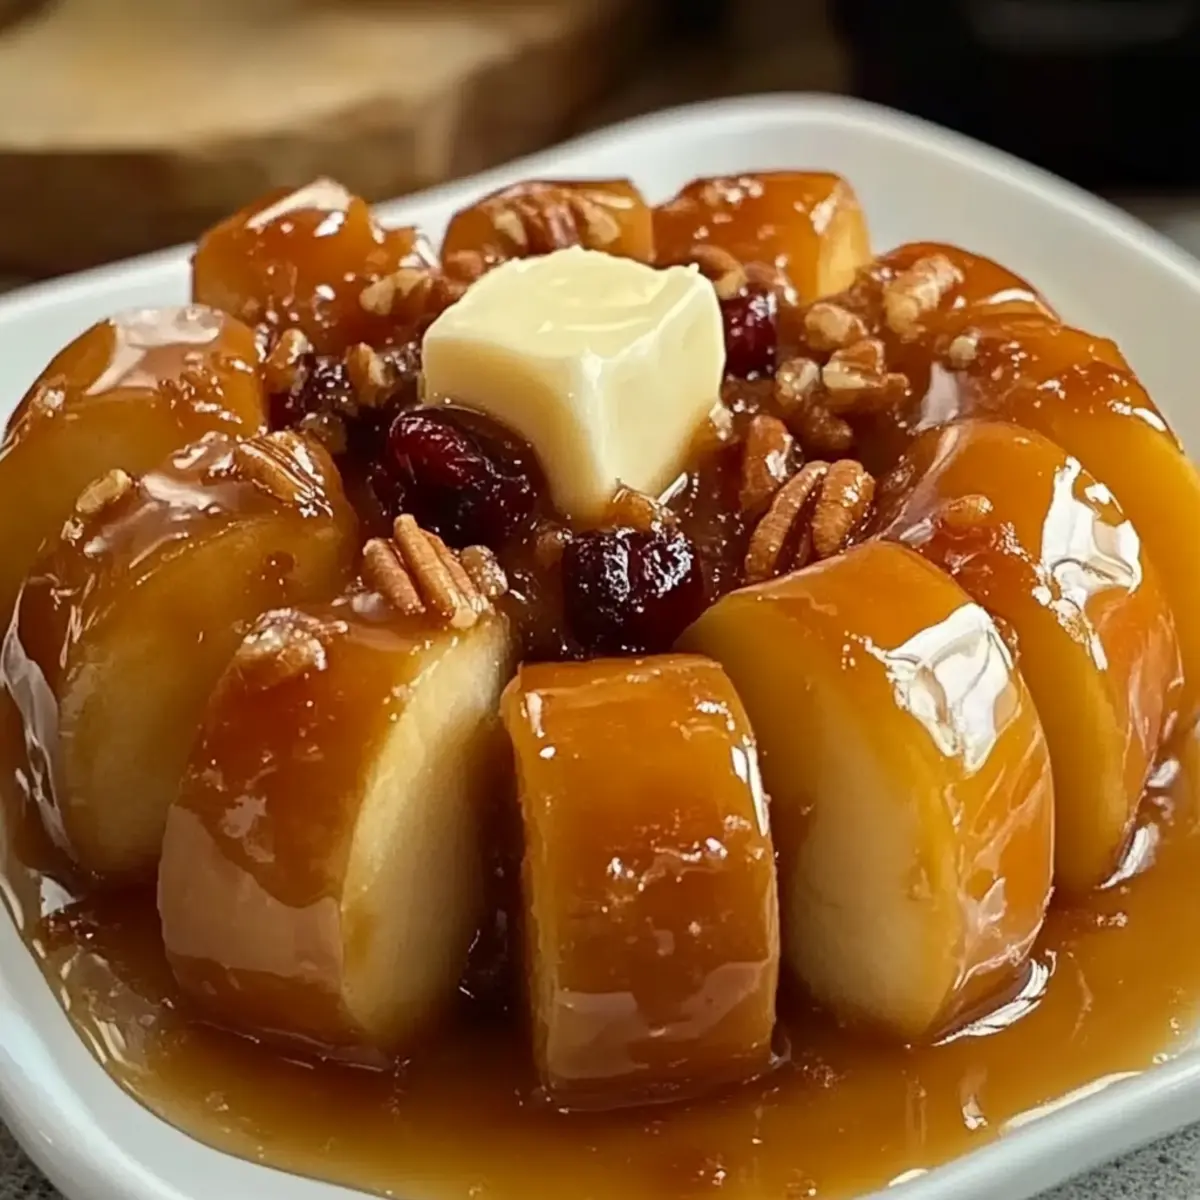
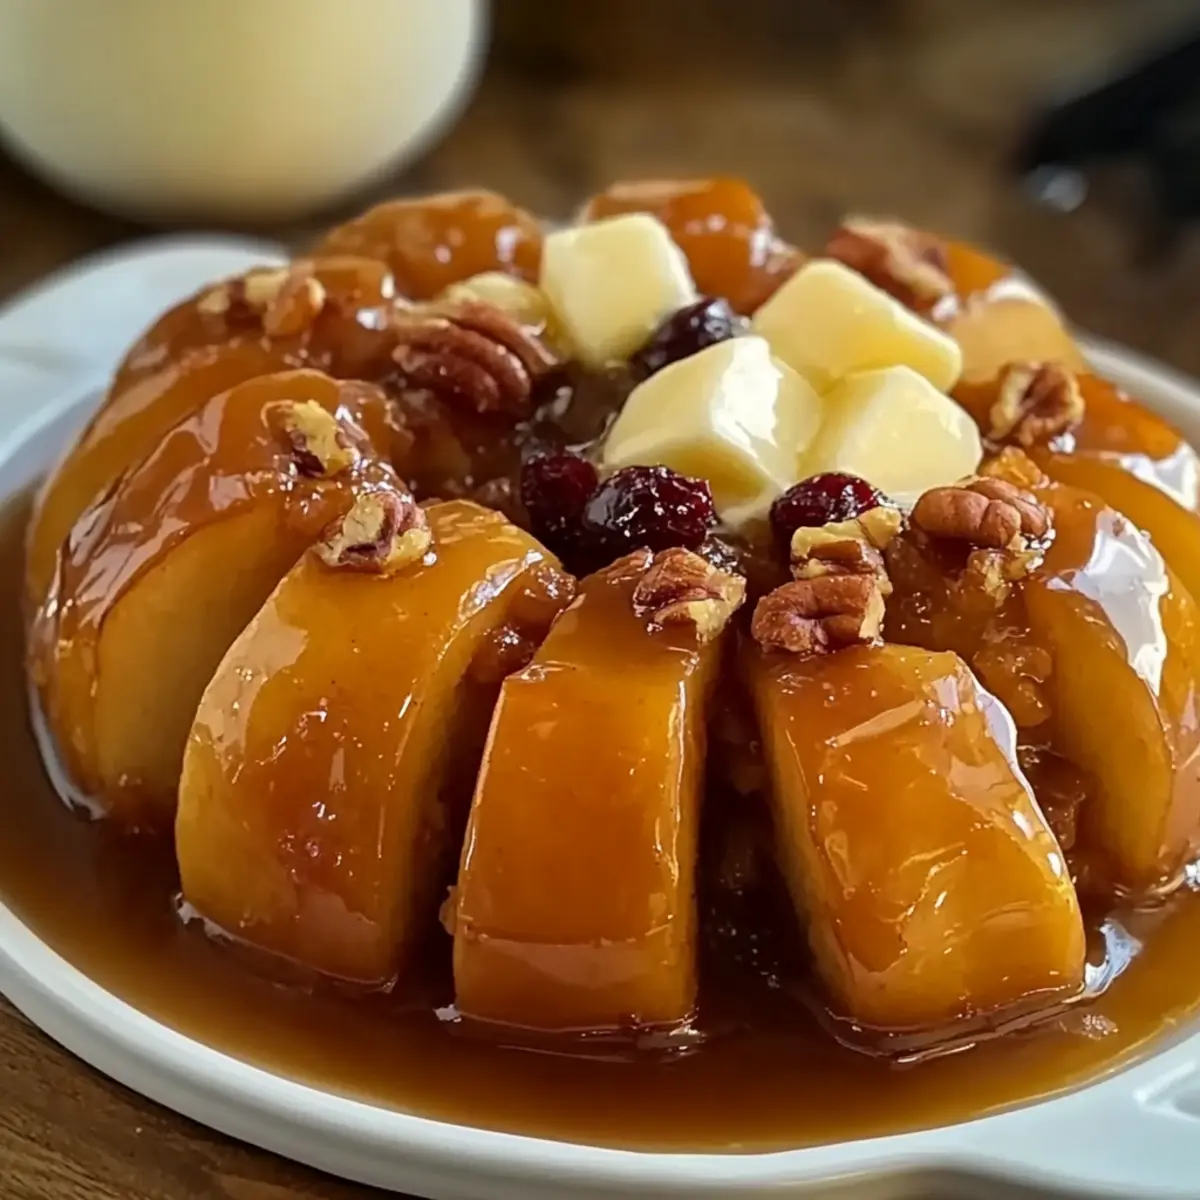
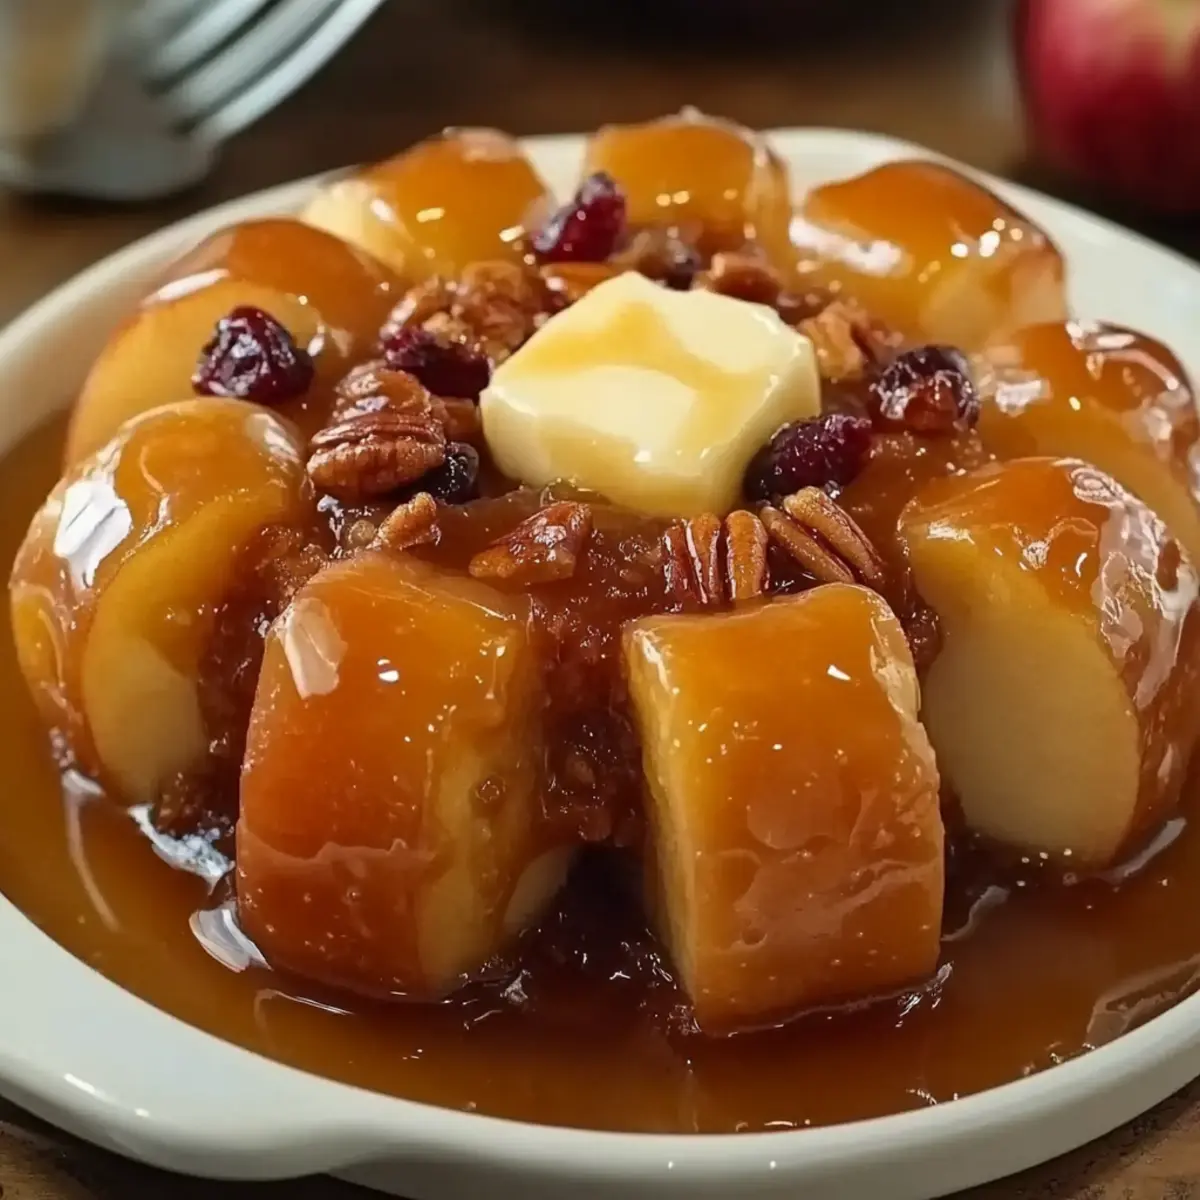
As the crisp air of autumn settles in, an unexpected delight is about to grace your kitchen—Baked Bloomin’ Apples. This warm dessert is not just a feast for the eyes; it’s a cozy hug with each fragrant bite, featuring tender apples stuffed with a heavenly mix of nuts and spices. What excites me about this recipe is its effortless preparation—perfect for those busy fall afternoons—and the way it brings everyone together, making it a memorable centerpiece for any gathering. Served warm with a scoop of vanilla ice cream or a delightful dollop of whipped cream, these apples will have your senses tingling and your taste buds dancing. Ready to try something new and inviting this season? Let’s dive into this comforting treat!
Why Are Baked Bloomin’ Apples Amazing?
Simplicity at its Core: This recipe is a breeze, requiring just a few ingredients and minimal prep time—perfect for busy chefs.
Warm, Gooey Delights: Each bite offers tender, caramelized apples bursting with delightful flavors that’ll make your kitchen smell heavenly.
Autumn’s Best Flavor: Infused with cinnamon and nutmeg, these apples embrace the season’s essence, making them perfect for fall gatherings.
Versatile Sweetness: Customize with different nuts or dried fruits to create your favorite flavor profile, similar to my Condensed Milk Baked Rice Pudding for even more variation!
Crowd-Pleasing Treat: Serve these warm apples with a scoop of ice cream at parties, and watch your friends smile—they’ll be the hit of the evening!
Baked Bloomin’ Apples Ingredients
For the Apples
• Medium-sized Apples – 4 (preferably Honeycrisp or Granny Smith) – These form the heart of the dessert, transforming into tender pockets of goodness when baked.
For the Sweet Filling
• Brown Sugar – 1/4 cup – Adds a lovely caramel undertone; coconut sugar can be used for a lower glycemic option.
• Granulated Sugar – 1/4 cup – Sweetens the filling; adjust according to your taste preference.
• Ground Cinnamon – 1 teaspoon – Infuses warmth and spice; feel free to substitute with pumpkin pie spice for a festive twist.
• Ground Nutmeg – 1/2 teaspoon – Elevates the aromatic experience; freshly grated nutmeg will yield the best flavor.
• Chopped Pecans or Walnuts – 1/2 cup – Provides a delightful crunch; almonds can be an excellent alternative.
• Raisins or Cranberries – 1/4 cup (optional) – Adds chewiness and fruity sweetness; switch to dried cherries or your favorite dried fruits if desired.
To Enhance Moisture and Flavor
• Butter – 1/4 cup, melted – Keeps the apples moist during baking; coconut oil serves as a dairy-free substitute.
• Vanilla Extract – 1 teaspoon – Boosts overall flavor; pure vanilla extract is highly recommended for the best results.
• Water – 1/4 cup – Creates steam for the baking process, ensuring tender apples; pour it into the baking dish before placing it in the oven.
Step‑by‑Step Instructions for Baked Bloomin’ Apples
Step 1: Preheat the Oven
Start by preheating your oven to 350°F (175°C). This ensures a perfectly baked dessert right from the get-go. While the oven warms up, you’ll create a delightful filling that will complement the tender, baked apples beautifully.
Step 2: Prepare the Apples
Core the 4 medium-sized apples carefully, making sure not to cut through the bottom. Slice them vertically every 1/4 inch to create a “blooming” effect, allowing the filling to seep in as they bake. Place the prepared apples in a baking dish, ready for stuffing.
Step 3: Mix the Filling
In a mixing bowl, combine the brown sugar, granulated sugar, cinnamon, nutmeg, chopped pecans or walnuts, and any optional dried fruits. Stir until well mixed, filling your kitchen with the aromatic scents of cinnamon and sweetness. This nutty, spiced mixture will be a delicious surprise inside each apple.
Step 4: Stuff the Apples
Spoon the filling mixture generously into each sliced apple, packing it tightly to ensure every bite is flavorful. As you stuff, feel the apples transform into little vessels of warm goodness, ready for the oven.
Step 5: Arrange in a Baking Dish
Place the stuffed apples in your baking dish, ensuring they stand upright. This positioning allows each apple to bake evenly, becoming tender and juicy, while the filling bubbles and caramelizes around them.
Step 6: Add Butter
Drizzle the melted butter over the tops of the stuffed apples, letting it seep into the filling and enhance the moisture. This step is key for creating that gooey, indulgent texture that makes these Baked Bloomin’ Apples irresistible.
Step 7: Add Water
Pour 1/4 cup of water into the bottom of the baking dish, which will create steam during baking. This steam helps to soften the apples while they bake, ensuring they emerge from the oven tender and perfectly cooked, inviting you to take a bite.
Step 8: Bake the Apples
Cover the baking dish with aluminum foil and place it in the preheated oven. Bake for 25 minutes, then remove the foil and continue baking for an additional 10-15 minutes. This allows the top to caramelize beautifully, turning golden and slightly crispy.
Step 9: Cool Slightly
Once baked to perfection, take the dish out of the oven and let the Baked Bloomin’ Apples rest for a few minutes. This cooling period allows the flavors to meld and settles the filling, making them easier to serve.
Step 10: Serve Up the Warm Goodness
Serve the Baked Bloomin’ Apples warm, perhaps topped with a scoop of vanilla ice cream or a dollop of whipped cream. Each bite will be a comforting experience, bringing the cozy flavors of fall right to your table.
What to Serve with Baked Bloomin’ Apples
Indulge your senses and create a warm, comforting meal that perfectly complements the cozy flavors of your baked delight.
-
Creamy Vanilla Ice Cream: The rich creaminess contrasts beautifully with the warm apples, enhancing their flavors and creating a delightful textural balance.
-
Whipped Cream: A light dollop adds a fluffy, sweet touch that makes each bite even more inviting—truly a classic pairing!
-
Cinnamon Roll Pancakes: Infused with the same warm spices, these pancakes bring a touch of breakfast to dessert, making for a delightful brunch option.
-
Caramel Sauce Drizzle: A drizzle of warm caramel over the baked apples deepens the sweetness and adds a luscious, decadent touch.
-
Mixed Green Salad: A fresh salad with tangy vinaigrette brings brightness and balances the sweetness of the apples, adding a refreshing contrast.
-
Hot Apple Cider: Sip on spiced apple cider, with its warm flavors echoing the essence of the baked apples—truly bringing fall into your kitchen!
-
Chai Tea: The fragrant spices of chai tea harmonize with the flavors of your baked apples, creating a cozy drink to warm your evening.
-
Roasted Pumpkin Seeds: The crunchy texture and nutty flavor complement the soft apples, adding an unexpected twist to your dessert table.
-
Ginger Snap Cookies: These cookies provide a spicy kick, making for a delightful pairing with the sweetness of the baked apples, especially during the holidays.
Expert Tips for Baked Bloomin’ Apples
-
Core Carefully: Ensure you don’t cut through the bottom of the apples while coring, as this keeps them intact for stuffing.
-
Watch Your Bake Time: Keep an eye on the baking time; overbaking can lead to mushy apples instead of tender delights.
-
Customize Your Nuts: Feel free to swap in different nuts or dried fruits for the filling. This allows for a unique flavor that can enhance your Baked Bloomin’ Apples experience!
-
Steaming Secrets: Adding water to the baking dish is essential for creating steam, which helps cook the apples evenly, preserving their shape and flavor.
-
Maintain Shape: When slicing the apples, ensure that cuts are shallow enough to maintain their structure as they bloom during baking.
Baked Bloomin’ Apples Variations & Substitutions
Feel free to get creative and customize your Baked Bloomin’ Apples for a unique twist that will tickle your taste buds!
- Nut-Free: Swap out nuts for sunflower seeds or pumpkin seeds to maintain a delightful crunch without allergens.
- Dairy-Free: Replace butter with coconut oil and enjoy the same rich flavor without the dairy. The aroma will still be heavenly!
- Spiced Apples: Enhance the flavor by adding a pinch of cardamom or allspice to the filling. These spices add a warm, exotic twist to your dessert.
- Fruity Fillings: Substitute raisins with dried cherries, figs, or apricots to diversify the sweetness and texture of your apple filling. Each fruit brings its unique flavor profile!
- Syrupy Sweetness: Drizzle maple syrup over the stuffed apples before baking for a touch of finesse, adding both flavor and moisture.
- Apple Variations: Try using other apple varieties like Fuji or Braeburn for a sweeter option, or mix different types for added depth.
- Heat it Up: Add a pinch of cayenne pepper to the filling for a surprising kick that complements the sweetness. This hint of heat can be absolutely delightful.
- Topping Twist: Top with a crumble of oatmeal or granola for an extra crunchy contrast and a hint of chewiness, creating a dessert that feels like a cozy crumble.
As you create your version of these delightful apples, remember to savor the process! For more scrumptious ways to personalize your desserts, check out my Parmesan Crusted Baked Salmon for even more kitchen inspiration.
How to Store and Freeze Baked Bloomin’ Apples
Fridge: Store any leftover Baked Bloomin’ Apples in an airtight container in the refrigerator for up to 3 days. They’ll remain deliciously moist and ready to be enjoyed.
Freezer: For longer storage, freeze the unbaked stuffed apples by placing them in a freezer-safe container after prep. They can be kept for up to 3 months—just bake them straight from the freezer, adding a few extra minutes to the cooking time.
Reheating: To reheat, place baked apples in a 350°F (175°C) oven for about 10-15 minutes or until heated through. You can also microwave them for 1-2 minutes, covered, for a quick treat.
Make-Ahead Tip: Prepare the apples a few hours in advance and keep them in the fridge before baking to save time.
Make Ahead Options
These Baked Bloomin’ Apples are perfect for meal prep enthusiasts! You can core and slice the apples up to 24 hours in advance, storing them in a bowl of water with a splash of lemon juice to prevent browning. The filling mixture can be prepared and stored in an airtight container in the refrigerator for up to 3 days. When you’re ready to bake, simply stuff the prepared apples with the filling, drizzle with butter, and add water before placing them in a preheated oven. This way, you’ll enjoy warm, gooey Baked Bloomin’ Apples with minimal effort, making it a truly time-saving dessert for busy weeknights or special gatherings!
Baked Bloomin’ Apples Recipe FAQs
How ripe should the apples be for this recipe?
Absolutely! The best apples for Baked Bloomin’ Apples are medium-sized and slightly firm. I recommend using Honeycrisp or Granny Smith because they hold their shape well during baking. Avoid overly ripe apples, as they may become mushy and lose their delightful texture.
How do I store leftover Baked Bloomin’ Apples?
For sure! Store any leftover Baked Bloomin’ Apples in an airtight container in the refrigerator for up to 3 days. They’ll stay moist and flavorful, perfect for a quick sweet treat whenever you desire!
Can I freeze Baked Bloomin’ Apples?
Yes, you can! To freeze unbaked stuffed apples, prepare them as directed, then place them in a freezer-safe container. They can be stored for up to 3 months. When you’re ready, bake them straight from the freezer, adding a few extra minutes to the cooking time for best results.
What should I do if the filling spills out during baking?
No problem! If you notice some filling spilling out, don’t worry—it can happen! Just gently scoop it back onto the apples during the last few minutes of baking. This can still create a delicious, crispy topping that’s perfect for serving alongside the apples!
Are there any dietary considerations I should keep in mind?
Very much so! This recipe can be made gluten-free by ensuring that your sugar varieties are certified gluten-free. If there are nut allergies, feel free to substitute the nuts with seeds like sunflower or pumpkin seeds for a crunchy texture without the allergens.
How can I enhance the flavors of my Baked Bloomin’ Apples?
Great question! To elevate the flavors, consider adding a pinch of sea salt to the filling mix—this enhances the sweetness. For more complexity, you can experiment with different spices like allspice or cardamom, which give a unique spin on traditional flavors. Don’t hesitate to get creative in your kitchen!
Baked Bloomin’ Apples: Warm, Gooey Fall Dessert Delight
Ingredients
Equipment
Method
- Preheat the oven to 350°F (175°C).
- Core the medium-sized apples, making sure not to cut through the bottom. Slice them vertically every 1/4 inch to create a 'blooming' effect.
- In a mixing bowl, combine the brown sugar, granulated sugar, cinnamon, nutmeg, chopped pecans or walnuts, and optional dried fruits.
- Spoon the filling mixture generously into each sliced apple, packing it tightly.
- Place the stuffed apples in your baking dish, ensuring they stand upright.
- Drizzle the melted butter over the tops of the stuffed apples.
- Pour 1/4 cup of water into the bottom of the baking dish.
- Cover the baking dish with aluminum foil and bake for 25 minutes. Remove the foil and continue baking for an additional 10-15 minutes.
- Let the Baked Bloomin' Apples rest for a few minutes before serving.
- Serve warm, topped with a scoop of vanilla ice cream or a dollop of whipped cream.
Leave a Reply