
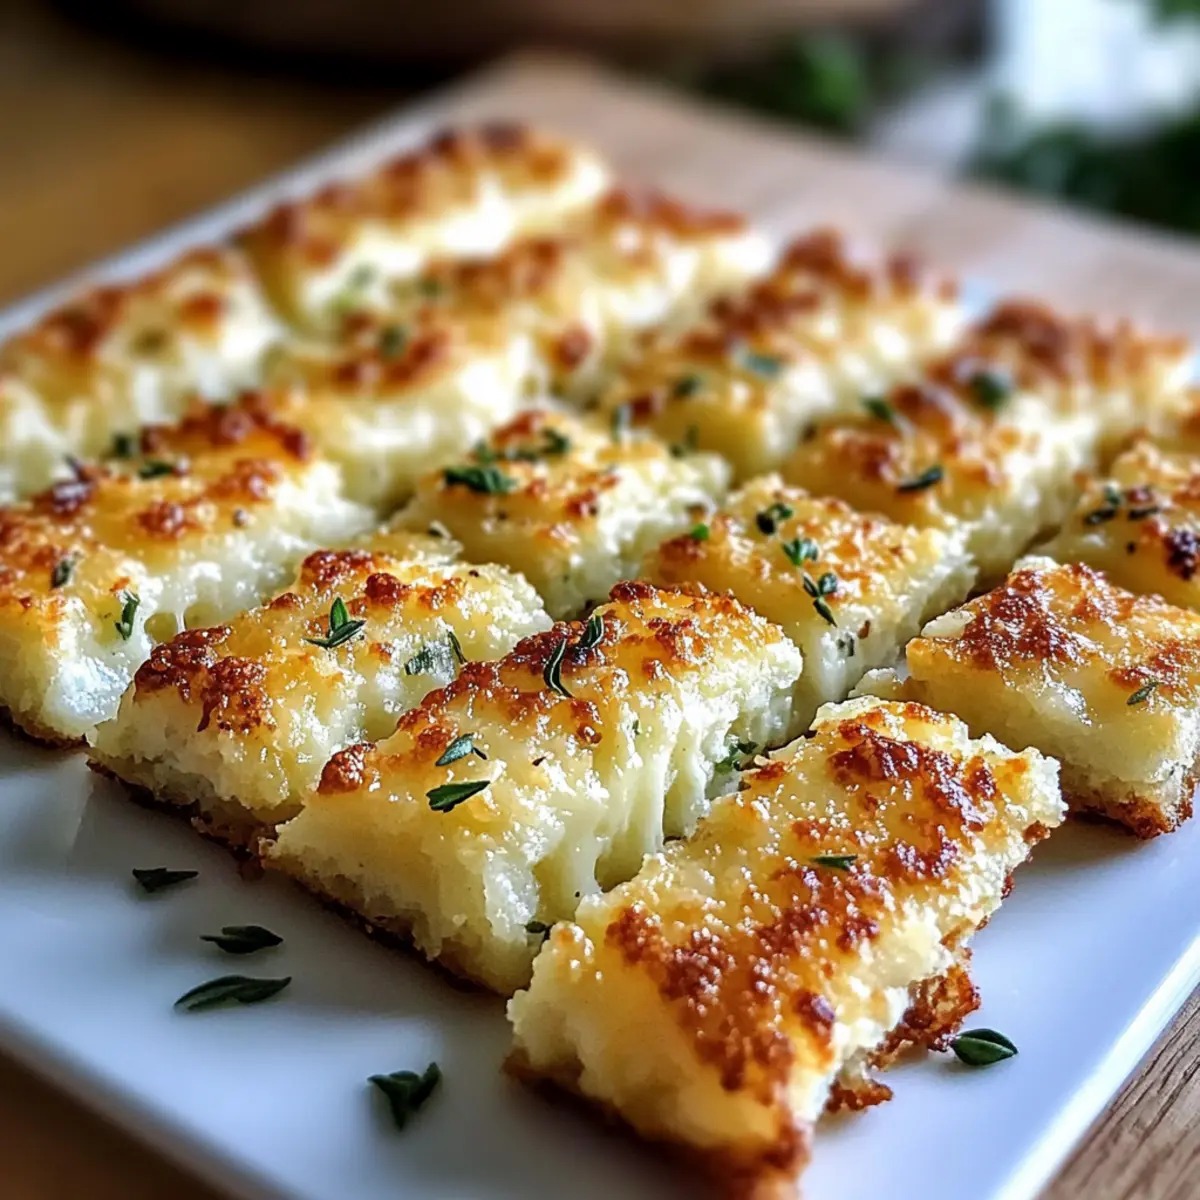
As the warm scent of garlic starts to fill my kitchen, my heart begins to race with anticipation; this isn’t just any meal prep, but a delicious adventure into the world of keto cooking! Today, I’m thrilled to share my Cheesy Keto Cauliflower Garlic Breadsticks—a recipe that’s not only gluten-free and low-carb but also incredibly quick to whip up, taking just 7 minutes of prep time! Perfect for those evenings when you crave comfort food without the guilt, these delightful breadsticks pair wonderfully with your favorite dipping sauce or as a side to any main dish. Whether you’re a seasoned home-chef or just looking to spice up your weekday meals, I promise these golden bites will become a favorite in your house. Curious how to achieve that perfect balance of flavor and texture? Let’s dive in!
Why are these breadsticks a must-try?
Irresistible Flavor: The combination of garlic and cheese creates a flavor sensation that makes every bite a delight.
Quick Prep Time: With only 7 minutes of prep, these breadsticks fit seamlessly into your busy schedule, making them perfect for spontaneous cooking.
Guilt-Free Indulgence: Gluten-free and low-carb, they offer all the classic taste of comfort food without the calorie overload.
Versatile Serving Options: Pair them with marinara or serve alongside a hearty dish like Cajun White Chicken for an exciting twist!
Crowd-Pleaser: Whether you’re hosting dinner or enjoying a cozy night in, these breadsticks are guaranteed to impress friends and family alike!
Cheesy Keto Cauliflower Garlic Breadsticks Ingredients
For the Breadsticks
- Cauliflower – Use fresh cauliflower for the best structural base; ensure it’s very dry to avoid sogginess.
- Mozzarella Cheese – This creamy cheese binds everything together; substitute with Monterey Jack for a different flavor.
- Parmesan Cheese – Fine grated Parmesan enhances the cheesy flavor; use it for a richer taste.
- Egg – An essential binding ingredient that helps hold the breadsticks together.
- Garlic – Fresh minced garlic adds a delicious garlicky kick; powdered garlic can serve in a pinch.
- Italian Seasoning – A blend of herbs elevates the taste; mix equal parts dried oregano, basil, and thyme if you don’t have a pre-made mix.
- Salt and Pepper – Season to taste; these enhance all the flavors in your chewy breadsticks.
For Serving
- Melted Garlic Butter – Brushing warm garlic butter over baked breadsticks adds an extra layer of gourmet flavor.
- Marinara Sauce – A perfect dipping sauce to complement the cheesy goodness of the breadsticks.
Step‑by‑Step Instructions for Cheesy Keto Cauliflower Garlic Breadsticks
Step 1: Preheat and Prepare
Begin by preheating your oven to 400°F (200°C). While the oven heats, line a baking sheet with parchment paper to prevent sticking. This will be the foundation for your Cheesy Keto Cauliflower Garlic Breadsticks, ensuring they bake evenly and come out beautifully golden.
Step 2: Cook the Cauliflower
Next, steam or microwave your fresh cauliflower for about 5-7 minutes until it’s tender. Make sure to drain it thoroughly, as excess moisture can lead to soggy breadsticks. Once drained, let it cool slightly before moving on to the mixing process; you want it warm but manageable.
Step 3: Mix the Ingredients
In a large mixing bowl, combine the well-drained cauliflower with mozzarella cheese, grated Parmesan, whisked egg, minced garlic, and Italian seasoning. Stir until all ingredients are fully incorporated. The mixture should be cohesive but not overly wet; this step is crucial for achieving the ideal texture in your Cheesy Keto Cauliflower Garlic Breadsticks.
Step 4: Shape the Breadsticks
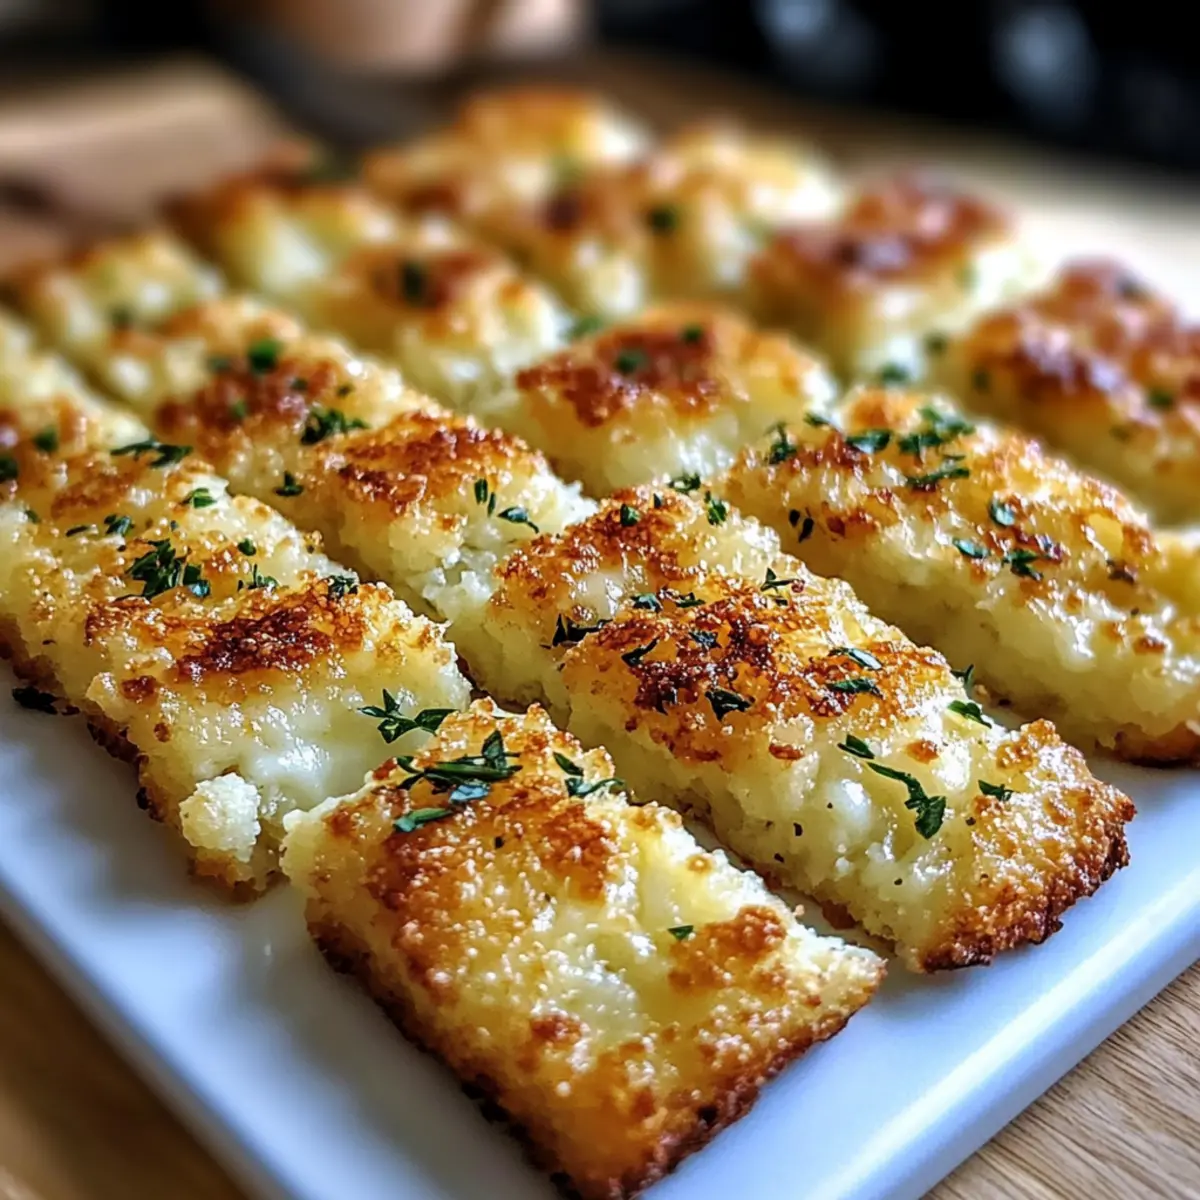
Using your hands or a spatula, shape the cauliflower mixture into stick forms on the prepared baking sheet. Ensure there’s enough space between each breadstick to promote even baking. This step is vital for achieving that perfect golden crust while allowing the steam to escape during baking.
Step 5: Bake to Perfection
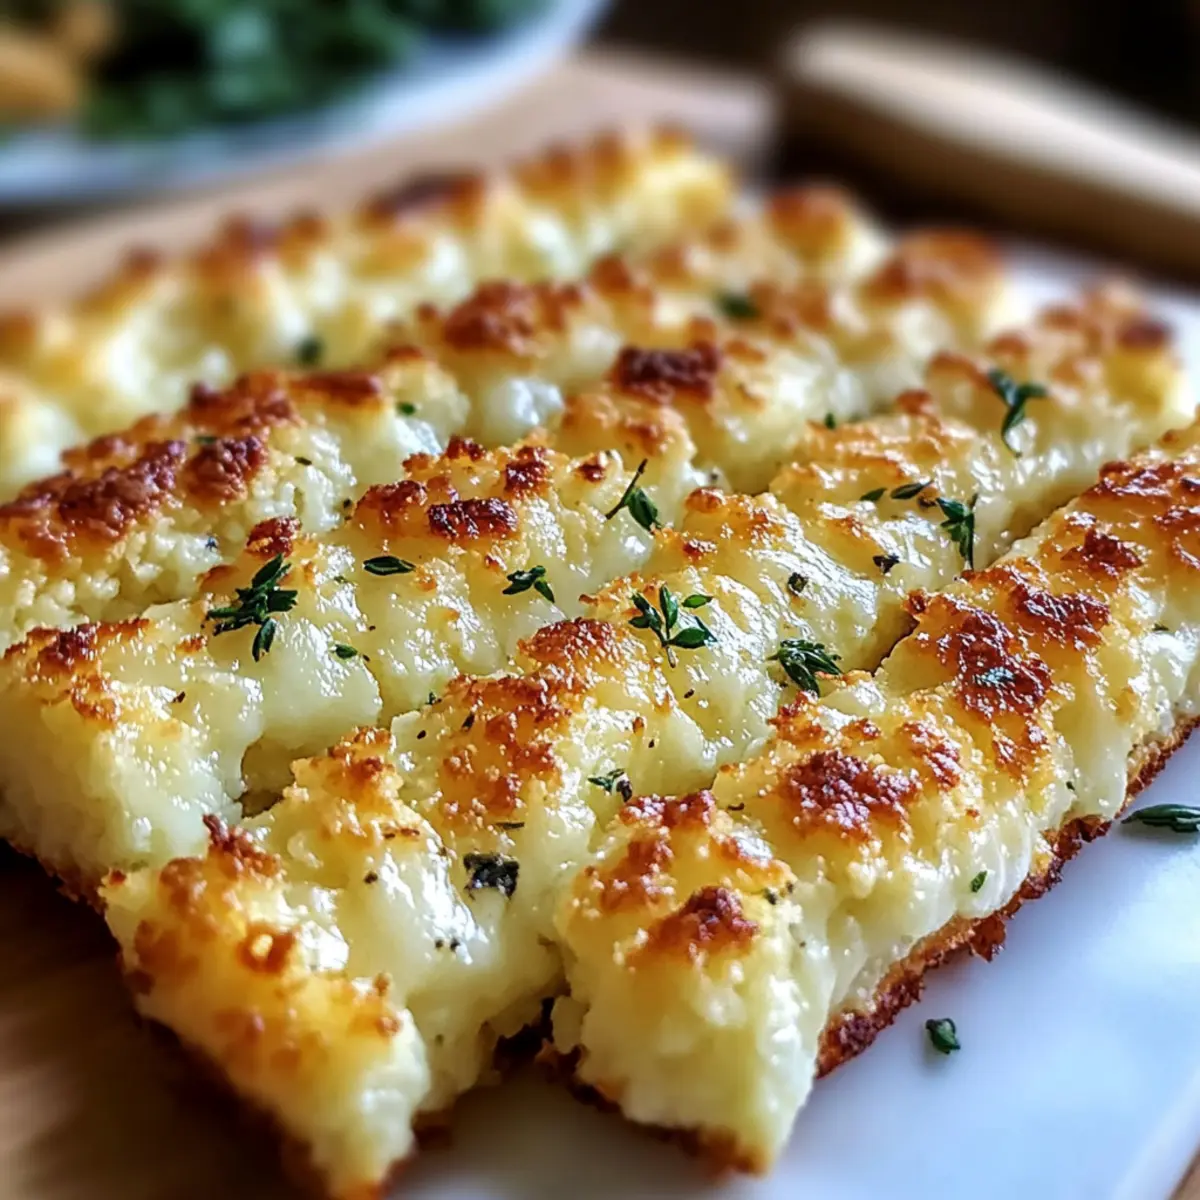
Place the baking sheet in the preheated oven and bake for about 20 minutes. Keep an eye on them until they turn golden brown and are firm to the touch. This is the moment when the kitchen fills with irresistible aromas, signaling that your Cheesy Keto Cauliflower Garlic Breadsticks are almost ready!
Step 6: Add Flavor with Garlic Butter
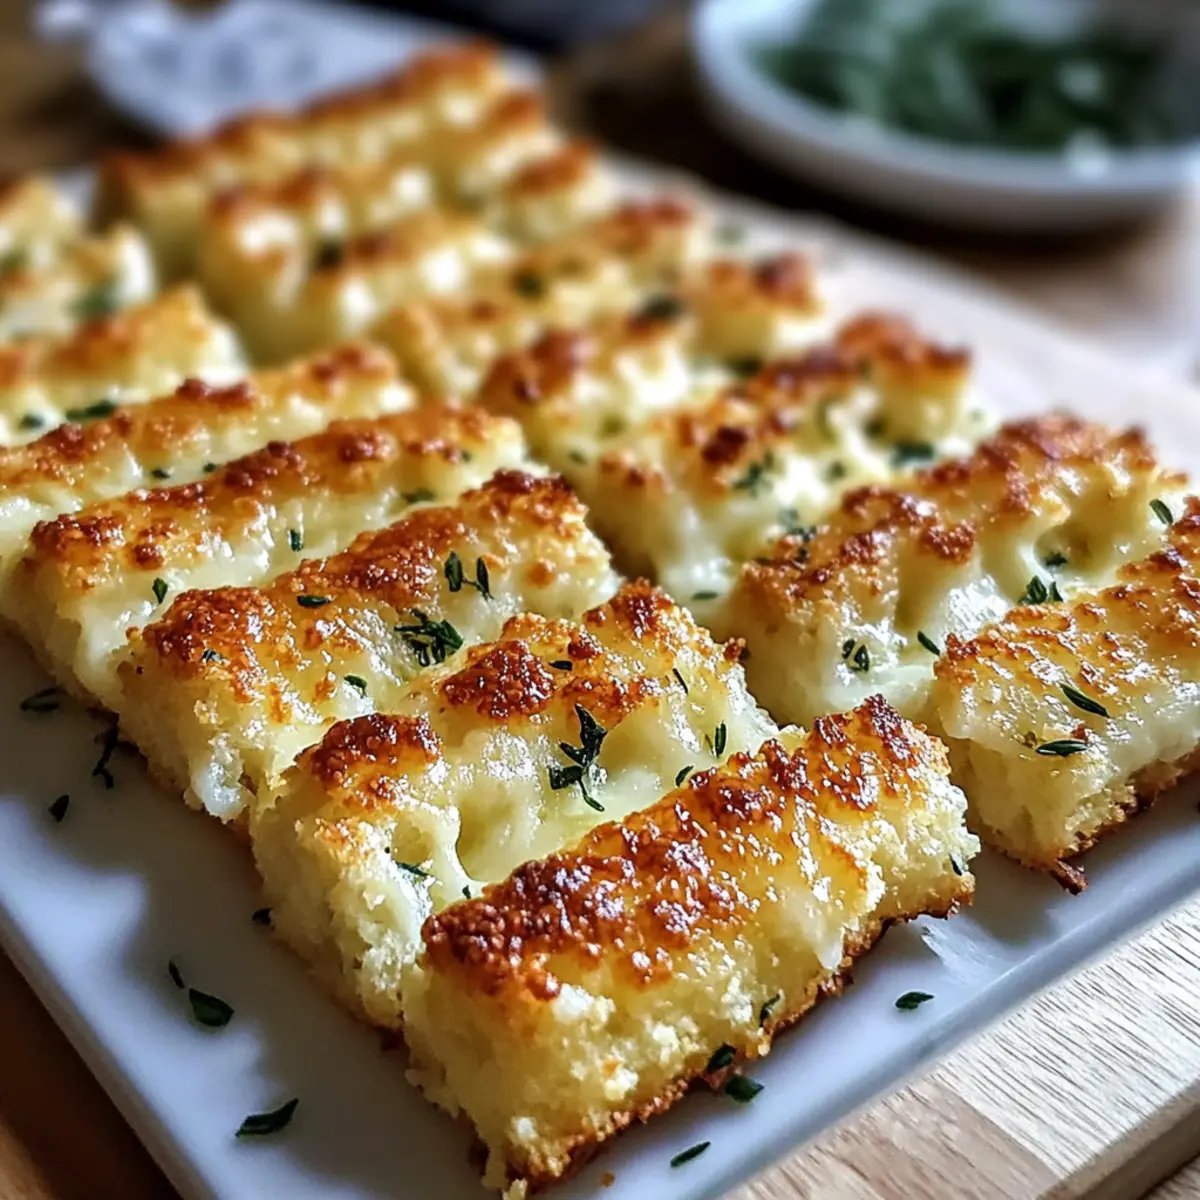
Once baked, remove the breadsticks from the oven and immediately brush them with melted garlic butter. This not only adds a burst of flavor but also enhances the golden crust. Make sure to coat them evenly while they’re still hot, allowing the buttery goodness to soak in.
Step 7: Serve and Enjoy
Serve your Cheesy Keto Cauliflower Garlic Breadsticks warm alongside a dipping sauce, such as marinara. This delightful twist adds extra excitement to any meal, making these breadsticks an irresistible treat. Enjoy the delightful crunch and cheesy goodness that will surely impress your family or guests!
Storage Tips for Hawaiian Chicken Sheet Pan
-
Fridge: Refrigerate leftovers in an airtight container for up to 4 days. This helps maintain moisture and flavor, ensuring your Hawaiian Chicken Sheet Pan stays delicious.
-
Freezer: For longer storage, freeze the cooked chicken and pineapple in a freezer-safe container or bag for up to 2 months. Just label it with the date for your reference!
-
Reheating: Reheat in the oven at 350°F (175°C) until heated through, about 15-20 minutes. Alternatively, microwave in short bursts, stirring in between to ensure even heating.
-
Keep It Fresh: Consider portioning leftovers before freezing. This makes it easier to enjoy this flavorful dish throughout the week without waste!
Expert Tips for Hawaiian Chicken Sheet Pan
-
Marinate Longer: For richer flavor, marinate the chicken thighs for up to 4 hours. This elevates the taste of your Hawaiian Chicken Sheet Pan and ensures each bite is packed with deliciousness.
-
Watch the Temperature: Make sure the chicken reaches an internal temperature of 165°F (74°C) to ensure it’s fully cooked and safe to eat. Use a meat thermometer for accuracy!
-
Avoid Overcrowding: Spread the ingredients evenly on the sheet pan. Overcrowding can lead to steaming instead of roasting, which may prevent that delightful caramelization of the chicken and veggies.
-
Customize Your Veggies: Feel free to switch out the bell peppers and onions with your favorites like zucchini or snap peas. This flexibility makes the Hawaiian Chicken Sheet Pan easily customizable for your family’s preferences.
-
Thicken the Sauce: If you desire a thicker glaze, simmer the sauce on the stovetop before tossing it with the chicken. This adds an extra layer of flavor to your dish.
-
Broil for Crispiness: For a little extra crunch, broil the Hawaiian Chicken Sheet Pan in the last few minutes of cooking. This step gives your chicken a beautiful golden finish!
What to Serve with Hawaiian Chicken Sheet Pan
Elevate your meal experience by exploring delightful sides that perfectly complement the vibrant flavors of your dish.
-
Fluffy Jasmine Rice: This fragrant rice offers a perfect blank canvas, soaking up the delicious teriyaki glaze for each satisfying bite.
-
Crispy Garlic Green Beans: Their fresh crunch contrasts beautifully with the tender chicken and sweet pineapple, adding a delightful texture to your meal.
-
Tangy Cucumber Salad: A refreshing salad brightens the plate with its zesty dressing, balancing the sweetness of the Hawaiian chicken with a crisp, cool bite.
-
Grilled Pineapple Slices: Enhance the tropical theme with juicy, caramelized pineapple; it’s a sweet addition that deepens the island-inspired flavors of your dish.
-
Mango Salsa: This fresh, fruity salsa brings brightness and a bit of heat, echoing the sweetness of the chicken while adding a vibrant visual appeal.
-
Creamy Coleslaw: The crunchy cabbage and creamy dressing provide a cooling effect while contrasting the boldness of the main dish, making every bite enjoyable.
-
Chilled Coconut Water: Sip this refreshing drink for a light, hydrating pairing that echoes tropical notes and cleanses the palate between bites.
-
Lemon Sorbet: For dessert, this light sorbet serves as a palate cleanser, leaving a refreshing finish that complements the flavors of the meal beautifully.
Hawaiian Chicken Sheet Pan Variations
Feel free to bring your unique touch to this delightful dish and explore some enticing twists!
-
Shrimp Swap: Replace chicken thighs with shrimp for a light and quick option. Cook until just pink for perfect tenderness.
Try pairing it with a side of zoodles for a full meal! -
Veggie Boost: Add vibrant veggies like broccoli or snap peas for a nutrient-packed upgrade. They bring a delightful crunch and color contrast to the dish, enhancing both taste and presentation.
-
Fruity Twist: Mix in mango chunks or toasted coconut flakes for an extra tropical touch. This adds delightful sweetness and a hint of crunch that will transport you straight to the islands.
-
Spicy Kick: Enhance the sauce with sriracha or crushed red pepper flakes for some heat. This tiny addition can awaken your palate and create a delightful balance with the sweetness of the pineapple.
-
Coconut Afusion: Use coconut milk instead of pineapple juice for a rich, tropical flavor. The creamy texture of coconut milk elevates the entire dish, making it feel incredibly indulgent.
-
Gluten-Free Alternative: If you’re looking for a gluten-free option, swap regular soy sauce for tamari. You’ll still enjoy the deep umami flavor without any worries.
-
Fresh Herb Infusion: Toss in fresh cilantro or basil before serving for a burst of freshness. These herbs not only elevate the flavor but also add a vibrant touch to the dish.
-
Rice Options: Serve over coconut rice or cauliflower rice instead of traditional white rice for a healthier twist. This accommodates various dietary preferences while still keeping it satisfying.
These variations allow you to cater to your family’s taste buds and make each meal unique. Once you’ve tried this Hawaiian Chicken Sheet Pan, take a peek at my Roasted Chicken Leek or Savory Chicken Veggie recipes for more creative, flavorful ideas!
Make Ahead Options
These Hawaiian Chicken Sheet Pan meals are perfect for meal prep enthusiasts looking to save time on busy weeknights! You can marinate the chicken thighs in the delicious homemade teriyaki sauce up to 24 hours in advance. Just pat them dry and season them before you store them in an airtight container in the fridge to enhance the flavors. Additionally, you can chop the bell peppers and onions in advance, keeping them refrigerated for up to 3 days in a sealed bag. When you’re ready to cook, simply assemble the pan with the marinated chicken, fresh pineapple, and prepped veggies, and bake as directed for restaurant-quality results with minimal effort!
Hawaiian Chicken Sheet Pan Recipe FAQs
How do I select ripe pineapple for this recipe?
Absolutely! When choosing a fresh pineapple, look for one that’s slightly soft to the touch and has a sweet aroma, which indicates ripeness. Avoid pineapples with dark spots or bruises, as these can signify overripeness. You can also check for vibrant green leaves on top – they should be firm and healthy-looking.
How should I store leftovers from the Hawaiian Chicken Sheet Pan?
To keep your leftovers fresh, refrigerate them in an airtight container for up to 4 days. This helps maintain the moisture and flavors in the dish. Be sure to allow the chicken and veggies to cool to room temperature before sealing them up for storage.
Can I freeze the Hawaiian Chicken Sheet Pan?
Yes! For longer storage, freeze the cooked chicken and pineapple in a freezer-safe container or bag for up to 2 months. When ready to enjoy, simply thaw overnight in the refrigerator and reheat at 350°F (175°C) until warmed through. This makes meal prep super convenient!
What can I do if my chicken isn’t cooking evenly?
If you find that your chicken isn’t cooking evenly, you may be overcrowding your sheet pan. Ensure there’s ample space between the pieces to allow hot air to circulate effectively during roasting. Also, flipping the chicken halfway through cooking helps with even browning and moisture retention.
Is this recipe safe for people with gluten allergies?
Yes! To make the Hawaiian Chicken Sheet Pan gluten-free, simply use tamari instead of regular soy sauce for your marinade. Always double-check your other condiments and ingredients, especially the pineapple juice, to ensure they don’t contain hidden gluten. Enjoy the tropical flavors worry-free!
Hawaiian Chicken Sheet Pan: Easy, Flavorful Family Dinner
Ingredients
Equipment
Method
- Preheat your oven to 400°F (200°C) and line a baking sheet with parchment paper.
- In a bowl, combine soy sauce, honey, garlic powder, and ginger to create a marinade.
- Add chicken thighs to the bowl and coat well; let marinate for at least 30 minutes.
- Place marinated chicken on the baking sheet, adding bell peppers and onions around it.
- Bake for 30 minutes or until chicken is fully cooked (165°F internal temperature).
- Optional: Broil for a few minutes for extra crispiness.
- Serve warm with pineapple chunks.
Leave a Reply