
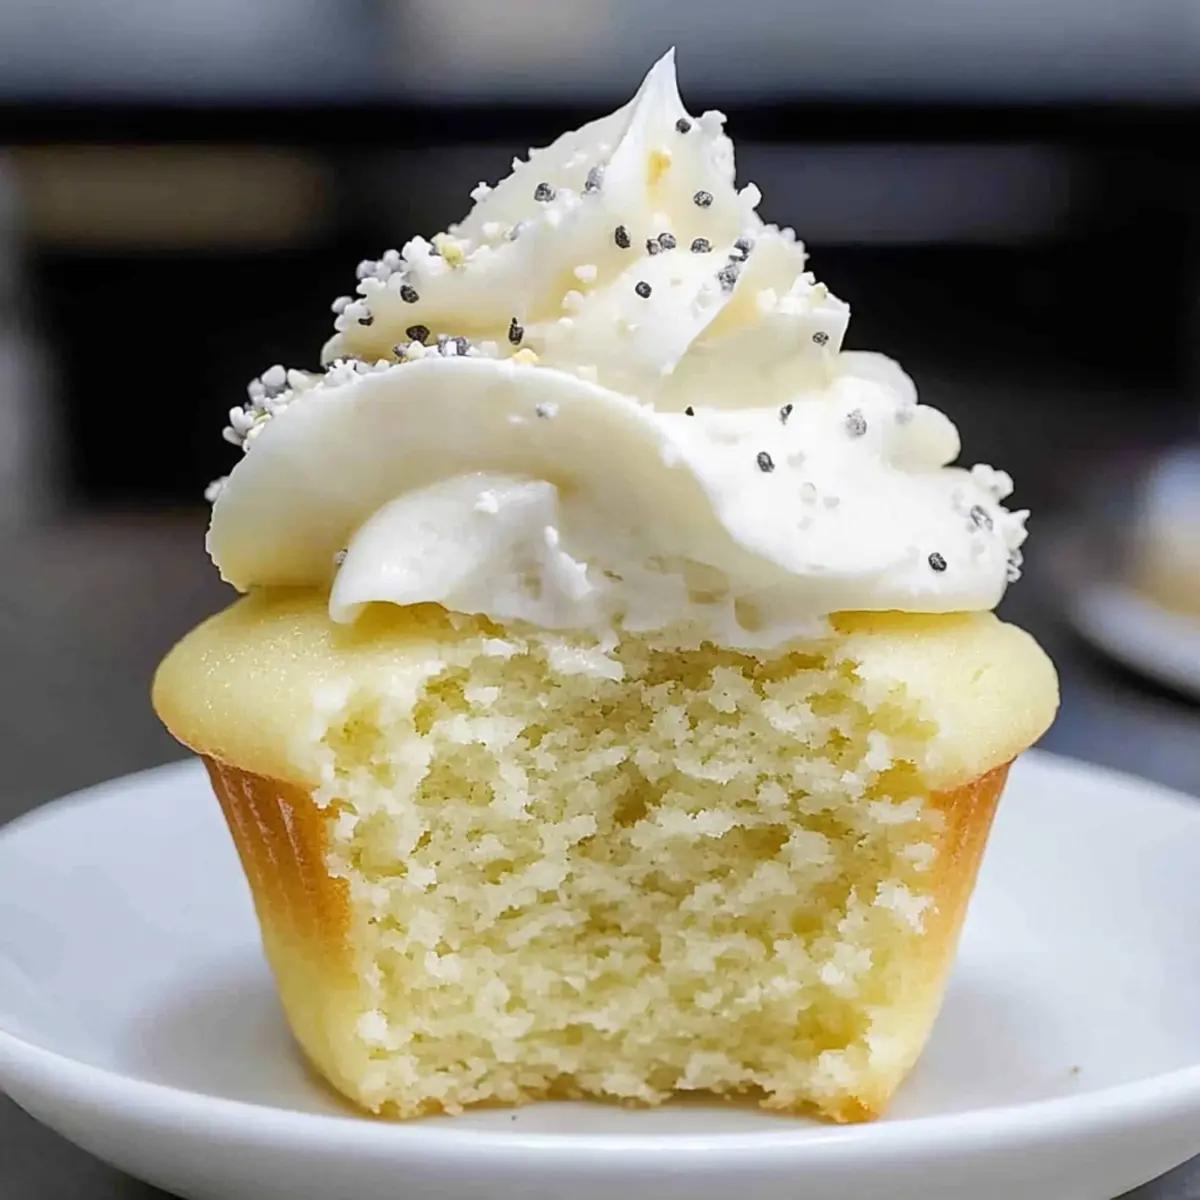
I recently found myself lost in a delightful world of sweets while rummaging through my old recipe books. That’s when I stumbled upon a gem: Dairy-Free Cupcakes. These cupcakes are not just a substitution for the traditional recipes; they’re a delicious celebration of flavor that happen to be completely dairy-free! The best part? They’re incredibly moist and fluffy, making them a perfect treat for anyone wanting a sweet indulgence without the dairy guilt. Plus, with options for gluten-free and eggless variations, you can cater to various dietary preferences effortlessly. Whether you’re preparing for a festive gathering or just looking to satisfy a sweet tooth at home, these cupcakes are sure to become a staple in your baking rotation. Curious about how to whip up this allergen-friendly delight? Let’s dive into the details!
Why Are Dairy-Free Cupcakes So Special?
Allergen-Friendly Delight: These cupcakes are not only dairy-free but also adaptable to gluten-free and eggless diets, ensuring everyone can enjoy them.
Incredibly Moist: Each bite offers a fluffy, moist texture that rivals traditional cupcakes, so every sweet tooth is satisfied without compromise.
Endless Flavor Options: Want to switch things up? Experiment with different non-dairy milks or add cocoa powder for a chocolatey treat, making it fun to personalize.
Quick and Easy: With simple ingredients and straightforward instructions, these cupcakes are a breeze to make, perfect for busy bakers.
Perfect for Any Occasion: Whether it’s a birthday, holiday, or just a Tuesday treat, these cupcakes fit any event or even a cozy night in. Treat yourself and serve them with fun toppings like sprinkles or fruit!
Dairy-Free Cupcake Ingredients
• Discover the simplicity behind dairy-free cupcakes!
For the Batter
- All-Purpose Flour – Provides structure and texture; substitute with a gluten-free flour blend for the gluten-free version.
- Granulated Sugar – Adds delightful sweetness; a reduction can be done for those mindful of sugar intake.
- Baking Powder – Acts as the leavening agent for rising; ensure it’s fresh to achieve the best lift.
- Fine Salt – Enhances overall sweetness and balances flavors; feel free to adjust slightly for taste.
- Alternative Milk (soy, almond, coconut, or oat) – This primary liquid contributes moisture; any preferred non-dairy milk can be used.
- Alternative Yogurt (soy, almond, coconut, or oat) – Adds creaminess and acidity; can be swapped with a plant-based milk and a splash of vinegar for a buttermilk substitute.
- Vegetable or Canola Oil – Provides richness and moisture; consider using melted coconut oil for a tropical twist.
- Large Egg – Binds ingredients and adds structure; replace with 1/4 cup unsweetened applesauce and 1/4 tsp extra baking powder for an eggless option.
- Vanilla Extract or Vanilla Bean Paste – Enhances flavor; other extracts like almond or coconut can be used depending on preference.
For the Frosting
- Vegan Butter or Vegetable Shortening – Essential for a creamy, stable frosting; ensure it’s softened for easy mixing.
- Powdered Sugar – Sweetens and thickens frosting; adjust the amount for a less sweet result if desired.
- Optional Extracts – Incorporate almond, coconut, or lemon extracts for an exciting flavor boost.
Dive into this delightful journey of creating dairy-free cupcakes and savor the warmth they bring to your table!
Step‑by‑Step Instructions for Dairy-Free Cupcakes
Step 1: Preheat and Prepare
Begin by preheating your oven to 350°F (175°C). While the oven warms up, line a muffin tin with 12 cupcake liners to ensure easy removal after baking. This step sets the stage for our Dairy-Free Cupcakes, allowing them to bake evenly and achieve that perfect, fluffy texture.
Step 2: Mix Dry Ingredients
In a large mixing bowl, whisk together 1 ½ cups of all-purpose flour, 1 cup of granulated sugar, 2 tsp of baking powder, and ½ tsp of fine salt. Whisking these dry ingredients thoroughly aerates the flour, setting the foundation for airy and moist cupcakes. After mixing, take a moment to enjoy the sweet aroma of the sugar and flour mingling together.
Step 3: Combine Wet Ingredients
In a separate bowl, combine 1 cup of your choice of alternative milk, ½ cup of alternative yogurt, ½ cup of vegetable or canola oil, 1 large egg (or ¼ cup applesauce for an eggless version), and 2 tsp of vanilla extract. Blend these ingredients until smooth and creamy. This mixture will add moisture and flavor to your Dairy-Free Cupcakes.
Step 4: Mix Wet and Dry Ingredients
Pour the wet mixture into the bowl of dry ingredients. Gently fold the two together using a spatula or wooden spoon until just combined; be careful not to overmix. The goal is a lumpy batter, which indicates that your cupcakes will rise beautifully without becoming dense.
Step 5: Fill Liners and Bake
Carefully divide the batter evenly among the cupcake liners, filling each about two-thirds full. Place the muffin tin in the preheated oven and bake for 19-21 minutes. To check for doneness, insert a toothpick into the center; it should come out clean or with a few crumbs attached.
Step 6: Cool the Cupcakes
Once baked, remove the muffin tin from the oven and let the cupcakes cool in the tin for about 5 minutes. Then, gently transfer the cupcakes to a wire rack to cool completely. This step is crucial for ensuring the cupcakes maintain their fluffy texture and don’t get soggy.
Step 7: Prepare the Frosting
To make the frosting, beat ½ cup of softened vegan butter in a mixing bowl until smooth. Gradually add in 2 cups of powdered sugar, along with 1 tsp of vanilla extract and any optional extracts you prefer. If the mixture is too thick, add a splash of alternative milk to achieve your desired consistency.
Step 8: Frost and Serve
Once the cupcakes are completely cool, pipe the frosting onto each one using a piping bag. Feel free to get creative with your designs! Enjoy your delicious Dairy-Free Cupcakes, perfect for any occasion—from celebrations to weekday treats.
How to Store and Freeze Dairy-Free Cupcakes
Room Temperature: Store unfrosted dairy-free cupcakes in an airtight container at room temperature for up to 2 days to keep them moist and fresh.
Fridge: If you prefer, these cupcakes can be kept in the refrigerator for up to 1 week. Ensure they are in an airtight container to avoid drying out.
Freezer: For longer storage, freeze unfrosted cupcakes for up to 3 months. Wrap each cupcake individually in plastic wrap and then transfer to a freezer-safe bag.
Reheating: To enjoy frozen cupcakes, allow them to thaw in the fridge overnight. Reheat gently in the microwave for about 10-15 seconds for that fresh-baked taste!
Expert Tips for Dairy-Free Cupcakes
-
Measure Carefully: Precision is key in baking! Ensure you measure all ingredients accurately to avoid dense or dry cupcakes.
-
Fresh Ingredients: Use fresh baking powder for optimal rise. Old leavening agents won’t give you the fluffy results you desire, especially in dairy-free cupcakes.
-
Don’t Overmix: When combining wet and dry ingredients, mix until just combined. Overmixing can lead to tough cupcakes instead of the light texture you’re aiming for.
-
Cooling Time Matters: Allow the cupcakes to cool completely before frosting. This prevents the frosting from melting and maintains a beautiful presentation.
-
Flavorful Add-Ons: Experiment with flavored dairy-free yogurts to enhance the taste or add cocoa powder for chocolate cupcakes. This can elevate your Dairy-Free Cupcakes to the next level!
What to Serve with Dairy-Free Cupcakes?
Delightfully fluffy and sweet, these cupcakes deserve to be paired with equally delicious accompaniments.
- Fresh Berries: Their vibrant colors and natural sweetness brighten the plate and add a refreshing contrast to the cupcakes.
- Coconut Whipped Cream: This light, airy topping enhances the fluffy texture and adds a creamy element that complements the cupcakes beautifully.
- Chocolate Ganache: Rich and decadent, this serves a delightful contrast to the sweetness of the cupcakes that chocolate lovers will adore!
- Fruit Salad: A medley of seasonal fruits provides a healthy, fresh side that balances the sweet flavors of the cupcakes.
- Vegan Ice Cream: Cool and creamy, this indulgence pairs wonderfully for those special occasions, creating a heavenly dessert experience.
- Lemonade or Iced Tea: Citrus drinks offer a refreshing lift to the sweet flavors of the cupcakes, making them ideal for summer gatherings.
- Sparkling Water with Lime: For a light and refreshing drink, this bubbly option cleanses the palate and enhances the overall dessert experience.
- Chocolate-Covered Pretzels: The sweet and salty combination adds an exciting texture contrast alongside the rich flavors of the cupcakes.
Dairy-Free Cupcakes Variations & Substitutions
Feel free to get creative with your baking – these cupcakes can be tailored to fit any palate!
- Gluten-Free: Use a gluten-free flour blend instead of all-purpose flour to accommodate gluten sensitivities.
- Eggless: Substitute the egg with 1/4 cup unsweetened applesauce and add an extra 1/4 tsp baking powder for added fluffiness.
- Chocolate Delight: For a chocolate version, replace 1/4 cup of flour with cocoa powder. It results in a rich and indulgent treat!
- Fruit-Infused: Add a 1/2 cup of fruit puree, like banana or applesauce, to the batter for a fruity twist that keeps the cupcakes moist.
- Citrus Zing: Incorporate the zest of one lemon or orange, and a tablespoon of juice to brighten up the flavor profile wonderfully.
- Non-Dairy Yogurt: Experiment with different flavors of alternative yogurt in the batter to introduce subtle, delicious tastes; skip flavored yogurts if you prefer a neutral base.
- Extra Moisture: Add 1/4 cup of non-dairy sour cream for even richer cupcakes that still stay dairy-free.
- Topping Variations: Consider topping with Cottage Cheese Chips for a surprisingly delightful crunch or try a drizzle of vegan chocolate sauce for a decadent finish!
There are so many opportunities to make these cupcakes your own. Whether you choose to add a burst of citrus, a scoop of cocoa, or a luscious frosting, the journey will be as delightful as the treat itself – happy baking!
Make Ahead Options
These Dairy-Free Cupcakes are ideal for meal prepping, allowing you to save time and reduce stress on busy days! You can prepare the batter up to 24 hours in advance by mixing the dry and wet ingredients separately, then combining them just before you’re ready to bake. Additionally, the unfrosted cupcakes can be stored in an airtight container at room temperature for 2 days, or refrigerated for up to a week. For longer storage, freeze the unfrosted cupcakes for up to 3 months. When you’re ready to serve, simply thaw and frost with your favorite vegan frosting, and they’ll be just as delicious and fluffy as when freshly baked!
Dairy-Free Cupcakes Recipe FAQs
How do I choose the right alternative milk for my dairy-free cupcakes?
Absolutely! When selecting an alternative milk, consider the flavor and texture it will contribute. For example, almond milk adds a mild nuttiness, while coconut milk offers a richer taste. If you’re gluten-free, make sure the milk is certified gluten-free, especially with options like oat milk. I often opt for unsweetened versions to keep the sugar balance just right for baking.
What is the best way to store leftover cupcakes?
Very! For unfrosted dairy-free cupcakes, store them in an airtight container at room temperature for up to 2 days. If you want them to last longer, refrigerate for up to a week. Just ensure they are well-sealed to prevent drying out. If you’ve already frosted them, keep them in the fridge for 3 to 5 days for the best flavor and freshness.
Can I freeze dairy-free cupcakes? If so, how?
Certainly! To freeze your cupcakes, let them cool completely first. Wrap each unfrosted cupcake tightly in plastic wrap and then place them in a freezer-safe zip-top bag. They’ll hold up beautifully for up to 3 months. When you’re ready to enjoy, simply take them out and let them thaw in the fridge overnight. Reheat them gently in the microwave for about 10-15 seconds to bring back that fresh-baked taste!
What should I do if my cupcakes don’t rise?
Oh no! If your cupcakes didn’t rise, a few things might have gone wrong. First, double-check that your baking powder is fresh; it should bubble when activated with liquid. Then, ensure that you didn’t overmix the batter, as this can lead to dense results. Lastly, if you made an eggless version, try adding a bit more baking powder next time—about 1/4 teaspoon extra can help with lift.
Can I make substitutions for allergies?
Absolutely! This recipe is quite forgiving. If you’re allergic to nuts, choose a soy or oat milk instead of almond milk. For gluten-free cupcakes, use a certified gluten-free flour blend and ensure all other ingredients are also gluten-free. If you’re concerned about additional allergens, I recommend checking labels on any alternative products to ensure they meet your dietary needs.
How can I tell when my cupcakes are done baking?
Great question! To check for doneness, insert a toothpick into the center of a cupcake after 19 minutes of baking. If it comes out clean or with just a few crumbs sticking to it, they’re ready to come out of the oven. If there’s wet batter, give them another minute or two. Ensuring they are cooked to perfection is key for that fluffy texture!
Delicious Dairy-Free Cupcakes: Fluffy, Sweet, and Guilt-Free
Ingredients
Equipment
Method
- Preheat your oven to 350°F (175°C) and line a muffin tin with 12 cupcake liners.
- In a large mixing bowl, whisk together the flour, sugar, baking powder, and salt.
- In a separate bowl, combine the alternative milk, yogurt, oil, egg (or applesauce), and vanilla extract.
- Pour the wet mixture into the dry ingredients and fold together until just combined.
- Divide the batter among the cupcake liners and bake for 19-21 minutes.
- Allow the cupcakes to cool in the tin for about 5 minutes, then transfer to a wire rack to cool completely.
- To prepare the frosting, beat the vegan butter until smooth, then gradually add powdered sugar and vanilla extract.
- Frost the cooled cupcakes and enjoy!
Leave a Reply