
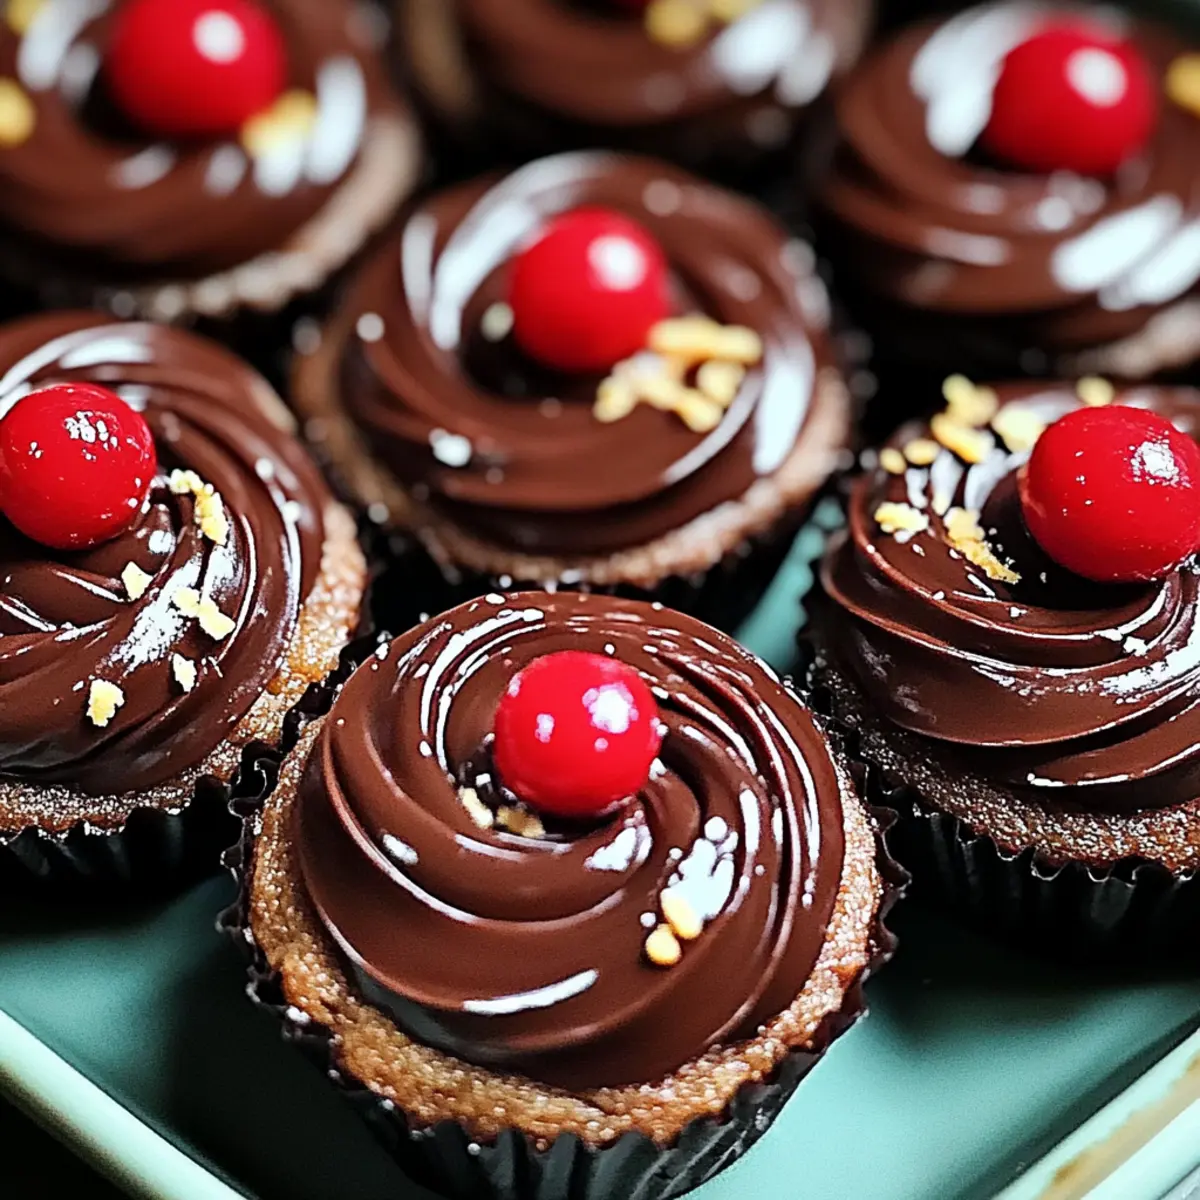
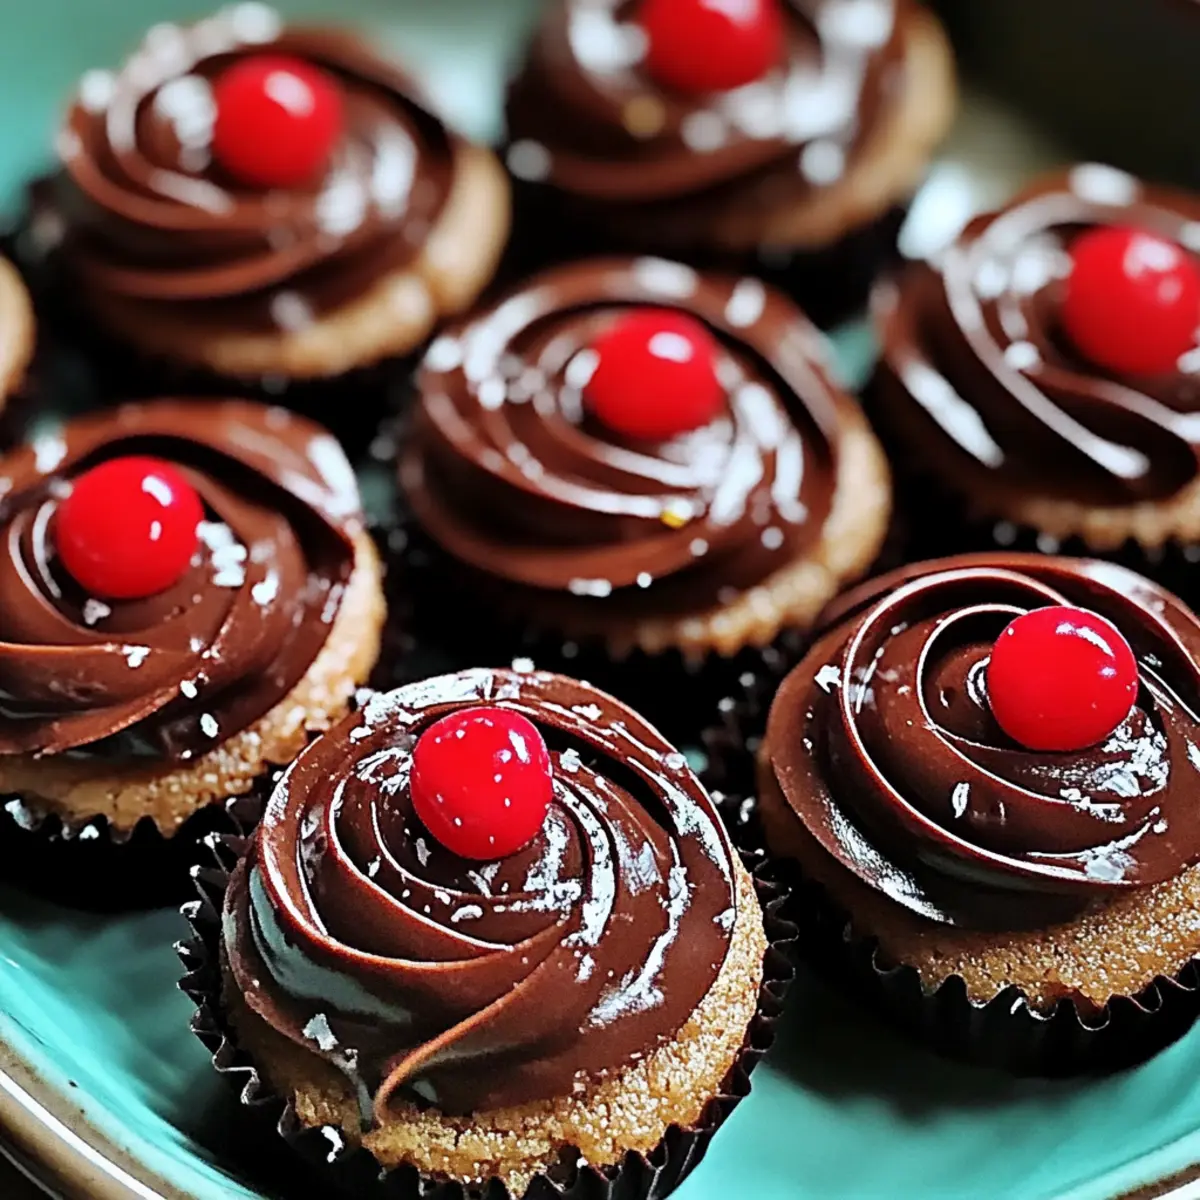
As I carefully drizzled melted chocolate over a batch of freshly baked cookies, a delightful aroma wafted through the kitchen that instantly transported me to my childhood. These Piped Chocolate Butter Cookies are that perfect indulgence—a rich, melt-in-your-mouth treat with customizable flair. The shortbread-like texture pairs wonderfully with the charming piping design, making them a showstopper at any gathering. Ideal for those busy afternoons when you crave something special or as thoughtful gifts sure to impress, these cookies boast the added bonus of quick prep time. Simple yet elegant, they are a joy to eat and even more fun to make! Curious about how to create these irresistible delights? Let’s dive into the recipe!
Why are Piped Chocolate Butter Cookies a must-try?
Irresistible Flavor: These cookies offer a rich chocolate flavor that truly satisfies both cookie lovers and chocolate aficionados.
Quick and Easy: You’ll find that prep time is a breeze, making them perfect for busy bakers who still want to impress.
Customizable Delight: With endless options for toppings, like sprinkles or maraschino cherries, every batch can be uniquely yours.
Perfect for Gifting: Whether for holiday festivities or casual gatherings, these cookies make thoughtful gifts that everyone will adore.
Melt-in-Your-Mouth Texture: Expect a shortbread-like bite that melts beautifully, creating a luxurious treat that’s hard to resist.
Elevate your cookie game and make these Piped Chocolate Butter Cookies today!
Piped Chocolate Butter Cookies Ingredients
For the Cookie Dough
- Unsalted Butter – Provides richness and structure; substitute with dairy-free butter for a dairy-free version.
- Granulated Sugar – Adds sweetness and helps with the structure of the cookies.
- Large Egg – Binds ingredients and adds moisture; ensure it is at room temperature for best results.
- Pure Vanilla Extract – Enhances the chocolate flavor; can be swapped with almond extract for a nutty twist.
- All-Purpose Flour – Forms the base structure; can be replaced with gluten-free flour for a gluten-free option.
- Cocoa Powder – Delivers the chocolate flavor; use either natural or Dutch-process cocoa for great results.
- Salt – Enhances all the flavors; essential for balance in the dough.
- Warm Milk – Helps achieve a creamy, smooth dough; feel free to use dairy-free alternatives.
- Espresso Powder – Intensifies the chocolate flavor; this ingredient can be omitted if not available.
For Dipping & Decoration
- Semi-Sweet Chocolate – For dipping the cookies; dark or milk chocolate are tasty substitutes.
- Maraschino Cherries – An optional decorative topping that adds a pop of color and sweetness.
- Sprinkles/Coarse Sugar – Optional garnish that enhances visual appeal and adds fun texture.
These Piped Chocolate Butter Cookies ingredients will guide you in crafting delightful treats that are sure to satisfy your chocolate cravings!
Step‑by‑Step Instructions for Piped Chocolate Butter Cookies
Step 1: Prepare Workspace
Begin by clearing and organizing your workspace, ensuring you have a baking sheet that fits in the refrigerator ready for cooling the piped cookies later. Line the baking sheet with parchment paper, which will prevent the cookies from sticking, making cleanup a breeze.
Step 2: Mix Ends
In a large mixer bowl, add the unsalted butter and beat it until it’s creamy and smooth, approximately 2-3 minutes. Gradually add granulated sugar, creaming them together until light and fluffy, then incorporate a room-temperature egg and pure vanilla extract until fully mixed.
Step 3: Dry Ingredients
Next, sift together the all-purpose flour, cocoa powder, and salt in a separate bowl. Gradually add this dry mixture to the wet ingredients in your mixer on low speed, then increase to medium speed until the dough is fully combined and has a consistent texture, about 1-2 minutes.
Step 4: Incorporate Liquid
In a small bowl, warm the milk until just steaming, then dissolve the espresso powder into it. Gradually pour this liquid mixture into the cookie dough, mixing until the dough becomes creamy and smooth, ensuring no lumps remain for your Piped Chocolate Butter Cookies.
Step 5: Pipe Cookies
Prepare a piping bag fitted with a large star tip. Spoon the dough into the bag and pipe decorative swirls onto the lined baking sheets, spacing them about 1-2 inches apart. For an extra touch, consider placing maraschino cherries or sprinkles on top of each cookie before they chill.
Step 6: Chill
Transfer the piped cookies into the refrigerator and chill for 20-30 minutes. Chilling is crucial for these Piped Chocolate Butter Cookies to maintain their shape while baking, preventing overspreading and ensuring a beautiful presentation.
Step 7: Bake
Preheat your oven to 350°F (177°C). Once preheated, bake the chilled cookies for 12-15 minutes or until the edges are set and lightly golden. Keep an eye on them, as you want a soft center with a slight firmness around the edges for the perfect texture.
Step 8: Cool and Dip
After baking, allow the cookies to cool on the baking sheets for about 5 minutes before transferring them to wire racks to cool completely. Meanwhile, melt the semi-sweet chocolate in a microwave-safe bowl or over a double boiler, then dip the cooled cookies as desired for a delicious finish.

Piped Chocolate Butter Cookies Variations
Feel free to let your creativity shine as you customize these delightful cookies to suit your taste and occasion!
- Dairy-Free: Substitute unsalted butter with dairy-free butter and use plant-based milk to create a deliciously rich dairy-free version.
- Nutty Delight: Incorporate chopped nuts like walnuts or pecans into the dough for a delightful crunch that complements the buttery texture beautifully.
Mixing in nuts not only enriches the flavor but also accentuates the cookies’ rustic charm. - White Chocolate Twist: Replace cocoa powder with white chocolate and omit the chocolate dip for a sweet, creamy version that feels like a celebration in each bite.
- Choco-Coconut: Add toasted coconut flakes into the cookie dough for a tropical twist that harmonizes deliciously with the chocolate.
The warm notes of coconut bring a delightful aroma that will remind you of sun-kissed days. - Spicy Kick: Sprinkle in a dash of cinnamon or cayenne pepper for an unexpected warmth that will surprise your taste buds in the best way.
The balance of sweetness and spice will elevate your cookie experience to new heights! - Flavor Infusion: Try swapping vanilla extract for almond extract to provide a nutty flavor that pairs beautifully with chocolate.
Your friends and family may just think you’ve discovered a bakery secret! - Decorative Choices: Use a variety of colored sprinkles or candy toppings to tailor them to different holidays or celebrations, adding festivity and fun to every batch.
Your cookies will not only taste good but also look irresistible on the dessert table! - Espresso Boost: Add a little extra espresso powder for an even richer coffee flavor, making these cookies perfect for coffee lovers.
It’s like a cheerful hug in cookie form—perfect alongside your favorite morning brew!
Whether you’re in the mood for a classic treat or an adventurous flavor experience, these variations ensure your Piped Chocolate Butter Cookies are anything but ordinary. Enjoy experimenting with these fun twists, and be sure to check out more delicious ideas like the Double Chocolate Chip and Cowboy Butter Chicken recipes to inspire your culinary journey!
How to Store and Freeze Piped Chocolate Butter Cookies
Room Temperature: Store your cookies in an airtight container at room temperature for up to 4 days. Keep them in a cool, dry space to maintain their delicious texture.
Fridge: If you prefer, you can refrigerate the cookies, where they will stay fresh for up to 1 week. Remember to separate layers with parchment paper to prevent sticking.
Freezer: For longer storage, freeze the un-dipped cookies in a single layer on a baking sheet. Once solid, transfer them to an airtight container or freezer bag and store for up to 3 months.
Reheating: When ready to enjoy, thaw cookies in the fridge overnight, then dip in melted chocolate if desired. This keeps your Piped Chocolate Butter Cookies tasting fresh!
Expert Tips for Piped Chocolate Butter Cookies
-
Chilling is Key: Always chill the piped cookies before baking. This crucial step helps them maintain shape and prevents overspreading while baking.
-
Perfect Piping: Use a large piping tip for consistent swirls. A larger opening makes the piping easier, ensuring your cookies look as beautiful as they taste.
-
Room Temperature Ingredients: Ensure your eggs and butter are at room temperature for better incorporation. Cold ingredients can lead to a dense texture in your Piped Chocolate Butter Cookies.
-
Measuring Flour: Spoon and level your flour when measuring to avoid packing it down, which can result in dry cookies. Accurate measurements lead to a soft, melt-in-your-mouth texture.
-
Dipping Techniques: When dipping the cookies in chocolate, let the excess drip off before placing them on wax paper. This prevents messy chocolate pools and gives a cleaner finish.
Make Ahead Options
These Piped Chocolate Butter Cookies are perfect for busy home cooks looking to save time! You can prepare the cookie dough up to 24 hours in advance and refrigerate it. Simply mix all the ingredients and store the dough in an airtight container. When you’re ready to bake, pipe the chilled dough onto the baking sheets and chill again for 20-30 minutes to maintain their charming shape. If you prefer, you can also freeze the piped cookies without toppings for up to 3 months. Just remember to thaw them in the refrigerator before baking, and dip them in melted chocolate right before serving for a fresh and delicious treat!
What to Serve with Piped Chocolate Butter Cookies?
Indulging in these rich, melt-in-your-mouth treats creates the perfect opportunity to elevate your dessert experience.
-
Fresh Berries: The tartness of strawberries or raspberries complements the chocolateiness, creating a delightful contrast in flavors.
-
Whipped Cream: A dollop of freshly whipped cream adds a light, airy element that balances the richness of the cookies. Perfect for creating an elegant dessert plate!
-
Espresso: Pairing these cookies with a shot of espresso enhances the chocolate flavor, adding a bold kick that every coffee lover will appreciate.
-
Vanilla Ice Cream: The creaminess of vanilla ice cream against the chocolatey cookies creates a delightful combination that’s sure to please all ages.
-
Chocolate Sauce: Drizzle warm chocolate sauce on top for an indulgent touch, turning your cookie serving into an irresistible chocolate lover’s paradise.
-
Hot Chocolate: Enjoying these cookies with a cup of hot chocolate creates a cozy experience that warms the heart, especially on chilly days.
-
Milk: A classic pairing, serving with a glass of cold milk elevates the comforting nature of these cookies, making every bite a nostalgic delight.
These pairings will not only enhance your enjoyment of the Piped Chocolate Butter Cookies but also create a memorable treat that delights family and friends!
Piped Chocolate Butter Cookies Recipe FAQs
How do I select the best ingredients for my cookies?
Absolutely! Start with fresh unsalted butter, as it provides the richest flavor. Make sure your eggs are at room temperature for smooth incorporation, and opt for pure vanilla extract for the best aroma. If you’re choosing cocoa powder, both natural and Dutch-process work wonders, but pick according to your taste preference—Dutch cocoa will give a richer flavor!
What’s the best way to store my Piped Chocolate Butter Cookies?
To keep your cookies fresh, store them in an airtight container at room temperature for up to 4 days. If you live in a humid environment, refrigeration is a good option where they can stay fresh for up to 1 week. Just remember to separate layers with parchment paper to prevent sticking!
Can I freeze Piped Chocolate Butter Cookies?
Yes, indeed! To freeze, place your un-dipped cookies in a single layer on a baking sheet and freeze them until solid, about 1-2 hours. Transfer them to an airtight container or freezer bag and store for up to 3 months. When you’re ready to enjoy, simply let them thaw in the fridge overnight, then dip them in chocolate for a fresh treat!
What should I do if my cookie dough is too soft to pipe?
No worries! If your cookie dough feels too soft, that can happen if the butter was overly softened or if it’s warm in your kitchen. Just pop the dough into the fridge for about 15 minutes to firm it up. Chilling helps make piping easier and ensures your cookies maintain their shape during baking.
Are these cookies suitable for those with dietary restrictions?
These Piped Chocolate Butter Cookies are very customizable! You can easily swap out the butter for a dairy-free alternative to cater to those avoiding dairy. Additionally, use gluten-free flour for a gluten-free version. Be sure to check the chocolate you choose for any allergies if you’re gifting them!
How can I enhance the chocolate flavor in my cookies?
To intensify the chocolate flavor of your Piped Chocolate Butter Cookies, include espresso powder in the dough, as it really elevates the cocoa taste. If you’re feeling adventurous, try adding chocolate chips to the dough for extra richness, or top the cookies with finely chopped dark chocolate to make them even more indulgent!

Irresistibly Soft Piped Chocolate Butter Cookies to Savor
Ingredients
Equipment
Method
- Prepare Workspace: Clear and organize your workspace. Line a baking sheet with parchment paper.
- Mix Ends: In a large mixer bowl, beat the unsalted butter until creamy. Gradually add sugar, creaming until fluffy. Incorporate the egg and vanilla until fully mixed.
- Dry Ingredients: Sift together flour, cocoa powder, and salt. Gradually add this mixture to the wet ingredients, mixing until fully combined.
- Incorporate Liquid: Warm the milk, dissolve espresso powder, and gradually pour this into the dough, mixing until creamy.
- Pipe Cookies: Prepare a piping bag with a large star tip. Pipe swirls onto the baking sheets, adding cherries or sprinkles if desired.
- Chill: Transfer cookies to the refrigerator and chill for 20-30 minutes.
- Bake: Preheat oven to 350°F (177°C). Bake cookies for 12-15 minutes until edges are set.
- Cool and Dip: Allow to cool on sheets for 5 minutes, then dip in melted chocolate.
Leave a Reply