
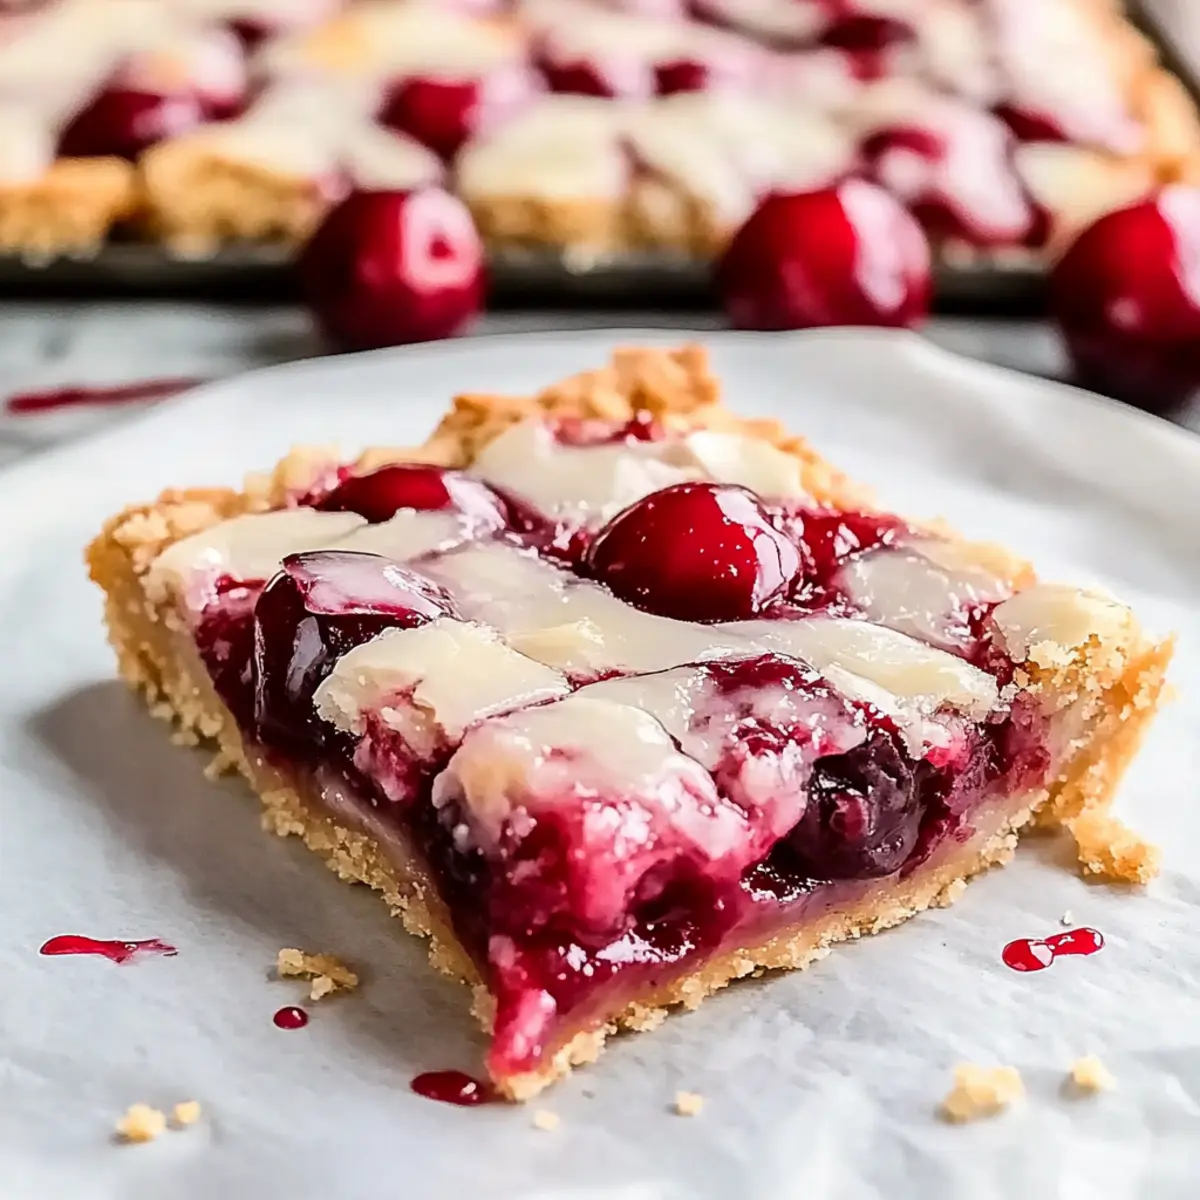
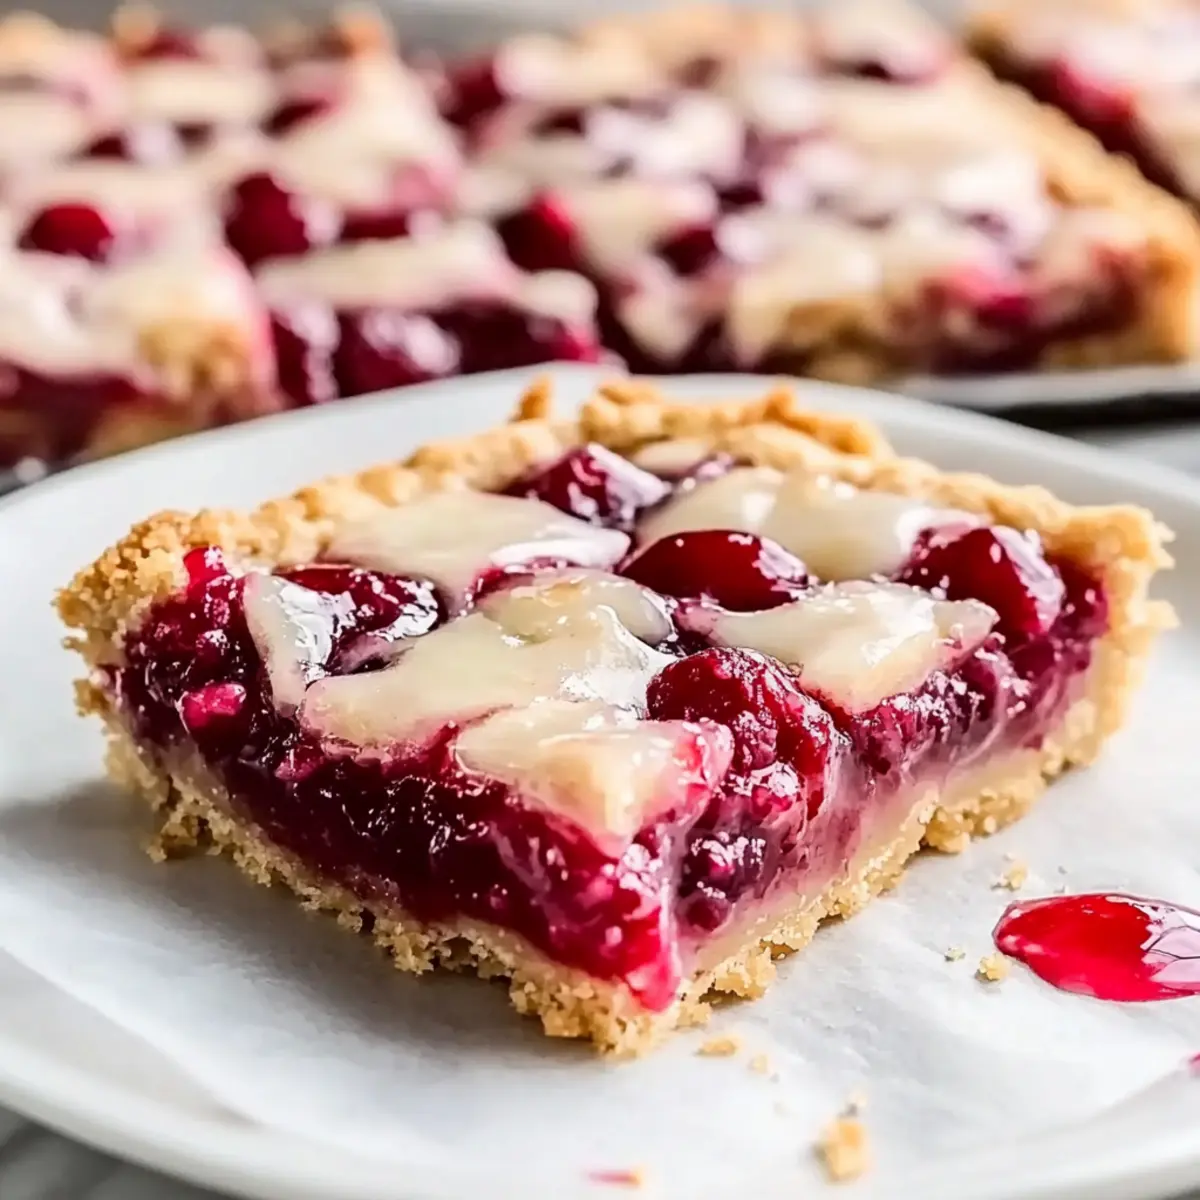
Every bite of these Easy Cherry Pie Bars brings me back to family gatherings filled with laughter and the sweet aroma of baked treats wafting through the air. With a rich, buttery crust that’s both crumbly and soft, paired with a luscious cherry filling, these bars are not just a modern twist on the classic cherry pie; they’re a celebration of nostalgia. What I love most about these bars is how incredibly easy they are to whip up, making them a crowd-pleaser for parties or just a simple dessert at home. Plus, they’re freezer-friendly, so you can always have a delicious sweet treat on hand whenever the craving strikes! Are you ready to impress your loved ones with this delightful recipe?
Why Are Cherry Pie Bars a Must-Try?
Unforgettable Flavor: The sweet cherry filling combined with the buttery crust offers a taste that echoes classic desserts but in a fun, portable form.
Ease of Preparation: With simple ingredients and straightforward steps, even novice bakers can achieve success.
Freezer-Friendly: Make a batch ahead of time and enjoy them at your convenience—perfect for unexpected guests or cozy nights!
Versatile Options: Feel free to swap in your favorite pie filling. Whether you choose Pecan Shortbread Bars or the delightful Pumpkin Pie Tacos, options abound for sweet variations!
Crowd-Pleaser: These bars are perfect for gatherings, ensuring compliments and satisfied smiles at every event. Whether it’s a family reunion or a casual get-together, they are sure to disappear quickly!
Cherry Pie Bars Ingredients
For the Crust
• All-Purpose Flour – Provides essential structure for the crust; you can use almond flour for a gluten-free version.
• Granulated Sugar – Adds just the right amount of sweetness to the crust and glaze.
• Cornstarch – Contributes to a tender texture in the crust, creating that perfect melt-in-your-mouth experience.
• Baking Powder – Acts as a leavening agent to keep the bars light; make sure it’s fresh for the best results.
• Salt – Enhances the overall flavor; you can reduce if you’re using salted butter.
• Unsalted Butter – Essential for richness and moisture in the crust; you can substitute with salted butter if needed.
• Egg – Binds the crust ingredients together; use one for a firmer texture or four for a softer bar.
For the Filling
• Cherry Pie Filling – The star of the show; you can substitute with other pie fillings like apple or raspberry for a twist.
For the Glaze
• Powdered Sugar – Sweetens up the glaze perfectly; no substitutions are recommended.
• Vanilla Extract – Adds depth and complexity to the flavor; you can replace it with all vanilla if you prefer.
• Almond Extract – Enhances the flavor profile; feel free to omit for a basic vanilla glaze.
• Milk – Adjusts the consistency of the glaze; use any milk desired or a non-dairy alternative.
These Cherry Pie Bars are not only simple to prepare but also make for a delightful dessert that your friends and family will love!
Step‑by‑Step Instructions for Cherry Pie Bars
Step 1: Prep the Pan
Preheat your oven to 350°F (175°C) and prepare a 9×13-inch baking pan. Start by greasing the pan with butter or cooking spray, then line it with parchment paper for easy removal. This ensures that your Cherry Pie Bars come out smoothly and beautifully after baking!
Step 2: Make the Dough
In a large mixing bowl, whisk together the all-purpose flour, granulated sugar, cornstarch, baking powder, and salt until evenly combined. Using a pastry cutter or fork, cut in the cold unsalted butter until the mixture resembles coarse crumbs. Then add in your egg, mixing just until combined for the perfect crust texture.
Step 3: Assemble and Bake
Spread about two-thirds of the dough mixture evenly into the prepared pan, pressing it down firmly to create a solid base for your Cherry Pie Bars. Bake this crust in the preheated oven for 8-10 minutes, until slightly set. Once done, remove the pan from the oven and carefully spread the cherry pie filling over the baked crust, topping it with the remaining crumble mixture.
Step 4: Final Bake
Return the pan to the oven and bake for an additional 20-25 minutes, watching closely until the top is golden brown and bubbly. The aroma of the baking Cherry Pie Bars will fill your kitchen, heightening the excitement for the delicious treat that awaits!
Step 5: Cool
Once baked, remove the pan from the oven and allow the bars to cool in the pan on a wire rack for at least 30 minutes. This cooling process is essential, as it helps the bars set properly and achieve their ideal texture for cutting.
Step 6: Make Glaze
While the Cherry Pie Bars are cooling, prepare the sweet glaze. In a medium bowl, whisk together the powdered sugar, vanilla extract, almond extract, and milk until smooth and glossy. Adjust the consistency as needed by adding more milk for a thinner glaze or more powdered sugar for a thicker drizzle.
Step 7: Serve
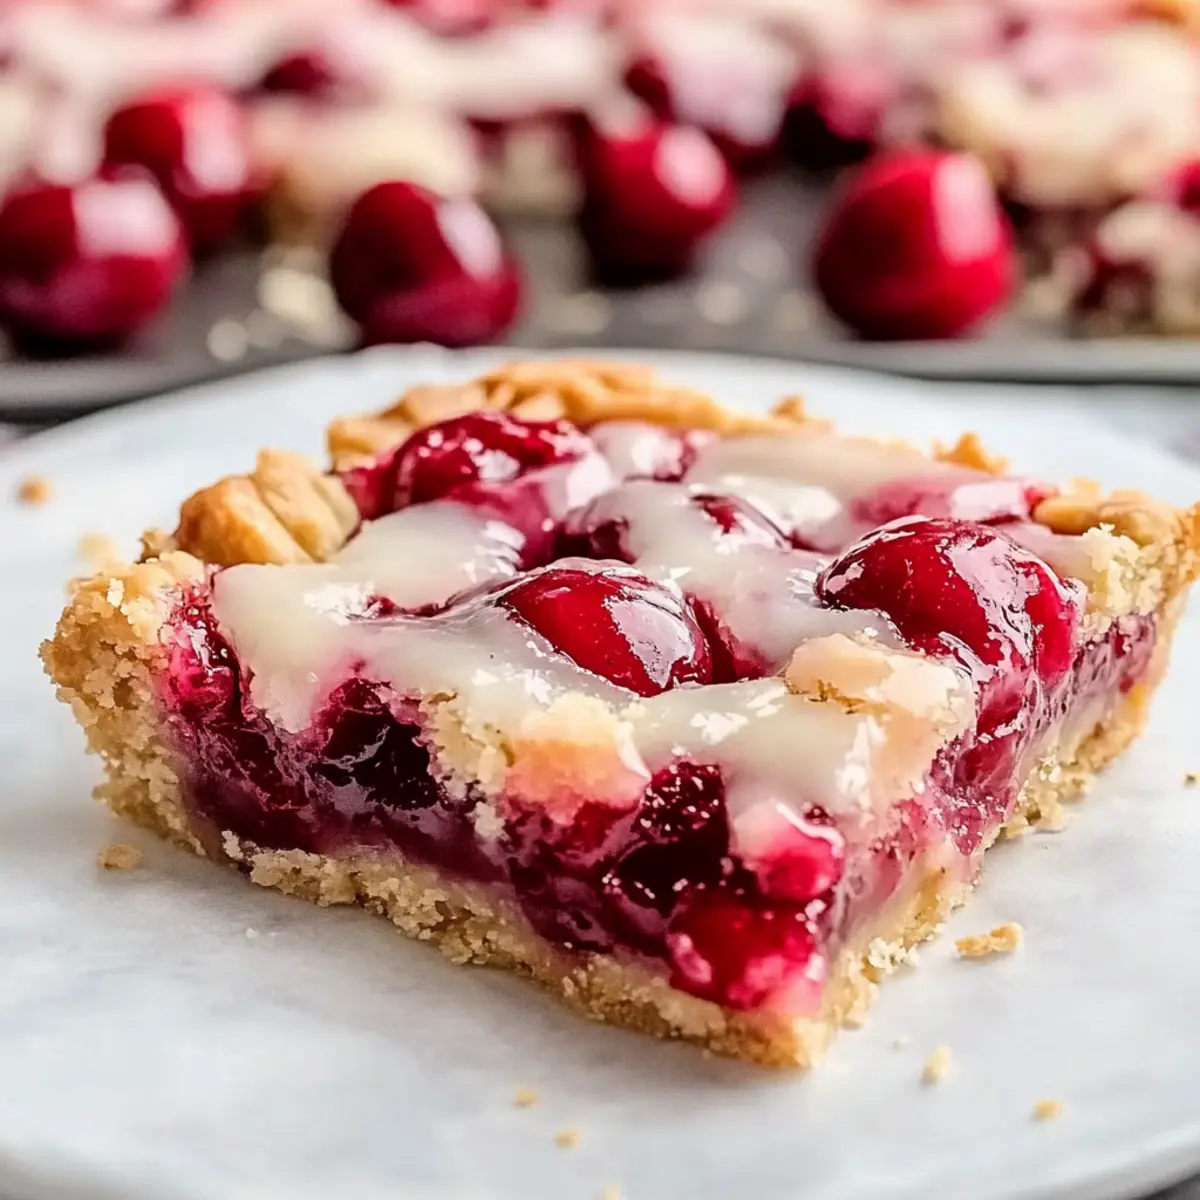
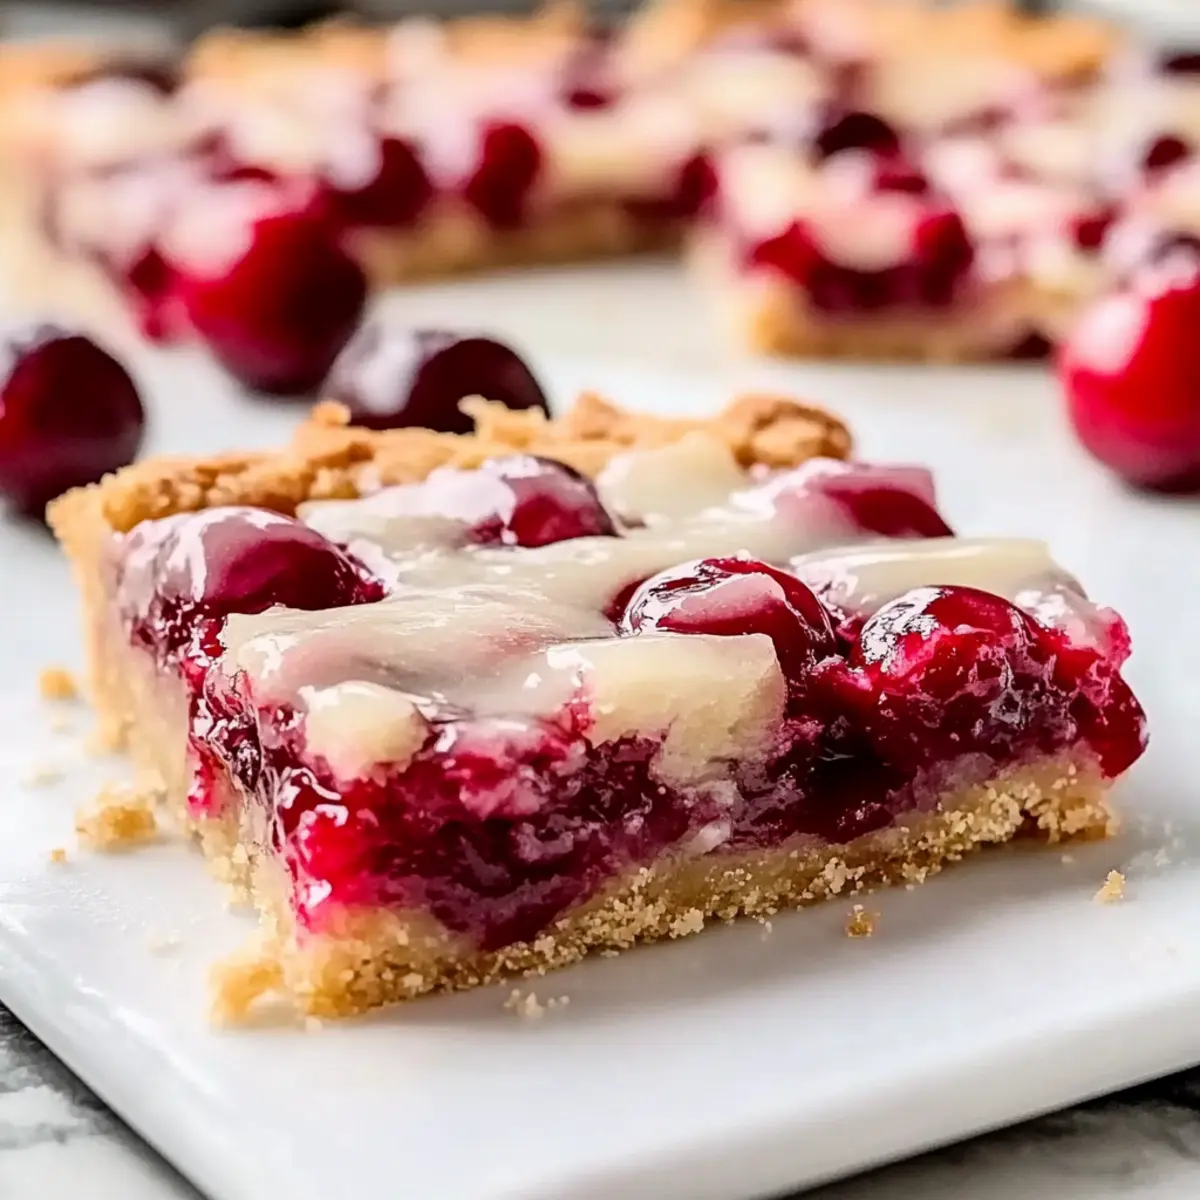
After the Cherry Pie Bars have completely cooled, cut them into squares and drizzle the glaze over the top. This finishing touch adds a delightful sweetness that enhances the cherry filling. Now, they’re ready to be enjoyed—whether at a gathering or as a sweet treat at home!
Cherry Pie Bars Variations & Substitutions
Customize your Cherry Pie Bars to match your taste and dietary preferences, and let your creativity shine!
- Gluten-Free: Swap all-purpose flour for almond flour or a gluten-free blend for a different texture.
- Berry Bliss: Replace cherry filling with mixed berry filling, such as blueberry or raspberry, to change the flavor profile completely.
- Spice It Up: Add 1 teaspoon of cinnamon to the crust for a warm, spiced flavor that dances on your palate.
- Nutty Twist: Stir in finely chopped nuts like walnuts or pecans into the crust for added crunch and richness.
- Lemon Zest: Enhance the glaze by incorporating lemon zest for a bright, citrusy kick that contrasts beautifully with the sweetness of the cherry filling.
- Extra Decadent: Top the bars with a dollop of whipped cream or a scoop of vanilla ice cream for an extra layer of indulgence.
- Lower Sugar: Replace granulated sugar in the crust with natural sweeteners like honey or maple syrup to suit your preference.
- Almond-Free: Omit the almond extract in the glaze if you want a pure vanilla flavor or if you have nut allergies. You can also use half vanilla.
With these ideas, you can easily create variations of your easy Cherry Pie Bars that cater to different tastes, just like how creative you can get with Pecan Shortbread Bars or the seasonal goodness of Pumpkin Pie Comfort! Enjoy experimenting!
Make Ahead Options
These Easy Cherry Pie Bars are perfect for meal prep enthusiasts! You can prepare the crust up to 24 hours in advance by mixing the dough and refrigerating it tightly wrapped. For an even easier approach, you can also bake the crust and let it cool, then store it in the fridge for up to 3 days. The cherry pie filling can be added right before baking to maintain optimal flavor and freshness. To serve, simply drizzle the prepared glaze over cooled bars after baking, and you’ll have delicious, homemade Cherry Pie Bars ready to impress your loved ones with minimal effort!
How to Store and Freeze Cherry Pie Bars
Room Temperature: Store the bars in an airtight container at room temperature for up to 2 days. If your kitchen is warm, refrigeration is recommended to maintain freshness.
Fridge: Keep the Cherry Pie Bars in the refrigerator for up to 5 days in an airtight container. This helps preserve their taste and texture.
Freezer: For longer storage, freeze the bars for up to 3 months. Cut them into squares, wrap them individually in plastic wrap, and place them in a freezer-safe bag.
Thawing: When ready to enjoy, thaw the cherry pie bars overnight in the refrigerator. This will ensure they remain delicious and ready to serve at room temperature!
Expert Tips for Cherry Pie Bars
-
Chill the Butter: Use cold butter to achieve a crumbly and flaky texture in your crust. This helps avoid a dense bar.
-
Don’t Overmix: Mix the dough just until combined. Overmixing can lead to tough bars, defeating the purpose of these easy Cherry Pie Bars.
-
Proper Cooling: Allow the bars to cool fully before cutting, as this helps them hold their shape for cleaner slices and a better texture.
-
Glaze Consistency: Adjust the glaze thickness to your liking. A thinner glaze can soak into the bars, while a thicker one provides a nice drizzle.
-
Freezing Options: These bars are freezer-friendly! Cut and freeze individually, wrapped tightly for a quick treat anytime the craving hits.
What to Serve with Easy Cherry Pie Bars
Indulging in these delightful cherry pie bars is only the beginning—let’s elevate your dessert experience with fabulous accompaniments!
-
Dollop of Whipped Cream: Adds a light and airy counterpoint to the sweet cherry filling, enhancing every bite.
-
Scoop of Vanilla Ice Cream: The creamy, chilled vanilla ice cream beautifully contrasts the warm, fruity bars, creating pure bliss.
-
Fresh Berries: A handful of raspberries or blueberries on the side adds a pop of freshness and vibrant color to your plate.
-
Coffee or Tea: A warm cup of coffee or a fragrant herbal tea complements the sweetness, offering a comforting finish to your meal.
Treat your family or guests to a spread that focuses on comfort and joy. With each addition, you’re curating a delightful experience that goes beyond just dessert!
-
Chocolate Drizzle: For chocolate lovers, a gentle drizzle of melted chocolate elevates the flavor profile and adds a touch of elegance.
-
Nutty Granola: A sprinkle of granola on top provides a pleasing crunch, balancing the soft texture of the bars with tasty roasted flavors.
Cherry Pie Bars Recipe FAQs
What type of cherries should I use for the filling?
Absolutely! You can use canned cherry pie filling, fresh pitted cherries, or frozen cherries. If using fresh or frozen, consider adding a bit of sugar, cornstarch, and lemon juice to enhance the flavor and thicken the filling.
How should I store my Cherry Pie Bars?
For best results, store your Cherry Pie Bars in an airtight container in the refrigerator for up to 5 days. If you want to keep them longer, consider freezing them.
Can I freeze Cherry Pie Bars?
Yes! To freeze, cut the bars into individual squares and wrap them tightly in plastic wrap. Place them in a freezer-safe bag or container, and they’ll keep well for up to 3 months. When you’re ready to enjoy, simply thaw them overnight in the refrigerator.
What do I do if my crust is too crumbly?
If the crust is too crumbly, it’s usually due to either overmixing or too much flour. Try to gently work the ingredients together, and if necessary, add a splash of milk or an extra egg yolk to bind it together. Remember to keep that dough slightly crumbled for a great texture!
Are these Cherry Pie Bars suitable for gluten-free diets?
Yes, you can make these Cherry Pie Bars gluten-free by substituting all-purpose flour with almond flour or a gluten-free flour blend. Just be mindful that the flavor and texture may differ slightly, but they can still be delicious!
Can pets eat Cherry Pie Bars?
It’s best not to share these Cherry Pie Bars with your pets. They contain sugar, and certain ingredients like almond extract may not be suitable for them. It’s always wise to stick to pet-safe treats for your furry friends!
Irresistibly Easy Cherry Pie Bars for Your Next Gathering
Ingredients
Equipment
Method
- Preheat your oven to 350°F (175°C) and prepare a 9×13-inch baking pan by greasing it with butter or cooking spray and lining it with parchment paper.
- In a large mixing bowl, whisk together the flour, granulated sugar, cornstarch, baking powder, and salt until combined. Cut in the cold butter until the mixture resembles coarse crumbs, then add the egg and mix until just combined.
- Spread about two-thirds of the dough mixture into the prepared pan, pressing it down to create a base. Bake for 8-10 minutes until slightly set. Once done, spread the cherry pie filling over the baked crust and top with remaining crumble mixture.
- Return to the oven and bake for an additional 20-25 minutes until the top is golden brown and bubbly.
- Remove from oven and cool in the pan on a wire rack for at least 30 minutes.
- Prepare the glaze by whisking together powdered sugar, vanilla extract, almond extract, and milk until smooth. Adjust the consistency as needed.
- Once cooled, cut the bars into squares and drizzle the glaze over the top before serving.
Leave a Reply