
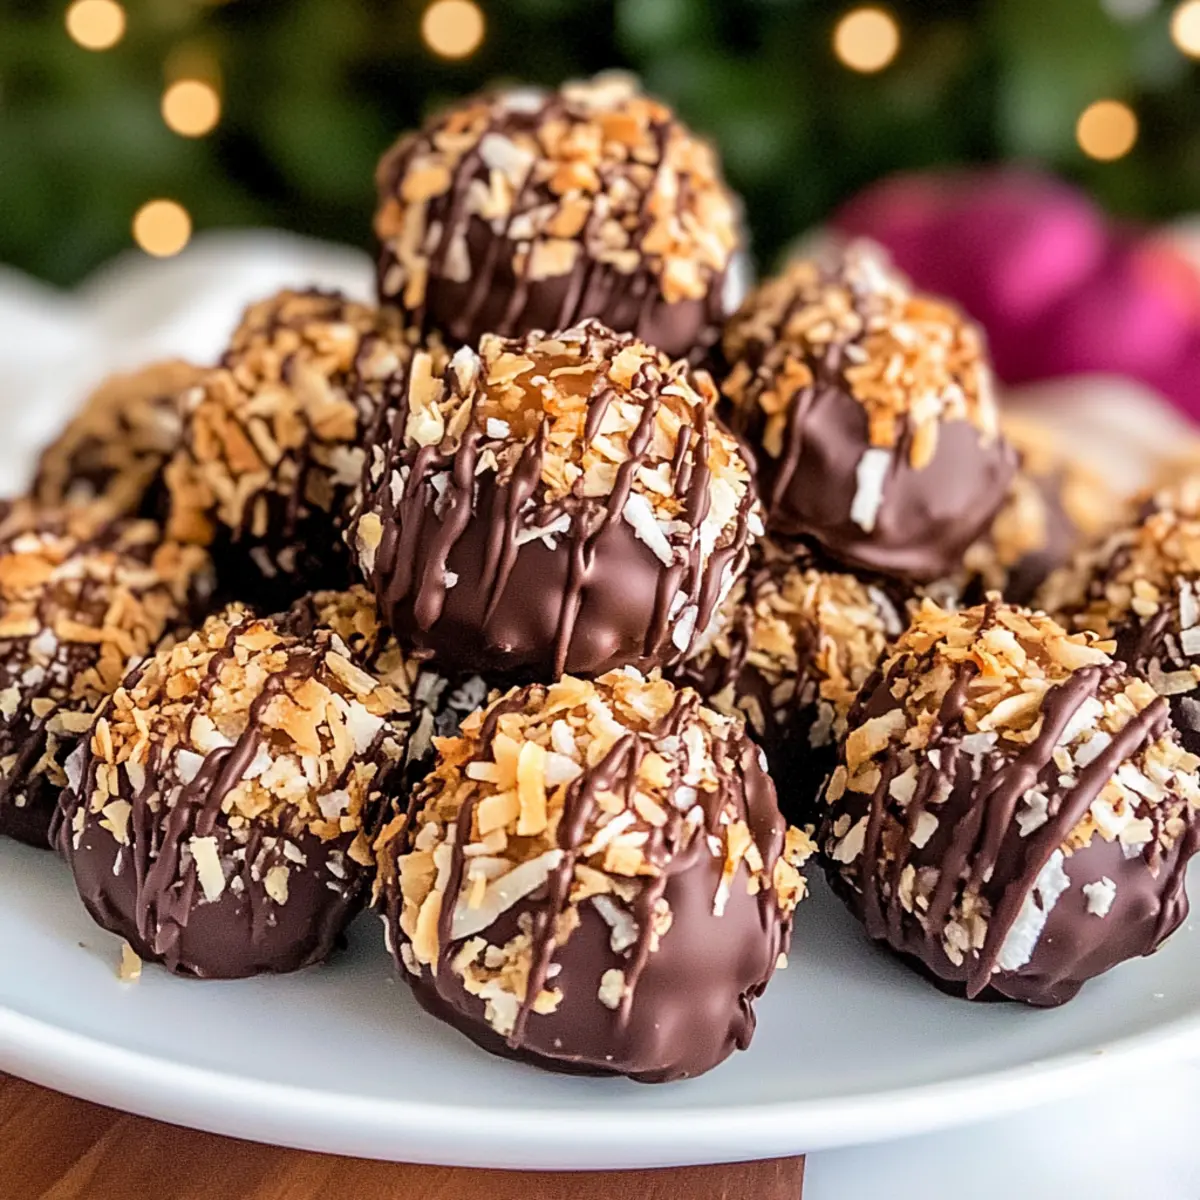
As I sat at my kitchen counter, the sweet aroma of toasted coconut whisked me away to those cherished afternoons of selling Girl Scout cookies. Today, I’m excited to share my take on those beloved flavors with you—Easy No-Bake Samoa Truffles. Combining velvety cream cheese, soft caramel, and a thrilling chocolate coat, these indulgent treats are surprisingly simple to make and are sure to be a hit at your next gathering. The best part? They require no oven and can be whipped up in a flash, making them the ultimate crowd-pleaser or thoughtful homemade gift. So, are you ready to satisfy your sweet tooth and elevate your dessert game? Let’s dive in!
Why are Samoa Truffles a must-try?
Irresistible Flavor Combination: Each bite combines rich chocolate, caramel, and toasted coconut, reminiscent of your favorite Girl Scout cookies.
Quick to Make: With just a few minutes of prep and no baking required, these truffles are perfect for busy schedules.
Homemade Delight: Elevate your dessert game and impress friends and family with these homemade treats that are much tastier than any store-bought option.
Versatile Variations: Explore your creativity! Try White Chocolate Truffles or drizzle them with caramel for a gourmet touch.
Perfect Gift Idea: Their delightful presentation and wholesome ingredients make these truffles an ideal gift for any occasion.
Indulge in the sweet simplicity of Samoa Truffles today!
Samoa Truffles Ingredients
For the Truffle Base
• Keebler Shortbread Cookies – These provide the perfect foundation for your Samoa Truffles; any shortbread cookie will work.
• Cream Cheese – Acts as a binding agent for the crumbs; make sure it’s softened for smooth mixing.
For the Caramel Mixture
• Caramels – Introduce delicious sweetness; feel free to use caramel bits for convenience.
• Heavy Cream – Aids in melting the caramels seamlessly, creating a creamy consistency.
• Coconut Flakes – Gives that signature toasted coconut flavor—don’t forget to lightly toast them first!
For Coating
• Chocolate (Milk or Dark) – Choose your favorite chocolate for coating; it plays a crucial role in the overall flavor of the Samoa Truffles.
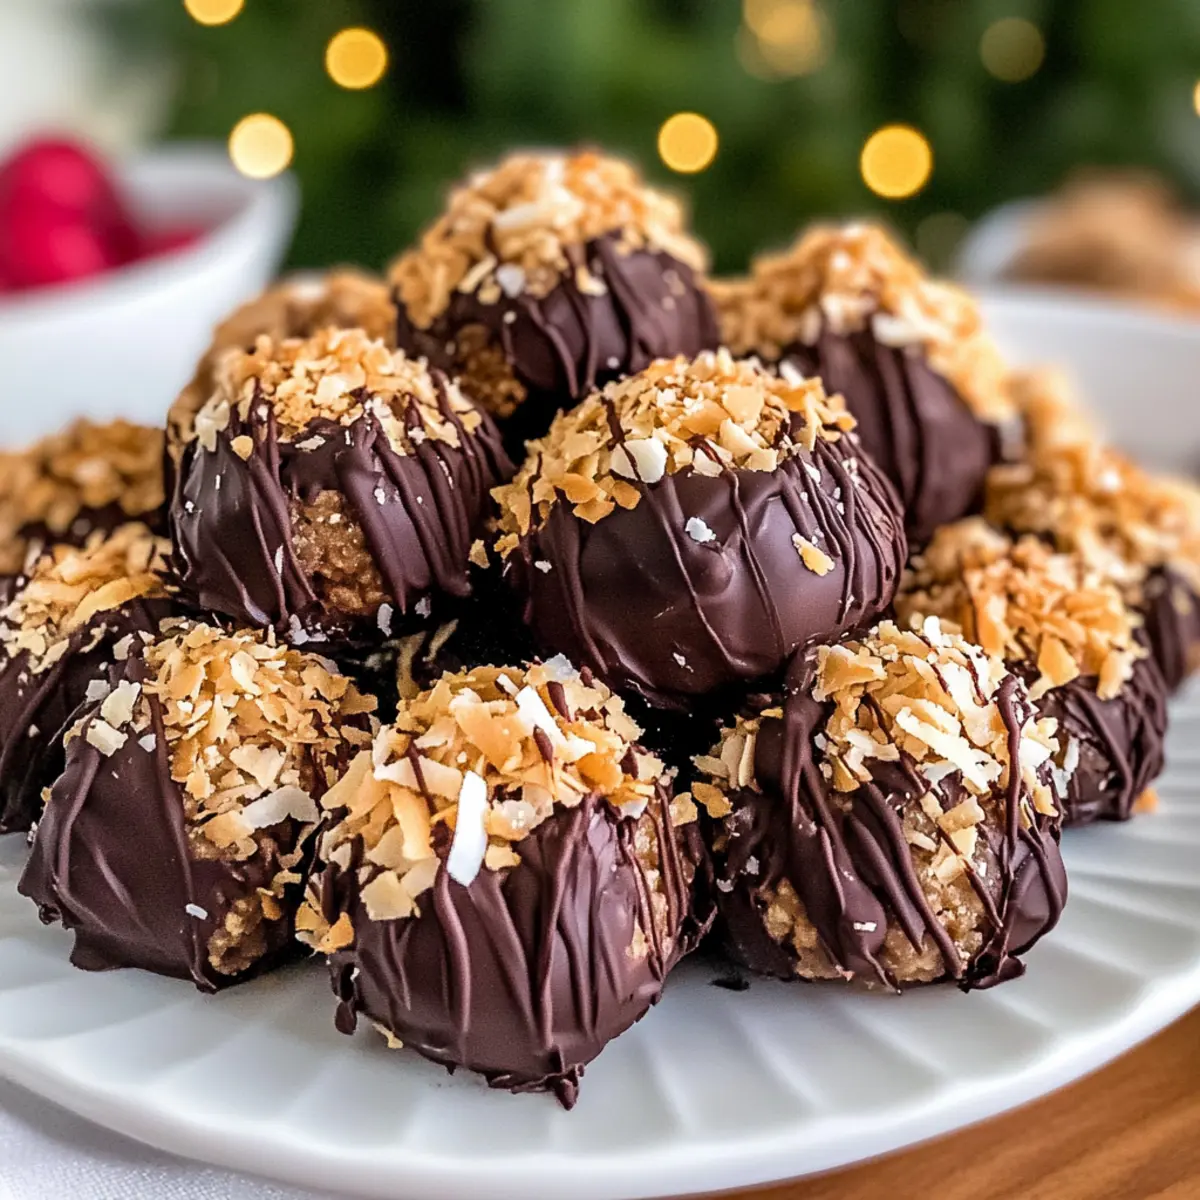
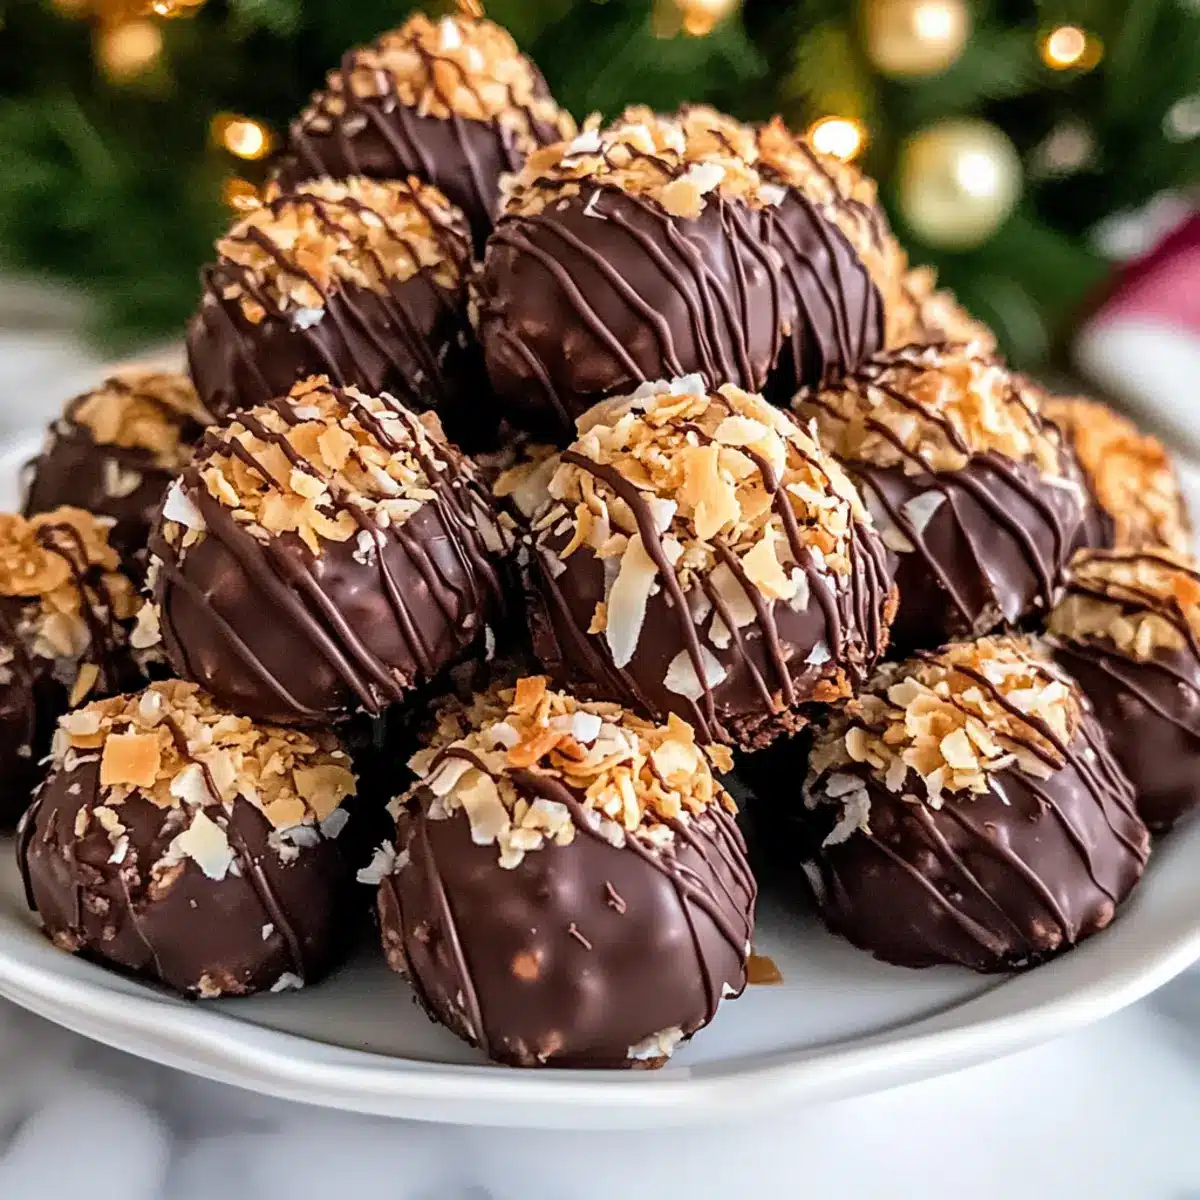
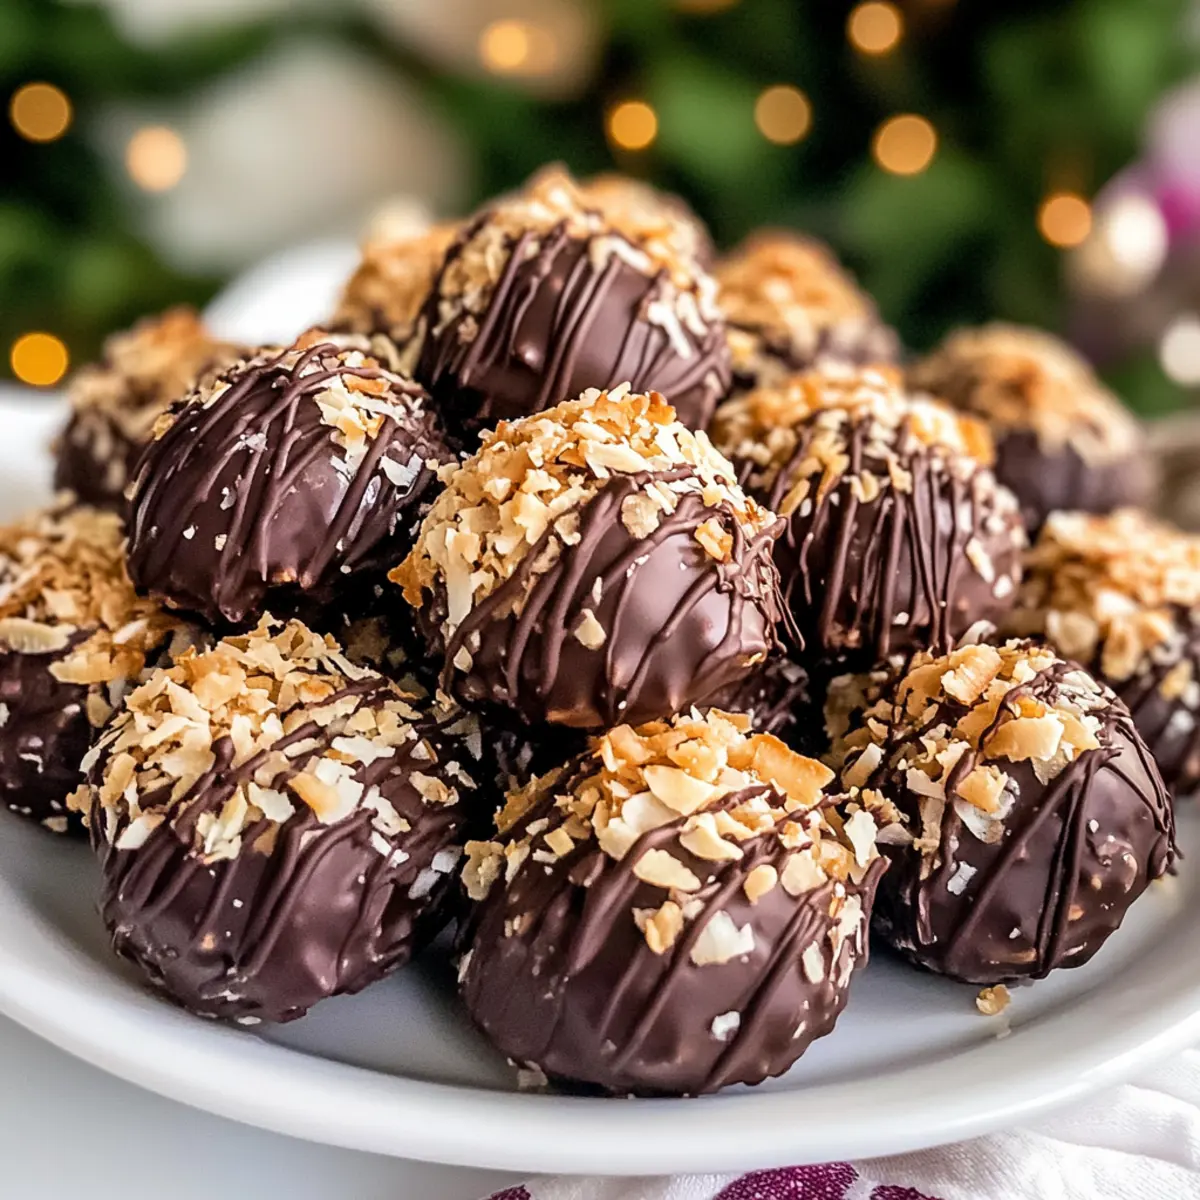
Indulge in the deliciousness of these Samoa Truffles that celebrate all the beloved flavors of your favorite cookies!
Step‑by‑Step Instructions for Samoa Truffles
Step 1: Prepare Dough
Begin by crushing your Keebler shortbread cookies into fine crumbs using a food processor or rolling pin; you’ll need about 2 cups. In a mixing bowl, combine the cookie crumbs with softened cream cheese until a smooth dough forms. This should take about 2-3 minutes of mixing to reach a sticky, cohesive texture.
Step 2: Shape and Freeze
Once the dough for your Samoa Truffles is ready, roll it into balls about 2-3 tablespoons in size. Arrange these dough balls neatly on a parchment-lined baking sheet, ensuring they don’t touch. Place the baking sheet in the freezer for about 30 minutes, or until the truffles are firm to the touch.
Step 3: Toast Coconut
While the dough balls are freezing, heat a skillet over medium heat. Add your coconut flakes and toast them, stirring frequently, until they are golden brown—this should take about 5-7 minutes. Watch closely to avoid burning, then remove the toasted coconut from heat and let it cool completely.
Step 4: Make Caramel Mixture
In a small saucepan over low heat, combine the heavy cream and caramels. Stir continuously until the caramels melt completely and the mixture is smooth, which should take about 3-5 minutes. Once melted, carefully mix in the cooled toasted coconut until thoroughly combined.
Step 5: Coat Truffles
Retrieve the frozen truffle balls and dip each one into the warm caramel-coconut mixture, ensuring they are completely coated. Return the coated truffles to the parchment-lined sheet and set them aside to allow the caramel to cool and firm up for about 10 minutes.
Step 6: Add Chocolate Drizzle
Melt your chosen chocolate (milk or dark) in a microwave-safe bowl, heating in 15-second intervals and stirring in between until smooth. Once melted, use a fork or piping bag to drizzle the chocolate over each caramel-coated truffle. Let the chocolate set for approximately 15-20 minutes at room temperature.
Step 7: Chill and Serve
Finally, place the finished Samoa Truffles in the refrigerator for an additional 15 minutes to fully set. Once the chocolate coating is firm, your truffles are ready to be served! Keep them chilled until it’s time to enjoy these delectable no-bake treats.
Make Ahead Options
These Samoa Truffles are perfect for meal prep enthusiasts! You can prepare the truffle dough and roll it into balls up to 24 hours in advance before freezing them. Simply place the rolled balls on a parchment-lined baking sheet and freeze until solid. The caramel-coconut mixture can also be made and stored in the refrigerator for up to 3 days. Just remember to reheat it gently before coating the truffles to ensure a smooth finish. When you’re ready to serve, drizzle melted chocolate over the chilled truffles for that final touch. With these make-ahead options, you’ll save time and still enjoy delicious, homemade treats that are just as delightful!
Expert Tips for Samoa Truffles
-
Room Temperature Cream Cheese: Ensure your cream cheese is softened to room temperature for easier mixing, resulting in a smoother dough for your Samoa Truffles.
-
Watch the Coconut: Lightly toast your coconut flakes, stirring frequently. Over-toasting can lead to a burnt taste that may overpower the truffles.
-
Warm Caramel Consistency: If your caramel thickens during the coating process, simply add a splash of heavy cream and reheat gently to maintain a workable mixture.
-
Chill for Perfect Texture: After coating, chill the truffles for at least 15 minutes. This step ensures a firm chocolate coating and enhances the flavor melding.
-
Creative Variations: Feel free to experiment with chocolate types! Dark chocolate pairs wonderfully with caramel, while white chocolate adds a sweet contrast to the toasted coconut in your Samoa Truffles.
Samoa Truffles Variations & Substitutions
Feel free to explore these delightful twists on your Samoa Truffles to mold them to your taste and dietary preferences!
-
Dairy-Free: Substitute cream cheese with a vegan alternative and use coconut cream for the caramel mixture to make it dairy-free.
-
Gluten-Free: Opt for gluten-free shortbread cookies to ensure that everyone can enjoy these fabulous truffles without worries.
-
Nutty Twist: Add a handful of crushed nuts like walnuts or pecans to the truffle base for an extra crunch and flavor boost.
-
Extra Chocolate: Instead of drizzling with plain chocolate, try using flavored chocolate like espresso or mint for a unique kick.
-
Spicy Kick: Incorporate a pinch of cayenne pepper into the caramel mixture for a surprising kick that pairs beautifully with the sweetness.
-
Gourmet Toppings: Elevate the presentation by rolling the truffles in shredded coconut or crushed graham crackers, reminiscent of Samoa cookies, or try a sprinkle of edible gold for a festive touch.
-
Flavor Infusion: Before mixing the caramel and coconut, add a splash of vanilla extract or a hint of rum for depth within the flavor profile.
-
For Future Ideas: If you’re feeling adventurous, try different variations of truffles altogether! These White Chocolate Truffles are another fantastic way to shake things up. Why not experiment with several combinations for your next gathering?
Each of these variations can bring something special to your Samoa Truffles, letting you tailor this delightful treat to your taste!
Storage Tips for Samoa Truffles
-
Fridge: Store your Samoa Truffles in an airtight container layered between parchment paper for up to 2 weeks. This keeps them fresh and maintains their delightful texture.
-
Freezer: For longer storage, place them in an airtight container or a freezer bag with the air removed. They can last up to 3 months and can be thawed in the fridge overnight or at room temperature for a quick treat.
-
Reheating: Enjoy straight from the fridge or let them sit at room temperature for a few minutes for the perfect texture before indulging in these delicious Samoa Truffles.
What to Serve with Samoa Truffles?
Elevate your dessert experience with delightful accompaniments that complement the sweet, indulgent flavors of these truffles.
- Fresh Berries: Juicy raspberries or strawberries brighten up the plate and cut through the sweetness with their tangy flavor.
- Coffee or Espresso: A rich cup of coffee balances the sweetness of the truffles perfectly, creating a cozy and delightful pairing.
- Whipped Cream: A dollop of lightly sweetened whipped cream adds a fluffy, creamy texture that enhances each truffle’s richness.
- Chocolate Fondue: For a fun twist, serve with a chocolate fondue where guests can dip fruit or pretzels for a chocolate adventure.
- Vanilla Ice Cream: Creamy vanilla ice cream provides a soothing contrast, making each bite a blissful experience fulfilled by coolness.
- Salted Caramel Sauce: Drizzle some extra caramel sauce for an indulgent touch; the salty-sweet combination elevates the truffle experience.
- Mint Tea: A refreshing cup of mint tea cleanses the palate and prepares you for another sweet bite, harmonizing with the coconut notes.
- Chocolate Stout: For an adult twist, serve these truffles with a rich chocolate stout beer that complements the flavors beautifully.
- Coconut Milkshake: A creamy coconut milkshake echoes the truffle’s flavors while adding a fun, tropical vibe to your dessert table.
Samoa Truffles Recipe FAQs
What type of shortbread cookies can I use for Samoa Truffles?
Absolutely! While Keebler shortbread cookies provide the perfect base, any shortbread cookies will work just fine. The key is to ensure they are finely crushed, yielding approximately 2 cups of crumbs, to create a delicious foundation for your truffles.
How long do Samoa Truffles last in the fridge?
Very! When stored in an airtight container layered with parchment paper, your Samoa Truffles will remain fresh for up to 2 weeks. Just remember to let them soften at room temperature for the ideal texture before serving.
Can I freeze Samoa Truffles? How do I do it safely?
You bet! To freeze the truffles, place them in an airtight container or a freezer bag, removing as much air as possible. They can last up to 3 months in the freezer. When you’re ready to enjoy them, simply thaw in the fridge overnight or let them sit at room temperature until soft.
What should I do if my caramel mixture thickens while coating the truffles?
No worries at all! If you find that your caramel mixture has thickened during the coating process, just add a splash of heavy cream and gently reheat over low heat, stirring until it reaches a smooth consistency again. This ensures your truffles get that delicious caramel coating without any hassle.
Are there any dietary considerations for Samoa Truffles?
Absolutely! If you’re concerned about allergies, keep in mind that these truffles contain dairy (cream cheese, heavy cream, and chocolate) and gluten (shortbread), which may not be suitable for those with gluten sensitivities. For a dairy-free option, you can use vegan cream cheese and dairy-free chocolate.
What’s the best way to toast coconut flakes for my Samoa Truffles?
To toast coconut flakes perfectly, heat a skillet over medium heat and add the flakes, stirring frequently. This should take about 5-7 minutes, or until they are golden brown. Keep an eye on them to prevent burning, and once toasted, let them cool before mixing with the caramel. Happy cooking!
Samoa Truffles: No-Bake Bliss with Chewy Coconut Delight
Ingredients
Equipment
Method
- Begin by crushing your Keebler shortbread cookies into fine crumbs using a food processor or rolling pin; combine the cookie crumbs with softened cream cheese until a smooth dough forms.
- Once the dough is ready, roll it into balls about 2-3 tablespoons in size and arrange them on a parchment-lined baking sheet. Freeze for about 30 minutes.
- In a skillet over medium heat, add coconut flakes and toast them until golden brown, stirring frequently. Remove from heat and let cool.
- In a small saucepan over low heat, combine heavy cream and caramels. Stir until melted and smooth, then mix in cooled toasted coconut.
- Dip each frozen truffle ball into the warm caramel-coconut mixture, ensuring they are coated. Return to the baking sheet.
- Melt the chocolate in a microwave-safe bowl and drizzle it over each caramel-coated truffle. Let set for 15-20 minutes.
- Chill the finished truffles in the refrigerator for an additional 15 minutes before serving.
Leave a Reply