
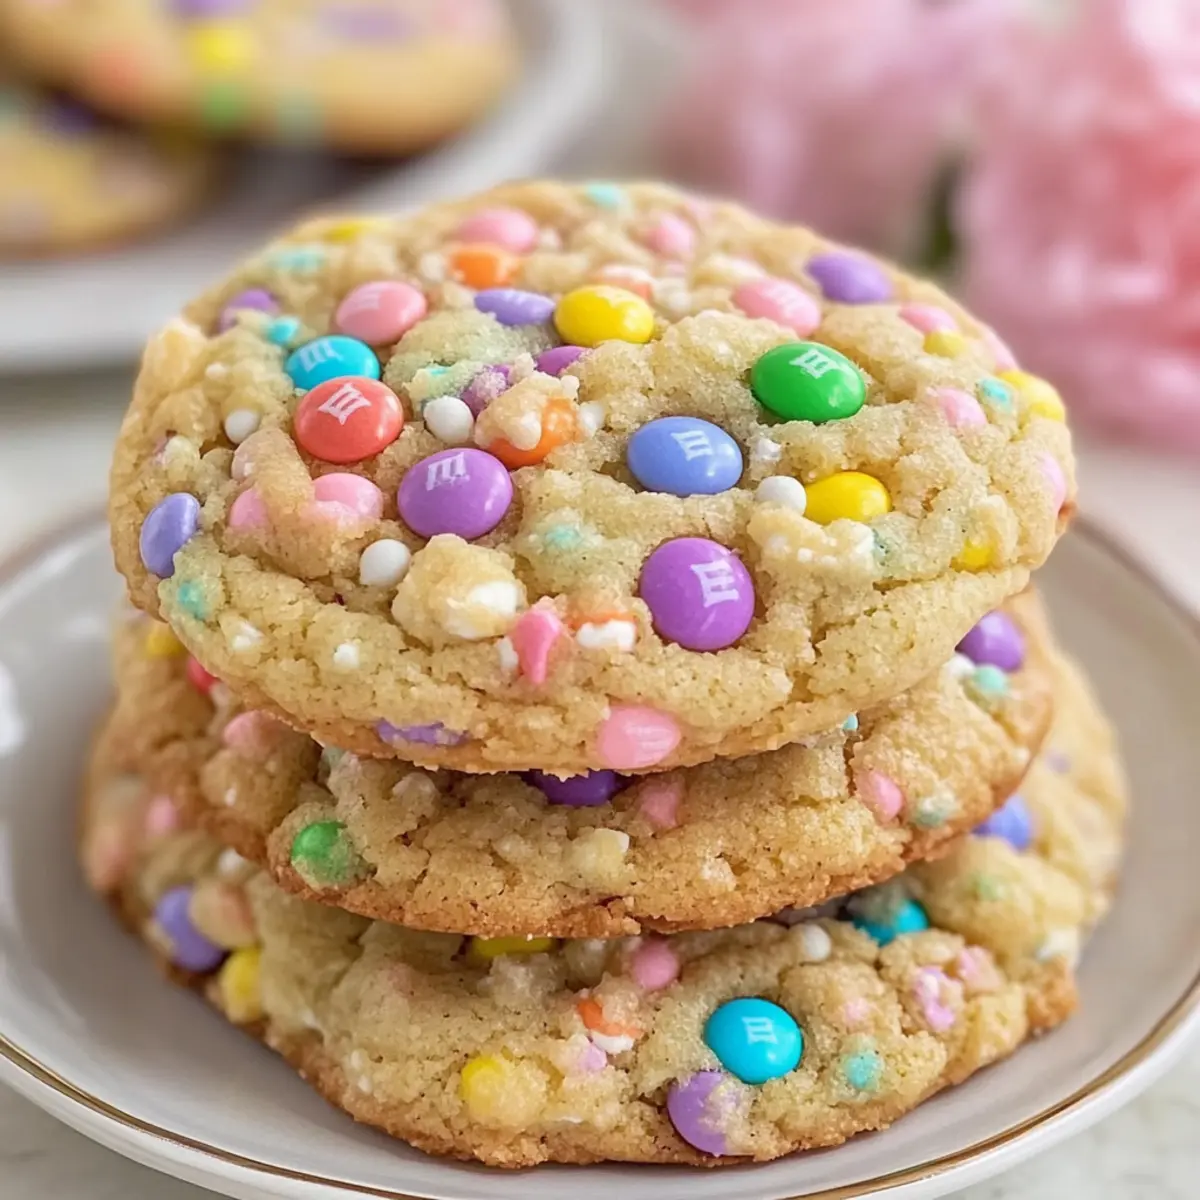
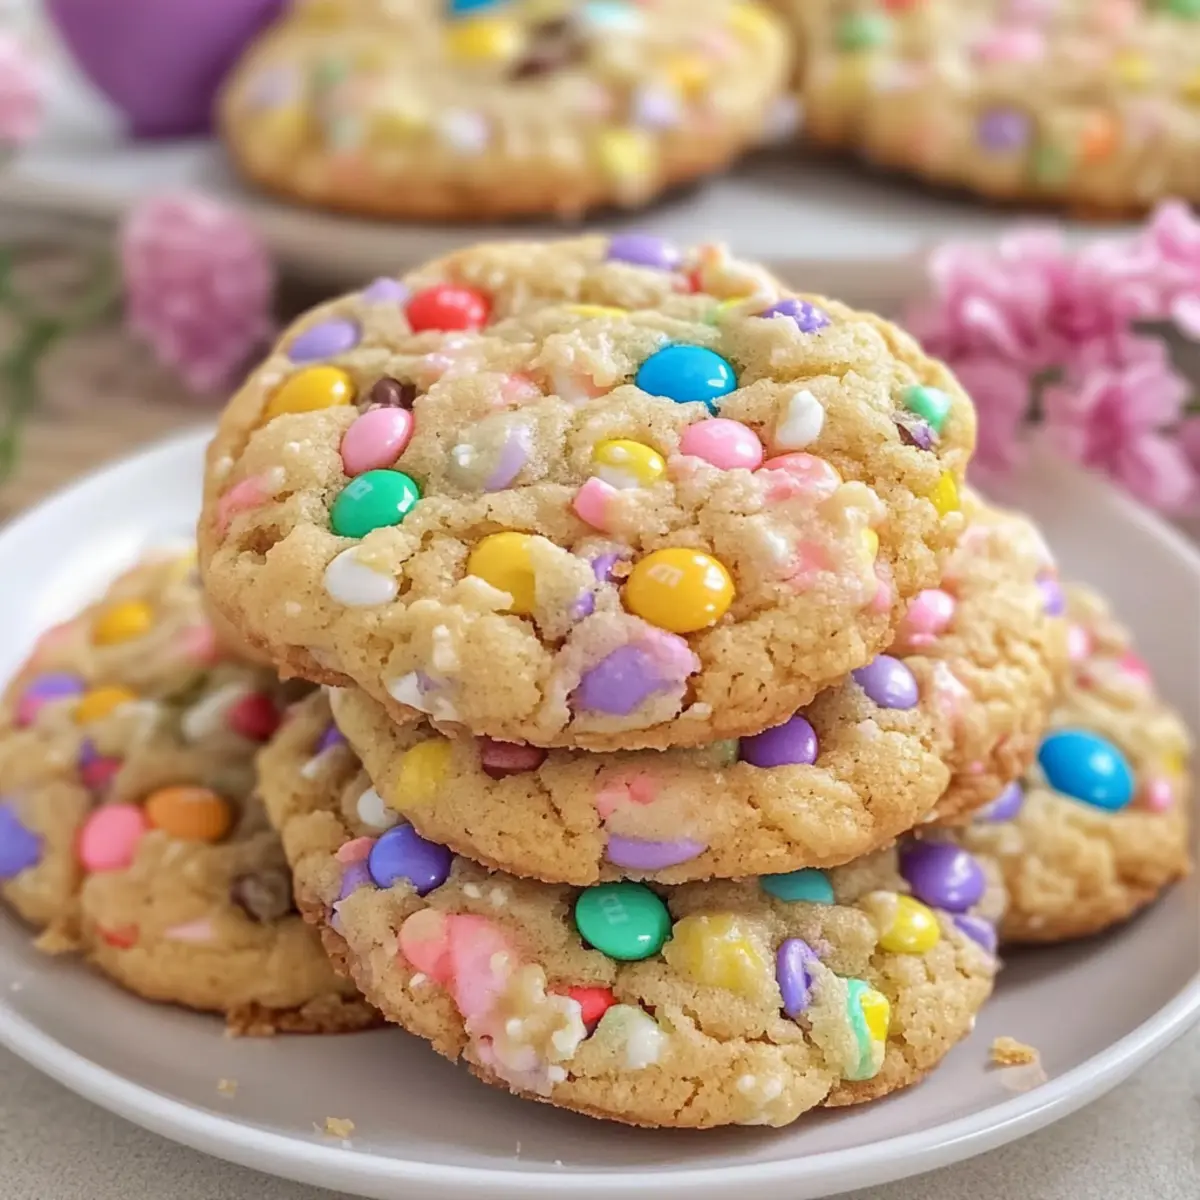
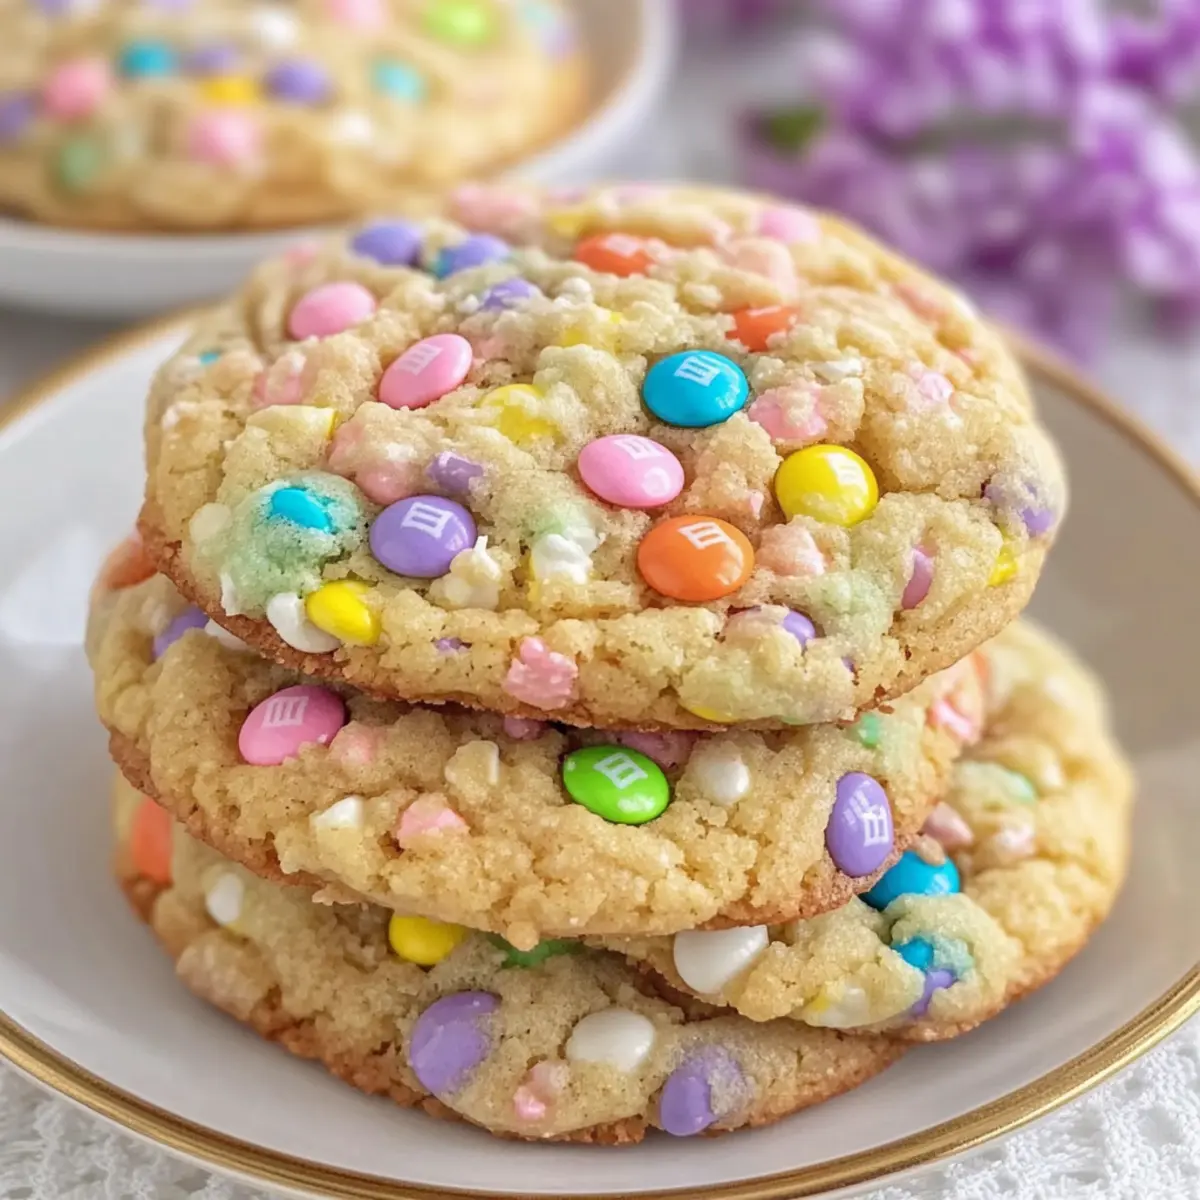
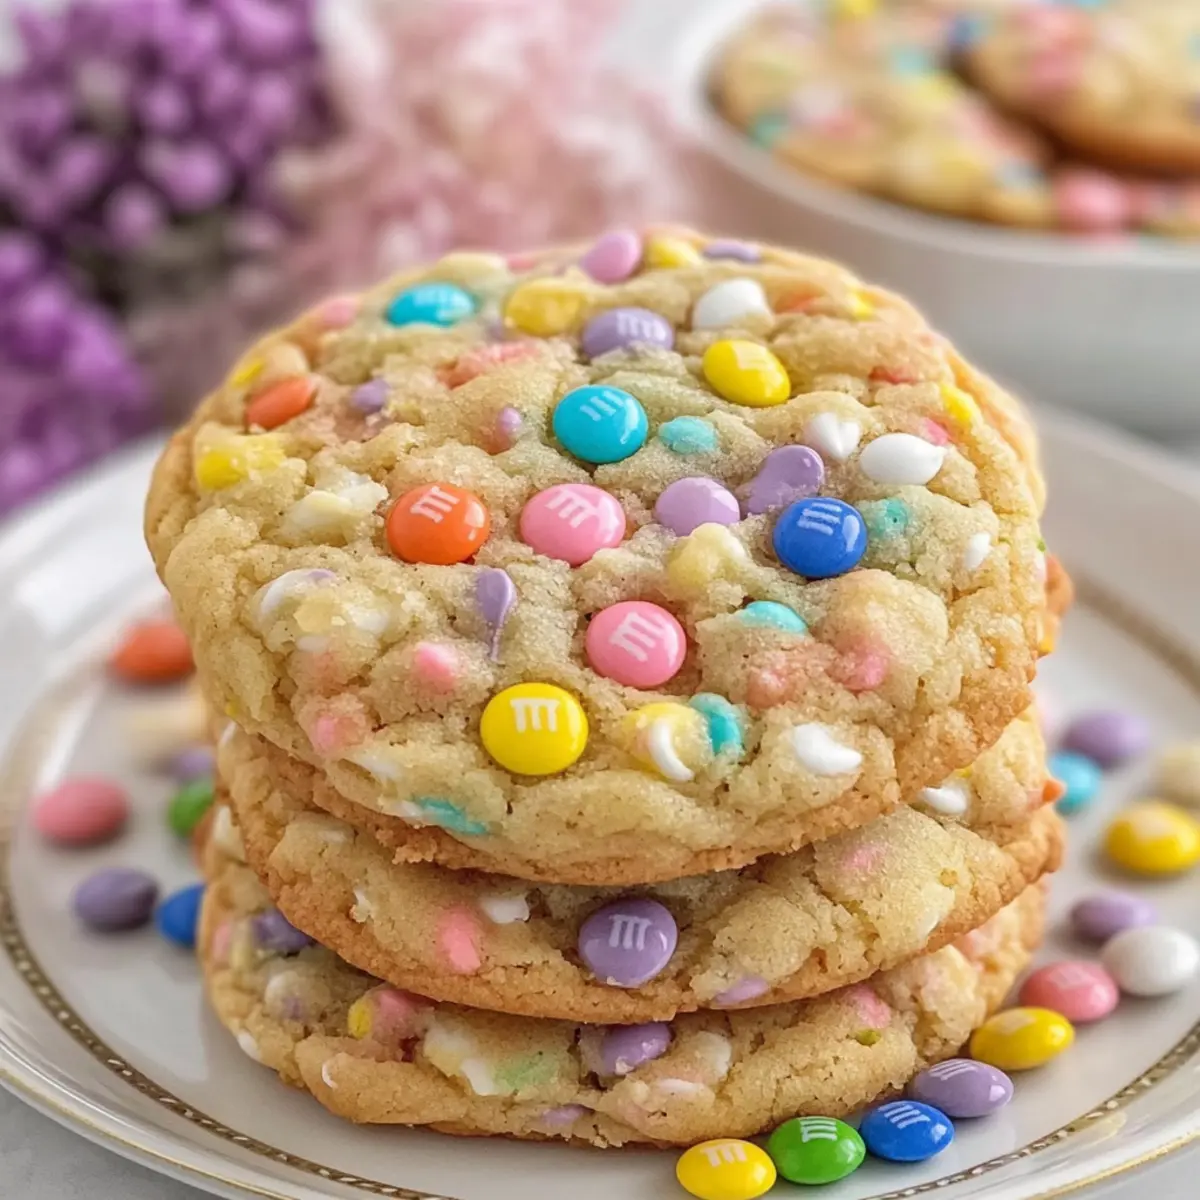
Spring has officially sprung, and what better way to celebrate than with a delightful batch of Soft, Chewy Easter Cookies! These vibrant cookies are not just a treat for the taste buds; they’re a feast for the eyes, too, thanks to their colorful M&M’s that cheerfully pop against the soft, buttery backdrop. What I love most about this Easter Cookies Recipe is how effortlessly it transforms any day into a joyful occasion, whether it’s a cozy afternoon baking session with the kids or a festive dessert for your holiday table. Plus, they’re incredibly easy to whip up—perfect for those of us who appreciate a crowd-pleaser that’s both homemade and quick to prepare. Ready to fill your kitchen with sweet aromas and colorful delights? Let’s dive in!
Why Are These Easter Cookies So Special?
Vibrant Colors: The cheerful pastel M&M’s not only brighten your plate but also bring a festive touch to any gathering.
Soft Texture: Experience a delightful chewiness that makes every bite a treat, perfectly balanced with slightly crisp edges.
Kid-Friendly Fun: This recipe is incredibly simple, making it a fantastic baking project to enjoy with kids—who doesn’t love colorful cookies?
Versatile Options: Personalize your treats by swapping out M&M’s or adding nuts for extra crunch, ensuring everyone can enjoy their favorite version.
Make-Ahead Friendly: Prepare the dough in advance and keep it in the freezer—perfect for spontaneous baking days or last-minute gatherings!
Crowd-Pleasing Delight: Whether at an Easter party or just a cozy evening at home, these cookies are sure to win hearts and create smiles. Try them alongside a batch of Korean Honey Cookies for a delightful dessert spread!
Easter Cookies Recipe Ingredients
For the Cookie Base
- All-Purpose Flour – Provides structure to the cookies while keeping them tender. Note: Ensure to measure correctly for the right texture.
- Baking Powder – Helps the cookies rise for that perfect soft and chewy texture.
- Baking Soda – Assists in softening the dough, making each bite irresistibly chewy.
- Salt – Enhances the flavor, bringing all the ingredients together.
- Unsalted Butter – Creates a soft and chewy center; must be softened but cool. Note: Do not use melted butter to avoid greasy cookies.
- Granulated Sugar – Adds essential sweetness and contributes to the cookie’s delightful texture when creamed with butter.
- Brown Sugar – Adds moisture and a hint of caramel flavor. Note: Use light brown for a milder taste.
- Egg – Provides richness and binds all the ingredients together; use cold for optimal results.
- Vanilla Extract – Delivers a depth of flavor, enriching the overall taste of your Easter Cookies. Substitution: Use almond extract for a different nuance.
For the Colorful Mix-ins
- Pastel M&M’s – Bring color, sweetness, and crunch to your cookies. Note: Press in extra for a decorative touch.
- White Chocolate Chips – Contribute creaminess and can be swapped for dark chocolate for a richer experience.
- Pastel Sprinkles – Enhance visual appeal and add a festive charm. Optional for topping.
These delightful ingredients come together to create an Easter Cookies Recipe that captures the essence of spring and joy!
Step‑by‑Step Instructions for Easter Cookies Recipe
Step 1: Preheat and Prepare
Preheat your oven to 350°F (175°C) and line two baking sheets with parchment paper. This step ensures that your Easter Cookies bake evenly without sticking. While the oven heats, gather your mixing bowls and measuring tools for a smooth preparation process.
Step 2: Mix Dry Ingredients
In a medium mixing bowl, whisk together 2 ½ cups of all-purpose flour, 1 teaspoon of baking powder, ½ teaspoon of baking soda, and ½ teaspoon of salt. This dry mixture will create the perfect base for your cookies. Make sure everything is well-combined to ensure even rising.
Step 3: Cream Butter and Sugars
In a large bowl, cream ¾ cup of softened unsalted butter, ½ cup of granulated sugar, and ¾ cup of brown sugar until the mixture is light and fluffy, about 3–4 minutes. This step incorporates air into the batter, giving your Easter Cookies a delightful texture. You want the mixture to be pale and creamy for the best results.
Step 4: Add Egg and Vanilla
Beat in 1 large egg and 1 teaspoon of vanilla extract until well blended, which should take about 1 minute. The egg adds richness and binds the ingredients together, while the vanilla enhances the flavor. Mix until you see a smooth consistency form.
Step 5: Combine Wet and Dry Mixtures
Gradually add the dry ingredients to the wet mixture, stirring gently until just combined. This is crucial—overmixing can lead to dense cookies. The dough should still be slightly sticky but cohesive, with no visible flour left behind.
Step 6: Fold in Colorful Mix-ins
Gently fold in 1 cup of pastel M&M’s and ½ cup of white chocolate chips using a spatula, ensuring they’re evenly dispersed throughout the dough. The colorful M&M’s will bring your Easter Cookies to life and add a hint of crunch in every bite.
Step 7: Shape the Cookies
Using a cookie scoop, drop 1½ to 2½ tablespoons of dough onto the prepared baking sheets, leaving about 2 inches of space between each mound. If desired, press the tops of the cookies into pastel sprinkles for an added festive touch.
Step 8: Bake the Cookies
Place the baking sheets in the preheated oven and bake for 8–11 minutes. You’ll know they’re done when the edges are set and the centers appear slightly underbaked. This ensures that your Easter Cookies remain soft and chewy—perfect for enjoying!
Step 9: Cool and Decorate
Remove the cookies from the oven and let them cool on the baking sheets for about 5 minutes. While the cookies are still warm, press in extra M&M’s to decorate the tops. This gives each cookie a joyful, vibrant appearance that’s perfect for Easter festivities.
Step 10: Transfer and Store
After they cool completely, transfer your Easter Cookies to an airtight container. Enjoy them at room temperature for up to 5 days, or freeze the dough balls for quick baking whenever the mood strikes. These delightful treats are now ready to be shared or savored on your own!
Expert Tips for Easter Cookies Recipe
- Proper Butter: Ensure butter is softened but not overly warm; this is key to achieving that soft, chewy texture in your Easter Cookies.
- Avoid Overmixing: When you add the dry ingredients, mix just until combined to prevent dense, tough cookies.
- Check Baking Time: Pull cookies from the oven when the center still looks slightly glossy for the best chewy consistency.
- Cookie Shape Trick: For perfect round cookies, use a round glass to gently swirl the edges immediately after baking.
- Storage Solutions: Keep cookies in an airtight container at room temperature for up to 5 days, or freeze the dough balls for up to 2 months for future baking.
What to Serve with Soft, Chewy Easter Cookies?
Indulge in the sweetness of spring by creating a delightful Easter feast alongside your colorful cookie creations.
- Creamy Vanilla Ice Cream: The rich creaminess perfectly balances the sweet, buttery flavors of the cookies, creating a dreamy dessert experience.
- Fresh Fruit Salad: A bright and zesty option that adds a refreshing contrast to the cookies. Berries and citrus bring gorgeous color to your table.
- Classic Milk: Nothing beats the nostalgic delight of dunking your chewy cookies into a glass of cold milk, enhancing their flavor and texture.
- Fruity Lemonade: A bright and tangy beverage that refreshes the palate and complements the sweetness of the cookies beautifully.
- Chocolate Dipped Strawberries: These elegant treats echo the cookie’s festive spirit while adding a touch of sophistication to your dessert spread.
- Mini Cheesecakes: Silky, smooth cheesecakes provide a creamy counterpoint to the chewy texture of the cookies, making them a hit at any gathering.
- Coffee or Tea: A warm cup enhances the cookies’ buttery flavors, inviting cozy conversations around the table.
- Decorative Platter: Arrange your Easter Cookies with other festive treats like chocolate bunnies, providing a cheerful centerpiece for celebrations.
Let these offerings create a memorable Easter gathering that leaves everyone with smiles and happy hearts!
Easter Cookies Recipe Variations
Feel free to get creative and personalize your Easter Cookies to suit your taste—it’s all about bringing joy to the baking experience!
- Dairy-Free: Substitute butter with coconut oil or a dairy-free margarine to create a vegan-friendly version.
- Flavor Boost: Try adding a teaspoon of almond or orange extract for a unique twist that uplifts the traditional flavor.
- Nutty Delight: Incorporate chopped nuts, like pecans or walnuts, for an added crunch that complements the soft texture of the cookies.
- Choco-Lover’s Twist: Replace pastel M&M’s with dark chocolate chips or caramel-filled candies for a richer, indulgent cookie.
- Fruity Fun: Mix in dried fruits such as cranberries or cherries for a chewy burst of flavor amidst the colorful M&M’s.
- Spiced Up: Add a pinch of cinnamon or nutmeg to the dough to give your cookies a warm, cozy aroma, perfect for the holiday!
- Lemon Zest: Grate some lemon peel into the mixture for a refreshing citrus note that contrasts beautifully with the sweetness.
Each of these variations offers a unique way to enjoy your Easter Cookies, ensuring your baking remains exciting and tailored to everyone’s palate. Don’t forget to pair these delightful treats with a batch of Almond Cherry Cookies or a cozy dish like Only Goulash Cozy to share joy with family and friends!
How to Store and Freeze Easter Cookies
Room Temperature: Store your Easter Cookies in an airtight container at room temperature for up to 5 days to maintain their delightful freshness and chewy texture.
Fridge: If you prefer them chilled, you can keep these cookies in the fridge for up to a week, but let them come to room temperature before serving for the best flavor.
Freezer: To save some for later, freeze the cookie dough balls for up to 2 months. Just scoop them onto a baking sheet and freeze until solid, then transfer to a freezer bag.
Reheating: For soft, fresh-tasting cookies, microwave individual cookies for about 10-15 seconds before serving. This method revives their chewy goodness beautifully!
Make Ahead Options
These Soft Chewy Easter Cookies are perfect for meal prep enthusiasts! You can prepare the cookie dough up to 3 days in advance by mixing all the ingredients and refrigerating it in an airtight container. Alternatively, for even longer storage, scoop the dough into individual portions and freeze them for up to 2 months. When you’re ready to bake, simply take the dough balls out of the freezer, let them sit at room temperature for about 15-20 minutes, and then bake as directed. This process not only saves you time but also guarantees delicious, fresh cookies whenever you need a festive treat or a quick dessert option!
Easter Cookies Recipe FAQs
What is the best way to select ripe ingredients for my Easter Cookies?
Absolutely! When choosing your ingredients, ensure that your butter is softened to room temperature, which means it should not be melted but easily dented with your finger. If you’re using eggs, opt for the freshest you can find—look for eggs with unblemished shells. For vanilla extract, a pure variety will yield the best flavor; check the label for minimal additives.
How should I store leftover Easter Cookies to maintain freshness?
To keep your Easter Cookies deliciously soft, store them in an airtight container at room temperature for up to 5 days. If you want to keep them even longer, consider placing a slice of bread in the container; it helps to keep the cookies moist. Don’t forget, they can also be stored in the fridge for up to a week—just allow them to reach room temperature before enjoying the tasty treats!
Can you freeze the prepared dough for Easter Cookies?
Absolutely! Freezing cookie dough is a fantastic way to prepare ahead. Scoop dough balls onto a baking sheet and freeze them until solid. Once frozen, transfer the dough balls to a freezer bag or airtight container for up to 2 months. When you’re ready to bake, simply let them thaw in the fridge overnight and bake as directed—just add a minute or two to the baking time if they’re still slightly chilled.
What if my cookies turn out too dry or dense?
Very! If your Easter Cookies come out dry, it could be due to overmeasuring your flour or overmixing the dough. Ensure to spoon flour into your measuring cup and level it off with a knife—don’t scoop directly from the bag. If your cookies seem dense, remember to mix your dry ingredients carefully with the wet until just combined; you want some lumps remaining. Pulled from the oven while slightly underbaked can also yield a chewier texture.
Are these Easter Cookies suitable for vegetarians or those with allergies?
Yes, this Easter Cookies Recipe is vegetarian-friendly! However, if you or your guests have allergies, particularly to eggs or nuts, alternative ingredients may help. For a vegan version, replace the egg with a flaxseed meal (1 tablespoon of flaxseed meal mixed with 2.5 tablespoons of water) and use dairy-free chocolate chips. Always check labels on commercial ingredients like sprinkles or chocolate chips to ensure they’re allergen-free.
Soft Chewy Easter Cookies Recipe That Kids Will Adore
Ingredients
Equipment
Method
- Preheat your oven to 350°F (175°C) and line two baking sheets with parchment paper.
- In a medium mixing bowl, whisk together 2 ½ cups of all-purpose flour, 1 teaspoon baking powder, ½ teaspoon baking soda, and ½ teaspoon salt.
- In a large bowl, cream ¾ cup softened unsalted butter, ½ cup granulated sugar, and ¾ cup brown sugar until light and fluffy, about 3–4 minutes.
- Beat in 1 large egg and 1 teaspoon vanilla extract until well blended, about 1 minute.
- Gradually add the dry ingredients to the wet mixture, stirring gently until just combined.
- Gently fold in 1 cup pastel M&M’s and ½ cup white chocolate chips using a spatula.
- Using a cookie scoop, drop 1½ to 2½ tablespoons of dough onto the prepared baking sheets, leaving about 2 inches of space between each mound.
- Place the baking sheets in the preheated oven and bake for 8–11 minutes.
- Remove the cookies from the oven and let cool on the baking sheets for about 5 minutes.
- After cooling completely, transfer your cookies to an airtight container.
Leave a Reply