
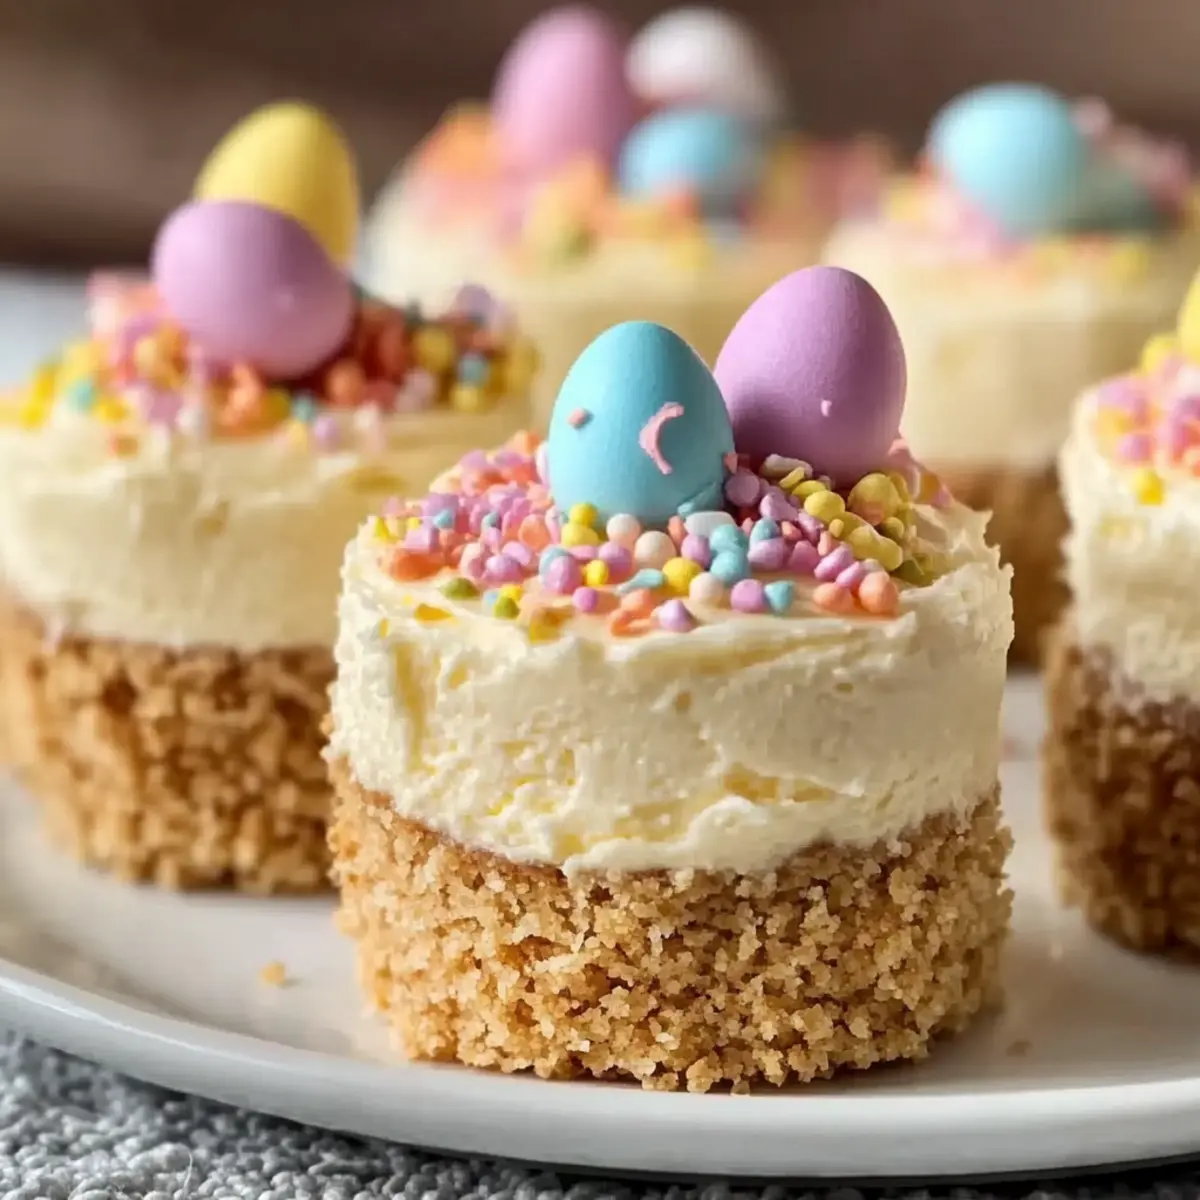
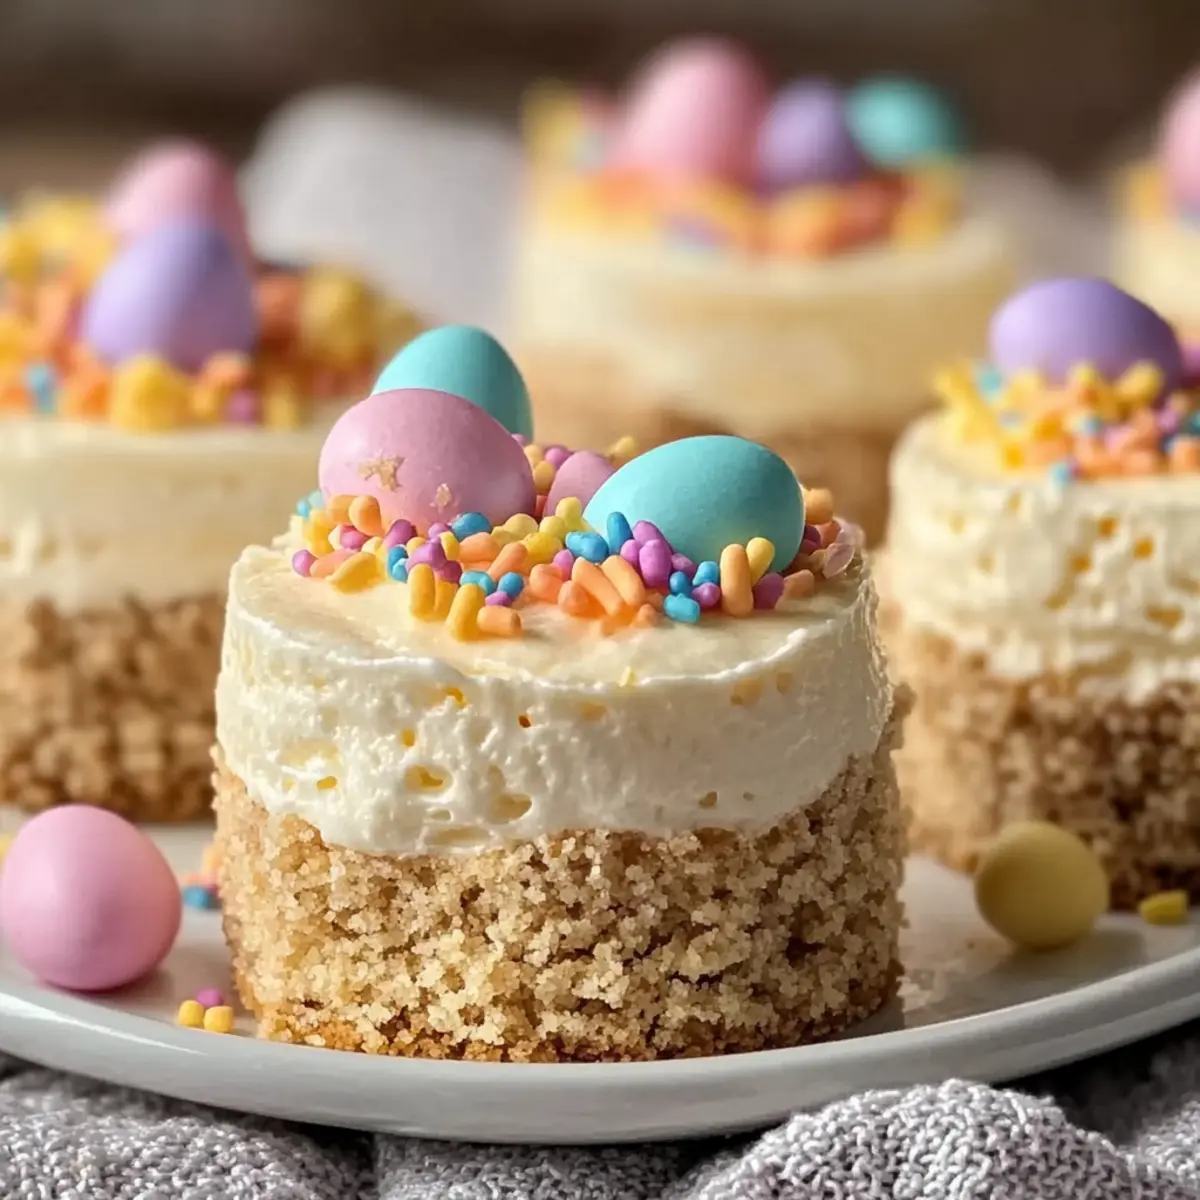
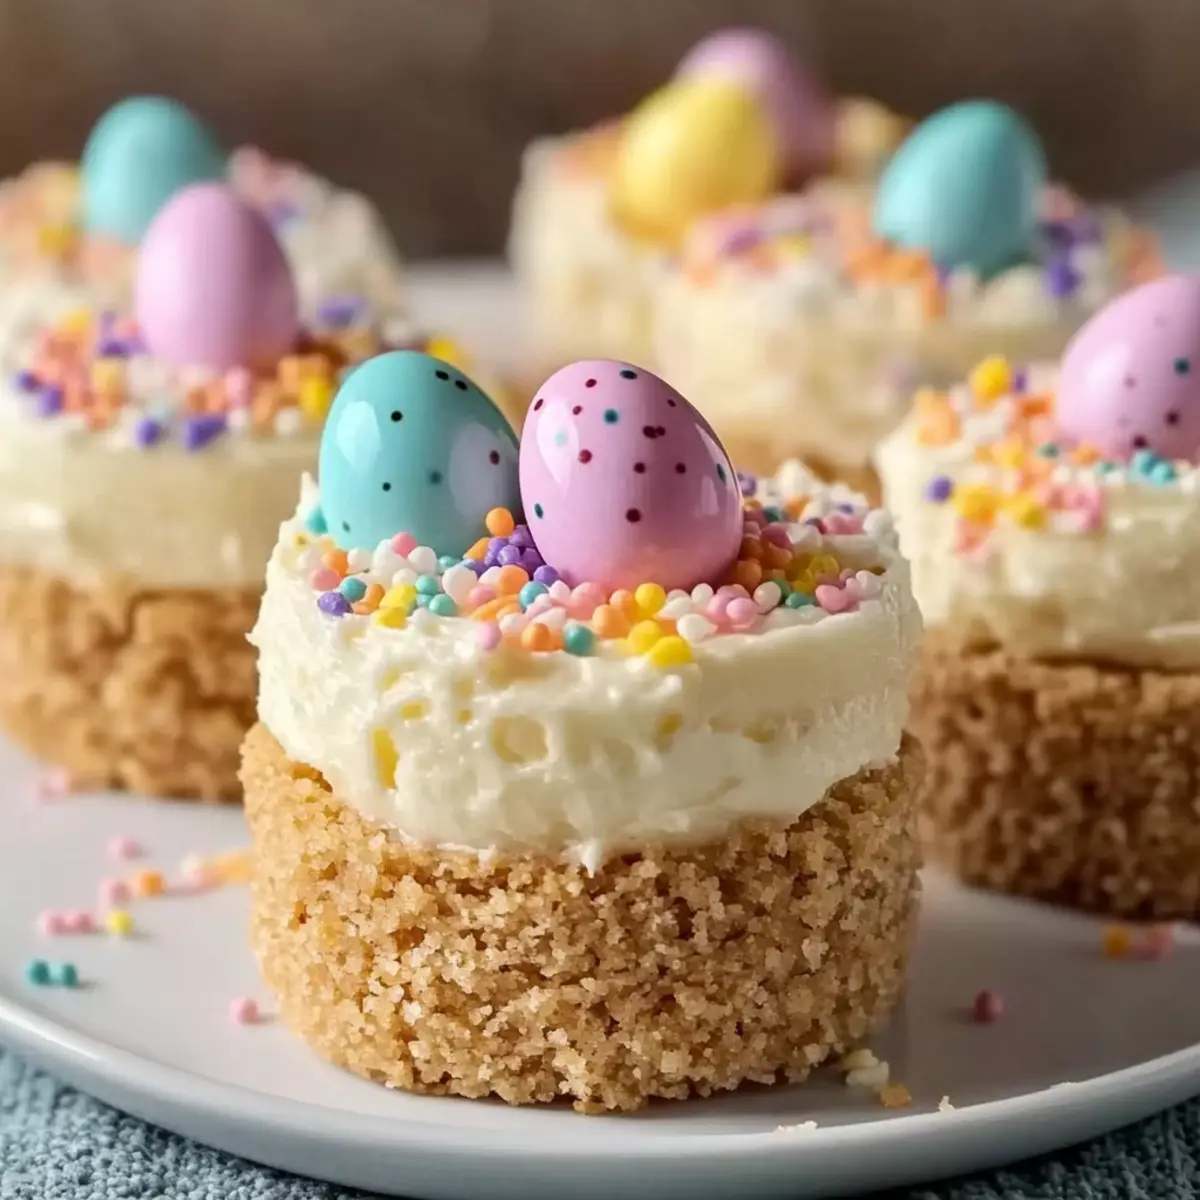
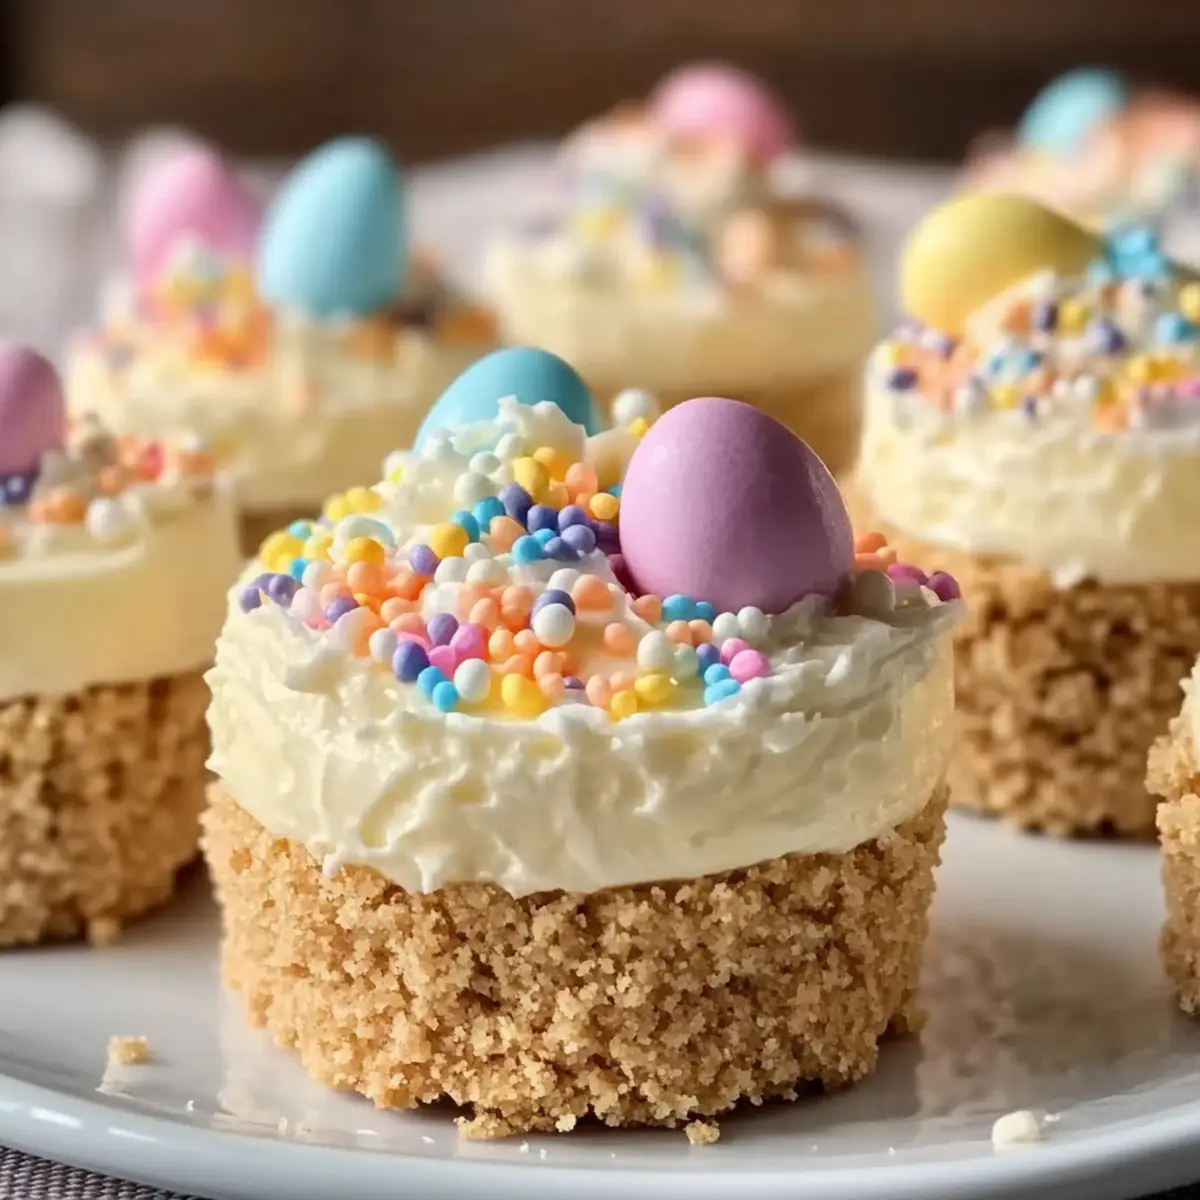
A chance discovery in my kitchen led me to create these delightful Easter No-Bake Mini Cheesecakes, and now they have become my go-to dessert for spring celebrations. With their creamy filling nestled in a crunchy graham cracker crust, these treats are visually stunning, offering a burst of pastel hues that truly embody the season. What’s even better? They whip together in just 20 minutes and only need a couple of hours to chill, making them perfect for busy home cooks seeking a quick yet impressive dessert. Whether you’re hosting a festive gathering or simply treating your family, these cheesecake bites will surely impress. Curious how to make these lovely little confections? Let’s dive in!
Why Are These Cheesecakes a Must-Try?
Quick Preparation: In just 20 minutes, you can whip up these delightful treats, leaving you more time to enjoy your company.
Visually Stunning: Their pastel colors and festive toppings make them a showstopper at any spring gathering.
Light and Creamy: Enjoy the creamy texture of cheesecake without the heaviness, making them a refreshing dessert option.
Customizable Toppings: Get creative! Swap out mini chocolate eggs for seasonal berries or use different extracts for a flavor twist.
Perfect for Any Occasion: These no-bake mini cheesecakes aren’t just for Easter—try them for birthdays or any celebration! If you love this dessert, you might also enjoy making Samoa Truffles Bake to impress your guests!
Easter No-Bake Mini Cheesecakes Ingredients
For the Crust
• Graham Cracker Crumbs – Provides structure and a crunchy base; substitute with store-bought graham cracker crusts for simplicity.
• Unsalted Butter – Binds the crust; use alternative fats like coconut oil for a dairy-free option.
• Granulated Sugar – Adds sweetness to the crust; can be substituted with coconut sugar for a different flavor profile.
For the Creamy Filling
• Cream Cheese – Forms the creamy filling; ensure it’s softened for easy blending. Substitute half with Greek yogurt for increased protein.
• Powdered Sugar – Sweetens the cheesecake filling; adjust the amount for your taste preference.
• Vanilla Extract – Enhances flavor; variations can include almond or lemon extracts for a twist.
• Heavy Whipping Cream – Creates a light, airy texture in the cheesecake; alternatives like coconut cream can be used for a dairy-free version.
For the Topping
• Pastel-Colored Candy Melts – Provides decorative topping; swap with melted chocolate or pureed fruit for color and flavor.
• Mini Chocolate Eggs or Jelly Beans – Decorative toppings for festive appeal; use any candy or seasonal items for decoration.
• Easter-Themed or Pastel Sprinkles – For aesthetic appeal; optional but recommended for the festive look.
Enjoy creating these delightful Easter No-Bake Mini Cheesecakes that will charm your guests and delight your family!
Step‑by‑Step Instructions for Easter No-Bake Mini Cheesecakes
Step 1: Prepare the Crust
In a mixing bowl, combine graham cracker crumbs, melted unsalted butter, and granulated sugar until the mixture resembles wet sand. This should take about 2-3 minutes, ensuring every crumb is coated. The fragrant buttery aroma indicates it’s just right for the next step!
Step 2: Press into Muffin Tin
Take mini muffin tins and line them with cupcake liners. Firmly pack the crust mixture into the bottom of each cup, creating a solid base. Use the back of a spoon or your fingers for an even layer; this will form the perfect foundation for your Easter No-Bake Mini Cheesecakes.
Step 3: Chill the Crust
Place the muffin tins in the refrigerator and chill the crust for at least 15 minutes. This step allows the butter to firm up, resulting in a stable crust for your cheesecakes. While it chills, you can prepare the filling!
Step 4: Beat the Cream Cheese
In a large mixing bowl, beat the softened cream cheese using an electric mixer on medium speed until completely smooth, about 2 minutes. A creamy consistency means it will blend well with the other ingredients, ensuring your mini cheesecakes are silky and delicious.
Step 5: Incorporate Sugar and Vanilla
Add the powdered sugar and vanilla extract to the cream cheese mixture. Mix on low speed until the sugar is fully incorporated and the mixture is smooth again. This will take about 1-2 minutes, creating a sweet, flavorful filling that enhances the overall taste of your Easter No-Bake Mini Cheesecakes.
Step 6: Whip the Cream
In a separate bowl, use clean beaters to whip the heavy cream on high speed until stiff peaks form, which should take approximately 3-4 minutes. The whipped cream adds a light, airy texture to the cheesecake filling, making it irresistible.
Step 7: Fold in Whipped Cream
Gently fold the whipped cream into the cream cheese mixture using a spatula. Be careful not to deflate the mixture; this folding action should take about 1-2 minutes. The combination will create a fluffy filling that will beautifully top your chilled crusts.
Step 8: Fill Crusts
Spoon or pipe the cheesecake filling evenly over each chilled crust, filling each muffin cup to the top. Use a spatula to smooth the tops if desired. This step transforms the simple crusts into delightful little cheesecakes, showcasing the creamy filling.
Step 9: Refrigerate to Set
Return the muffin tins to the refrigerator and chill for at least 2 hours. This setting time allows the filling to firm up and creates the perfect texture for your Easter No-Bake Mini Cheesecakes, ensuring they can be neatly removed from their cups later.
Step 10: Melt Candy Melts
Following the package instructions, melt the pastel-colored candy melts in a microwave-safe bowl. Stir until completely smooth for a perfect drizzle over your cheesecakes. This vibrant topping will enhance the festive look of your delightful mini cheesecakes.
Step 11: Add Toppings
Once the melted candy has cooled slightly, drizzle it over each cheesecake. Decorate with mini chocolate eggs, jelly beans, and pastel sprinkles for a cheerful presentation. These details will make your Easter No-Bake Mini Cheesecakes festive and eye-catching for any spring celebration.
Easter No-Bake Mini Cheesecakes Variations
Customize your Easter No-Bake Mini Cheesecakes with these fabulous twists to delight your taste buds and enhance the festive flair!
-
Fruit-Filled: Replace mini chocolate eggs with fresh berries for a vibrant burst of flavor and color.
-
Dairy-Free Delight: Swap cream cheese with vegan cream cheese and heavy cream with coconut cream for a delicious dairy-free option. This variation retains that creamy texture everyone loves!
-
Nutty Crunch: Add crushed nuts like pecans or almonds to the graham cracker crust for added crunch and flavor. The nutty undertone complements the sweetness of the cheesecake nicely.
-
Zesty Twist: Incorporate lemon or orange zest into the filling for a refreshing citrusy flavor. It brightens up the cheesecakes and adds a zingy contrast to the sweetness.
-
Chocolate Drizzle: Instead of pastel candy melts, top with melted dark chocolate for a rich, indulgent twist. This decadent finish pairs wonderfully with the creamy filling.
-
Seasonal Sprinkles: Substitute Easter-themed sprinkles with other festive designs to suit any celebration! Whether it’s birthdays or holidays, the right sprinkles can elevate your cheesecakes.
-
Flavored Extracts: Switch up the vanilla extract for almond or mint extract to create a whole new flavor profile. Each variation offers a delightful surprise to your guests!
-
Mini Cheesecake Bites: For a bite-sized treat, pour the filling into mini phyllo cups instead of muffin tins. They make adorable individual servings perfect for parties!
For even more dessert inspiration, why not explore the delightful Samoa Truffles Bake for a crowd-pleasing treat? Happy baking!
Make Ahead Options
These Easter No-Bake Mini Cheesecakes are fantastic for meal prep enthusiasts! You can prepare the crust up to 24 hours in advance by mixing the graham cracker crumbs, melted butter, and sugar, then pressing it into the muffin tins to chill. The creamy filling can also be made ahead and stored in the refrigerator for up to 3 days—just whip the cream and fold it into the cream cheese mixture right before serving to keep it light and airy. When you’re ready to serve, simply fill the prepped crusts and let them set for 2 hours. This way, you’ll have a delicious dessert with minimal effort just in time for your festive gathering!
What to Serve with Easter No-Bake Mini Cheesecakes
Imagine the sweet, delightful aromas of your Easter gathering as you prepare the perfect accompaniments to these pastel-hued treats.
-
Fresh Berries: Juicy strawberries, blueberries, or raspberries provide a refreshing contrast to the rich cheesecake, adding brightness to your dessert spread.
-
Whipped Cream: Lightly sweetened and fluffy, whipped cream complements the cheesecakes beautifully, enhancing their creamy texture. A dollop on top makes for a charming presentation!
-
Coffee or Espresso: A hot cup of coffee or a rich espresso serves as a perfect palate cleanser, balancing the sweetness with its bold flavors. It creates a cozy vibe for post-dinner conversations.
-
Mint Leaves: Fresh mint leaves not only bring a touch of elegance but also a burst of coolness that refreshes the palate when enjoyed alongside the cheesecakes.
-
Chocolate Drizzle: Elevate your mini cheesecakes with a drizzle of rich chocolate sauce! It adds an indulgent twist that chocolate lovers will adore.
-
Creamy Coleslaw: For a savory touch, serve a light coleslaw on the side. Its crunchy texture and tangy flavor create a delightful contrast to the sweetness of the cheesecakes.
-
Iced Tea or Lemonade: Refreshing drinks, like iced tea or lemonade, provide a zesty complement that brightens the overall experience. Their chilled nature keeps the festive feeling alive throughout your gathering.
Expert Tips for Easter No-Bake Mini Cheesecakes
-
Room Temperature Cheese: Ensure the cream cheese is at room temperature for easy mixing and a smooth texture in your Easter No-Bake Mini Cheesecakes.
-
Whip Cream Properly: Take the time to whip the heavy cream until stiff peaks form; this is crucial for a light and airy filling.
-
Chill Time Matters: Don’t rush the chilling process; allowing the cheesecakes to set for at least 2 hours ensures they maintain their shape.
-
Decorative Toppings: Customize your toppings based on personal preference; feel free to mix in seasonal fruits or themed sprinkles for a unique twist.
-
Avoid Overmixing: When folding in the whipped cream, do it gently to keep the airy texture intact—overmixing can deflate your filling.
Storage Tips for Easter No-Bake Mini Cheesecakes
Fridge: Store your cheesecakes in an airtight container for up to 2 days. This keeps them fresh while maintaining their creamy texture and flavors.
Freezer: If you want to keep them longer, freeze the mini cheesecakes for up to 1 month. Wrap each cheesecake in plastic wrap and place them in a freezer-safe container to prevent freezer burn.
Thawing: To enjoy from the freezer, transfer them to the fridge and let them thaw overnight before serving. Avoid reheating; these mini cheesecakes are best served chilled and will maintain their delightful quality.
Assembly Reminder: If topped, wait until serving to add toppings like melted candy or sprinkles to keep everything fresh and vibrant for your guests to enjoy!
Easter No-Bake Mini Cheesecakes Recipe FAQs
How do I select ripe ingredients for this recipe?
Absolutely! For the best results, ensure your cream cheese is softened for easy blending; this allows it to mix smoothly without lumps. When choosing graham crackers, look for ones without dark spots or damage, as they should have a fresh, crunchy texture for your crust.
How should I store leftover cheesecakes?
You can store your Easter No-Bake Mini Cheesecakes in an airtight container in the refrigerator for up to 2 days. If you want to keep them longer, simply wrap each cheesecake in plastic wrap and place them in a freezer-safe container for up to 1 month.
Can I freeze no-bake cheesecakes, and how should I do it?
Yes, you can freeze these delicious treats! First, ensure they are fully chilled. Wrap each mini cheesecake individually in plastic wrap, and then place them in a freezer-safe container. This will prevent freezer burn and keep them fresh for up to 1 month. To enjoy, simply transfer them to the fridge to thaw overnight.
What if my filling is too runny?
If you notice your filling is too runny, it could be due to not whipping the heavy cream to stiff peaks or overfolding the mixture, which can deflate the air. Whip the cream longer until well-formed peaks appear, and when combining with the cream cheese mixture, gently fold until just combined. If you’re still struggling, adding an extra tablespoon of powdered sugar can help thicken it up!
Are these cheesecakes suitable for people with allergies?
Very! These Easter No-Bake Mini Cheesecakes are vegetarian-friendly. However, if you have specific dietary restrictions, like nut allergies, check the labels on all ingredients, especially those like graham crackers, which can sometimes contain traces of nuts. You can also substitute the cream for coconut cream if you need a dairy-free option.
Easter No-Bake Mini Cheesecakes for Effortless Spring Joy
Ingredients
Equipment
Method
- In a mixing bowl, combine graham cracker crumbs, melted unsalted butter, and granulated sugar until the mixture resembles wet sand. This should take about 2-3 minutes.
- Take mini muffin tins and line them with cupcake liners. Firmly pack the crust mixture into the bottom of each cup.
- Place the muffin tins in the refrigerator and chill the crust for at least 15 minutes.
- In a large mixing bowl, beat the softened cream cheese using an electric mixer on medium speed until completely smooth, about 2 minutes.
- Add the powdered sugar and vanilla extract to the cream cheese mixture. Mix on low speed until fully incorporated.
- In a separate bowl, whip the heavy cream on high speed until stiff peaks form, which should take approximately 3-4 minutes.
- Gently fold the whipped cream into the cream cheese mixture using a spatula.
- Spoon or pipe the cheesecake filling evenly over each chilled crust.
- Return the muffin tins to the refrigerator and chill for at least 2 hours.
- Melt the pastel-colored candy melts in a microwave-safe bowl, stirring until completely smooth.
- Once the melted candy has cooled slightly, drizzle it over each cheesecake. Decorate with mini chocolate eggs, jelly beans, and pastel sprinkles.
Leave a Reply