
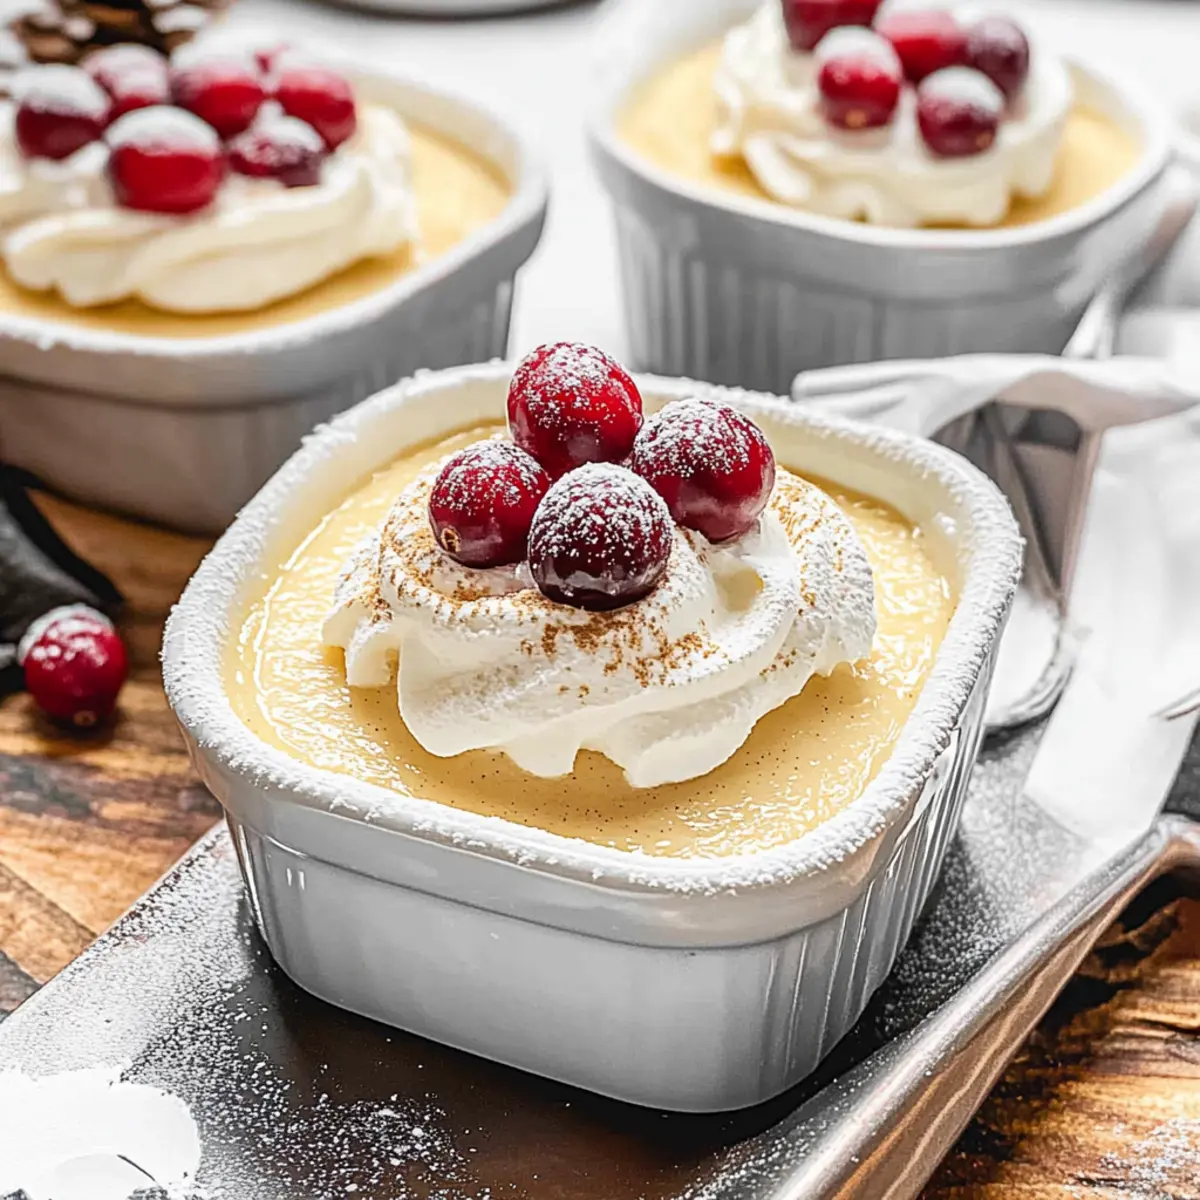
The aroma of the holidays often lingers long after the last toast has been made, and what better way to savor that festive spirit than with a luscious bowl of Homemade Eggnog Pudding? This delightful dessert is not only a fabulous way to repurpose any leftover eggnog, but it also transforms it into a smooth and creamy treat that will be the star of your dessert table. In just 15 minutes, you can whip up this crowd-pleaser that’s both a nod to tradition and a modern indulgence. With its silky texture layered with whipped cream and topped with sparkling sugared cranberries, this pudding captures the essence of celebration. Curious about how to elevate your holiday gatherings with this enchanting dish? Let’s dive into the recipe!
Why is Homemade Eggnog Pudding a Must-Try?
Rich, Creamy Delight: This Homemade Eggnog Pudding transforms leftover eggnog into a velvety dessert that’s bursting with holiday flavor.
Quick & Easy: With just 15 minutes of preparation, you’ll have an elegant treat that looks and tastes like you spent hours in the kitchen.
Versatile Indulgence: Feel free to customize with different extracts or toppings to suit your festive mood—think chocolate chips or caramel for a twist!
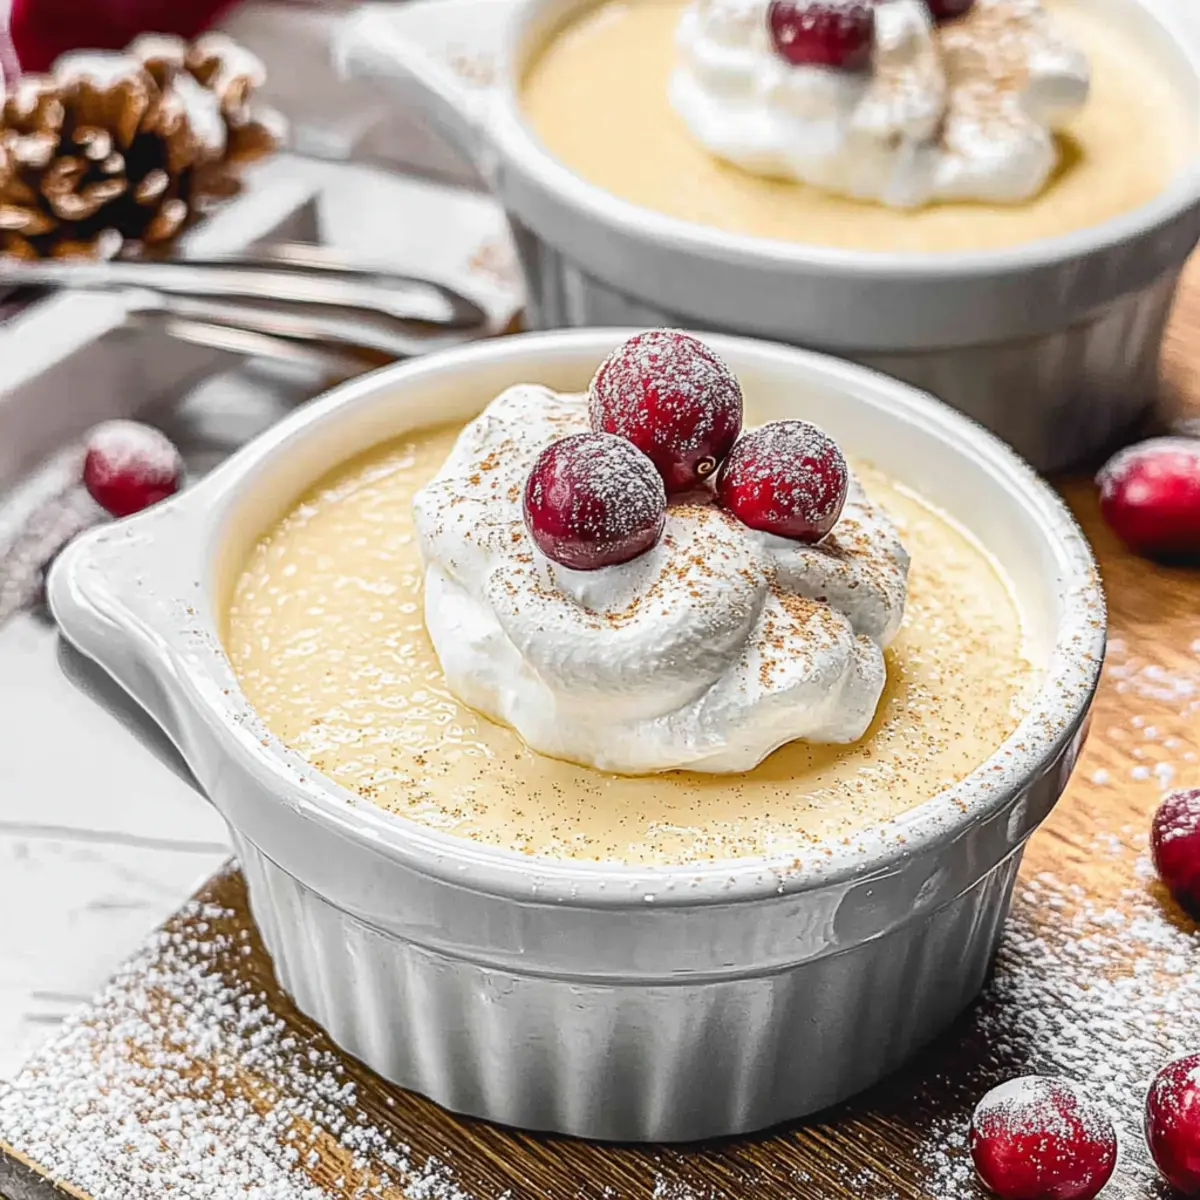
Perfect for Gatherings: Serve this pudding in chic shot glasses to impress your guests and create the perfect dessert platter alongside cookies and other holiday treats.
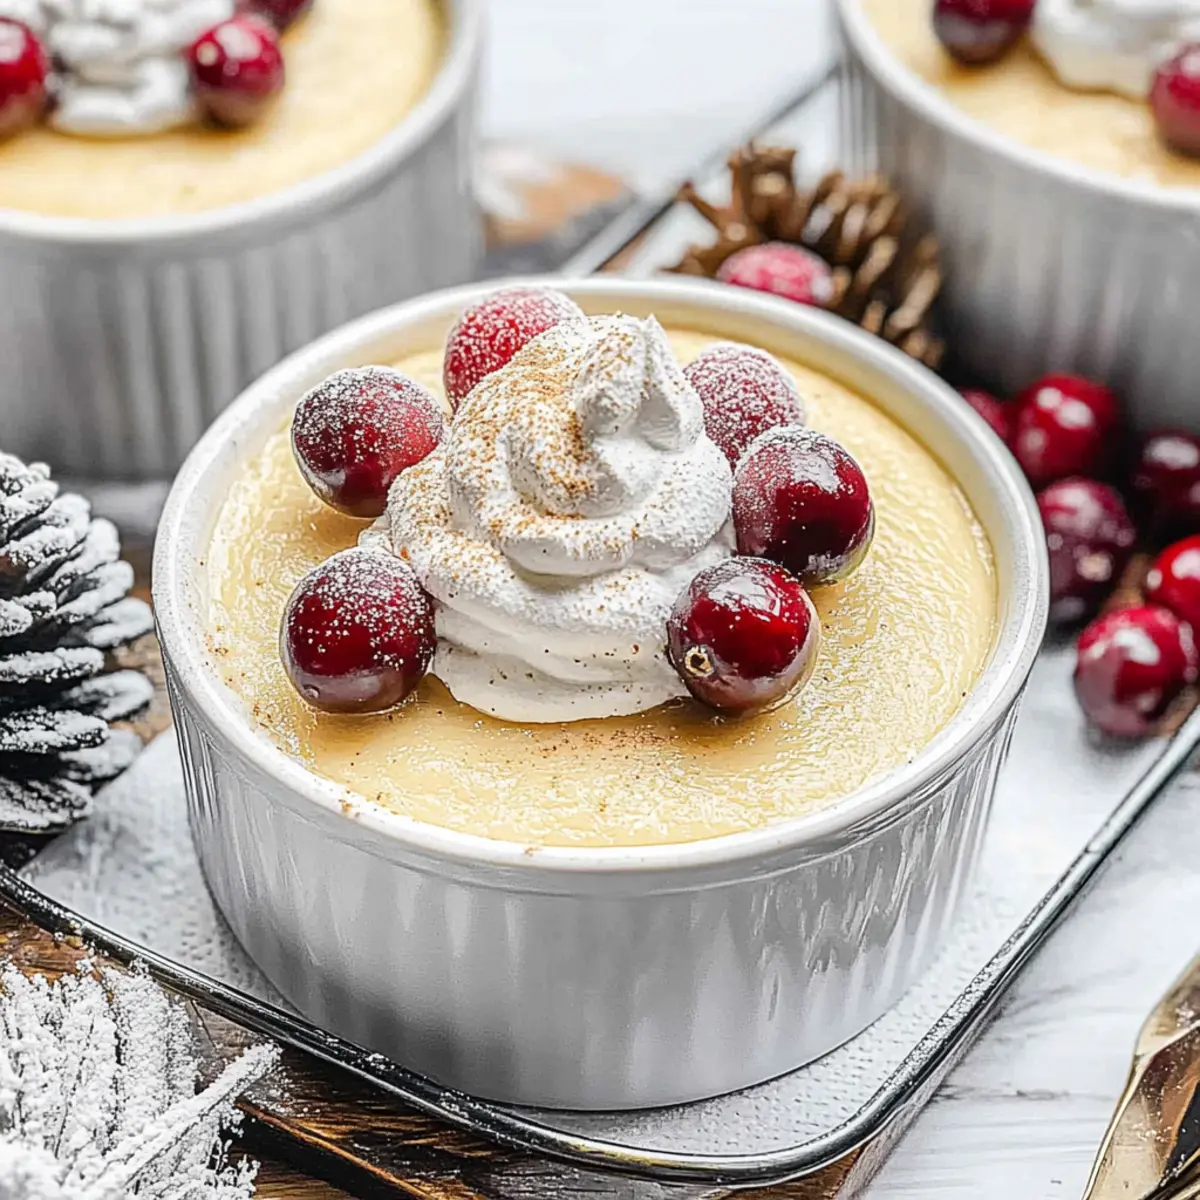
Festive Touches: Whipped cream and sugared cranberries bring a joyful pop of color that complements the richness of the pudding—great for satisfying those sweet cravings!
Embrace the season with this delightful dessert that is sure to make any holiday gathering extraordinary.
Homemade Eggnog Pudding Ingredients
• The key ingredients come together to create a delightful holiday treat that’s simply irresistible!
For the Pudding
- Eggnog – Provides the primary flavor base and creaminess; substitute with non-alcoholic eggnog for a family-friendly version.
- Heavy Whipping Cream – Adds richness and smooth texture; can use light cream for a lighter option.
- Granulated Sugar – Sweetens the pudding; brown sugar can be used for a deeper flavor.
- Cornstarch – Acts as a thickener; arrowroot or tapioca starch can be substituted for a gluten-free choice.
- Salt – Enhances flavor balance.
- Ground Nutmeg – Adds tradition and warmth typical of eggnog; freshly grated nutmeg is recommended for the best flavor.
- Egg Yolks – Provide richness and help set the pudding; consider a custard-style substitute for a dairy-free version.
- Rum Extract – Infuses a warm, aromatic flavor reminiscent of traditional eggnog; omit or replace with vanilla extract if desired.
- Unsalted Butter – Enriches the pudding; any unsaturated plant-based butter can be used as a substitute.
For Topping
- Whipped Cream – Adds a light, fluffy component for topping; can be replaced with coconut whipped cream for a dairy-free option.
- Sugared Cranberries – Festive garnish that complements sweetness; alternatively, crushed gingersnaps can be used.
Step‑by‑Step Instructions for Homemade Eggnog Pudding
Step 1: Combine Dairy Mixtures
In a glass measuring cup, pour together 2 cups of eggnog and 1 cup of heavy whipping cream; set aside. This delightful mixture forms the creamy base for your Homemade Eggnog Pudding, so ensure they are well blended. The cream will add extra richness, making your pudding luxurious and smooth.
Step 2: Whisk Dry Ingredients
In a medium saucepan, briskly whisk together 3/4 cup of granulated sugar, 1/4 cup of cornstarch, a pinch of salt, and 1/2 teaspoon of ground nutmeg. This dry mixture will create a sweet and flavorful foundation for your pudding. Keep mixing until there are no lumps, as this will ensure a velvety texture in your final dish.
Step 3: Incorporate Egg Yolks
Add 4 egg yolks to the dry ingredients, whisking until the mixture is smooth and evenly combined. This step infuses richness and helps your pudding set correctly. The velvety yolks will blend seamlessly with the dry ingredients, creating a luscious consistency for your Homemade Eggnog Pudding.
Step 4: Gradually Mix in Eggnog Mixture
Slowly pour the eggnog and cream mixture into the saucepan while whisking continuously. This gradual incorporation of liquid helps prevent lumps and promotes a creamy texture. Continue to whisk until everything is well mixed and glossy, creating a delightful anticipation for the next steps.
Step 5: Cook the Mixture
Place the saucepan over medium heat and cook the mixture, stirring constantly until it thickens and begins to boil—about 8 to 10 minutes. You’ll know it’s ready when the pudding coats the back of a spoon. Once it reaches a gentle boil, maintain this heat and stir for an additional 30 seconds to enhance the flavor.
Step 6: Add Flavor Enhancers
Remove the saucepan from the heat and stir in 1 teaspoon of rum extract and 2 tablespoons of unsalted butter. Keep stirring until the butter fully melts and the pudding becomes smooth and glossy. This step adds aromatic warmth and a silky finish, making your Homemade Eggnog Pudding even more enticing.
Step 7: Strain and Cool
For an ultra-smooth texture, strain the pudding through a fine mesh sieve into a clean bowl. This will catch any bits of cooked egg or lumps. Once strained, cover the surface with plastic wrap to prevent a skin from forming, and refrigerate for at least 4 hours or overnight to ensure it sets properly.
Step 8: Serve with Garnish
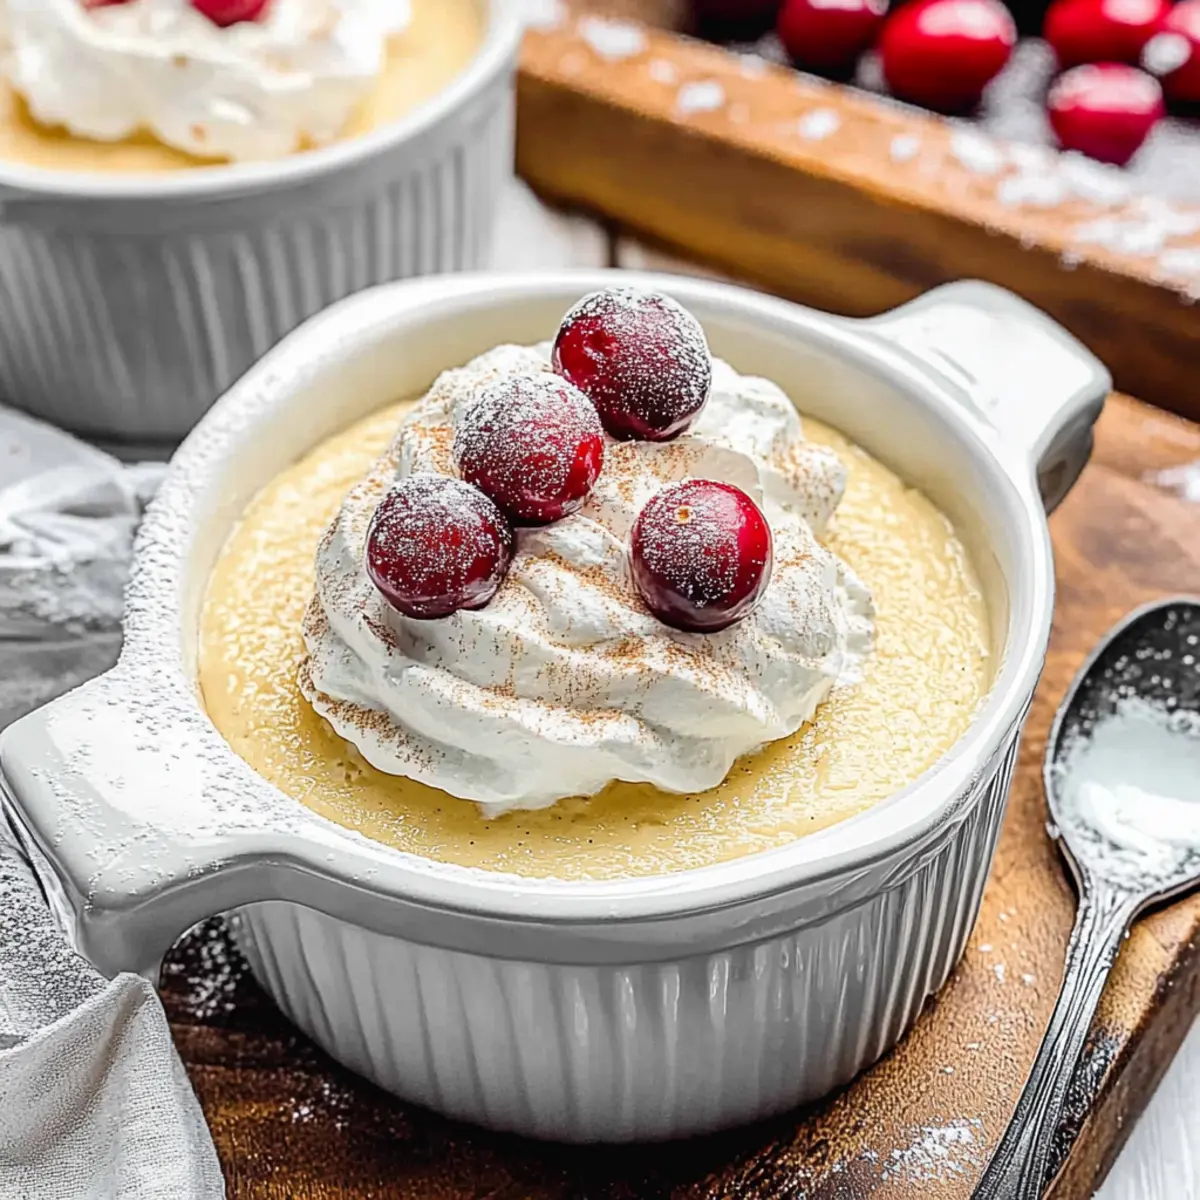
When ready to serve, scoop the chilled Homemade Eggnog Pudding into elegant dishes, topping each with fluffy whipped cream, a sprinkle of freshly grated nutmeg, and festive sugared cranberries. This beautiful presentation not only adds a pop of color but also enhances the overall holiday experience with every delightful bite.
Homemade Eggnog Pudding Variations
Feel free to unleash your creativity with these delightful twists on your Homemade Eggnog Pudding!
-
Non-Alcoholic: Use vanilla extract in place of rum for a family-friendly version that keeps all the festive flavors without the alcohol.
-
Vegan Delight: Swap egg yolks for silken tofu blended until smooth. Use coconut cream instead of heavy whipping cream for a luscious, dairy-free treat. The result is still rich and creamy!
-
Choco-Lover’s Twist: Fold in a half cup of mini chocolate chips or cocoa powder to add a rich chocolate flavor that beautifully complements the eggnog.
-
Extra Spiced: Add a pinch of cloves or cinnamon to the dry ingredients for an extra layer of warmth and depth in your pudding.
-
Citrusy Zing: A splash of orange or lemon zest can brighten your pudding and add a refreshing twist to every spoonful. This zesty touch is sure to awaken the taste buds!
-
Nutty Crunch: Toasted pecans or almonds can be sprinkled on top before serving, giving a pleasing crunch and additional flavor to your pudding.
-
Seasonal Surprise: Swap out the sugared cranberries for festive pomegranate seeds or candied ginger for a unique pop of color and flavor that sings holiday cheer.
-
Layer it Up: Create a pudding parfait by layering the pudding with your favorite berries or even gingerbread crumbs in elegant glassware; this presentation will wow your guests!
As you explore these variations, remember the heart of the recipe remains the same: a creamy and rich experience that brings joy to your holiday table. Enjoy experimenting and turning this classic festive dessert into your personal masterpiece!
Make Ahead Options
These Homemade Eggnog Pudding delights are perfect for busy holiday cookouts! You can prepare the pudding up to 24 hours in advance, allowing the flavors to deepen and the texture to remain silky smooth. Simply follow all steps down to straining, cover the surface with plastic wrap to prevent skin formation, and refrigerate. For optimal freshness, store in an airtight container if you’re prepping more than one serving. When it’s time to serve, just garnish with whipped cream, grated nutmeg, and sugared cranberries for a festive touch. Enjoy the time-saving benefits of this delicious dessert while impressing your guests with minimal effort!
Expert Tips for Homemade Eggnog Pudding
Stir Constantly: Avoid lumps by whisking continuously during the cooking process. This ensures a creamy and smooth texture for your Homemade Eggnog Pudding.
Strain for Smoothness: Always strain the pudding after cooking to catch any lumps or bits of cooked egg. This step is crucial for achieving that velvety finish!
Use Fresh Nutmeg: For the best flavor, grate nutmeg just before adding it to the mix. Freshly grated nutmeg can elevate the taste of your pudding significantly.
Cool with Care: Cover the pudding’s surface with plastic wrap to prevent skin formation. This simple trick helps maintain its smooth and creamy consistency.
Chill Overnight: For enhanced flavor and texture, refrigerate the pudding overnight. Allowing it to rest leads to a richer and more satisfying dessert.
How to Store and Freeze Homemade Eggnog Pudding
Fridge: Store any leftover Homemade Eggnog Pudding in an airtight container in the refrigerator for up to 3 days. Cover the surface with plastic wrap to prevent skin from forming.
Freezer: For longer storage, freeze the pudding in a freezer-safe container for up to 2 months. Thaw in the fridge overnight before serving; whisk to restore creaminess if needed.
Reheating: This pudding is best enjoyed cold, so there’s no need to reheat. Just allow it to sit at room temperature for about 15 minutes before serving to soften slightly.
Make-Ahead Tips: Prepare the pudding 1-2 days in advance for your holiday gatherings. Keep it covered to maintain freshness and flavor, ensuring it’s a hassle-free delight on the day of your celebration.
What to Serve with Homemade Eggnog Pudding
Elevate your holiday dining experience with delightful sides and drinks that complement the creamy, festive flavors of this iconic dessert.
- Cinnamon Sugar Cookies: Soft and chewy, these warm cookies enhance the cozy spices in the pudding, inviting sweet memories of holiday baking.
- Spiced Apple Cider: A warm drink infused with clove and cinnamon offers a comforting pairing that echoes the lush flavors of eggnog.
- Gingerbread Cake: A slice of moist gingerbread adds a rich, spiced backdrop, harmonizing with the creamy richness of the pudding perfectly.
- Pecan Pie: The crunchy texture and sweet nuttiness of pecan pie provide a delightful contrast that will surely impress holiday guests.
- Chocolate Mousse: Light and airy, this decadently rich dessert pairs flawlessly with the eggnog pudding to create an indulgent finale.
- Roasted Brussels Sprouts: This savory side brings a slight bitterness that balances out the sweetness of the pudding, adding depth to your meal.
- Festive Fruit Salad: A refreshing medley of citrus and berries brightens the plate, providing a zesty counterpoint to the silky pudding.
- Coffee or Espresso: A warm cup of coffee serves as a wonderful palate cleanser, enhancing the dessert’s spices while completing the holiday experience.
- Chocolate Truffles: Rich, melt-in-your-mouth truffles will cater to the chocoholic in your group, wonderfully complementing the eggnog’s flavors.
- Caramel Swirl Cheesecake: Creamy and luxurious, this dessert creates a rich pathway of flavors alongside the eggnog pudding’s smoothness.
Homemade Eggnog Pudding Recipe FAQs
What type of eggnog should I use?
Absolutely! You can use store-bought eggnog or homemade if you have some on hand. If you prefer a non-alcoholic version, opt for non-alcoholic eggnog to keep it family-friendly.
How long can I store homemade eggnog pudding in the fridge?
You can keep your Homemade Eggnog Pudding in an airtight container in the refrigerator for up to 3 days. To keep it at its best, cover the surface with plastic wrap to prevent any skin from forming.
Can I freeze homemade eggnog pudding?
Yes, indeed! You can freeze your pudding in a freezer-safe container for up to 2 months. Make sure to let it cool completely, then cover tightly before freezing. When ready to enjoy, simply thaw the pudding in the refrigerator overnight. When you’re ready to serve, whisk it gently to restore its creamy texture.
How can I prevent lumps in my pudding?
To prevent lumps, make sure to whisk continuously during the cooking process. Start with a smooth mixture and keep stirring as it heats. If you’re extra cautious, strain the pudding through a fine mesh sieve after cooking to catch any lumps or bits of cooked egg for that ultra-smooth finish!
Is this pudding safe for people with egg allergies?
This Homemade Eggnog Pudding contains egg yolks, so it’s not suitable for those with egg allergies. However, you could explore a custard-style substitute using dairy-free milk and a thickening agent like cornstarch or agar-agar to create a similar texture without eggs. Be sure to test for compatibility based on individual dietary needs.
What can I use instead of heavy whipping cream?
If you’re looking for a lighter option, you can replace heavy whipping cream with light cream or use a non-dairy substitute, such as coconut cream. This variation can also cater to those who are dairy-sensitive while still providing a deliciously creamy finish.
Creamy Homemade Eggnog Pudding for Holiday Bliss
Ingredients
Equipment
Method
- In a glass measuring cup, pour together 2 cups of eggnog and 1 cup of heavy whipping cream; set aside.
- In a medium saucepan, whisk together 3/4 cup of granulated sugar, 1/4 cup of cornstarch, a pinch of salt, and 1/2 teaspoon of ground nutmeg.
- Add 4 egg yolks to the dry ingredients, whisking until smooth.
- Slowly pour the eggnog and cream mixture into the saucepan while whisking continuously.
- Place the saucepan over medium heat and cook the mixture, stirring constantly until it thickens and begins to boil—about 8 to 10 minutes.
- Remove from the heat and stir in 1 teaspoon of rum extract and 2 tablespoons of unsalted butter.
- Strain the pudding through a fine mesh sieve into a clean bowl, cover with plastic wrap, and refrigerate for at least 4 hours or overnight.
- When ready to serve, scoop the chilled pudding into dishes, topping each with whipped cream, grated nutmeg, and sugared cranberries.
Leave a Reply