
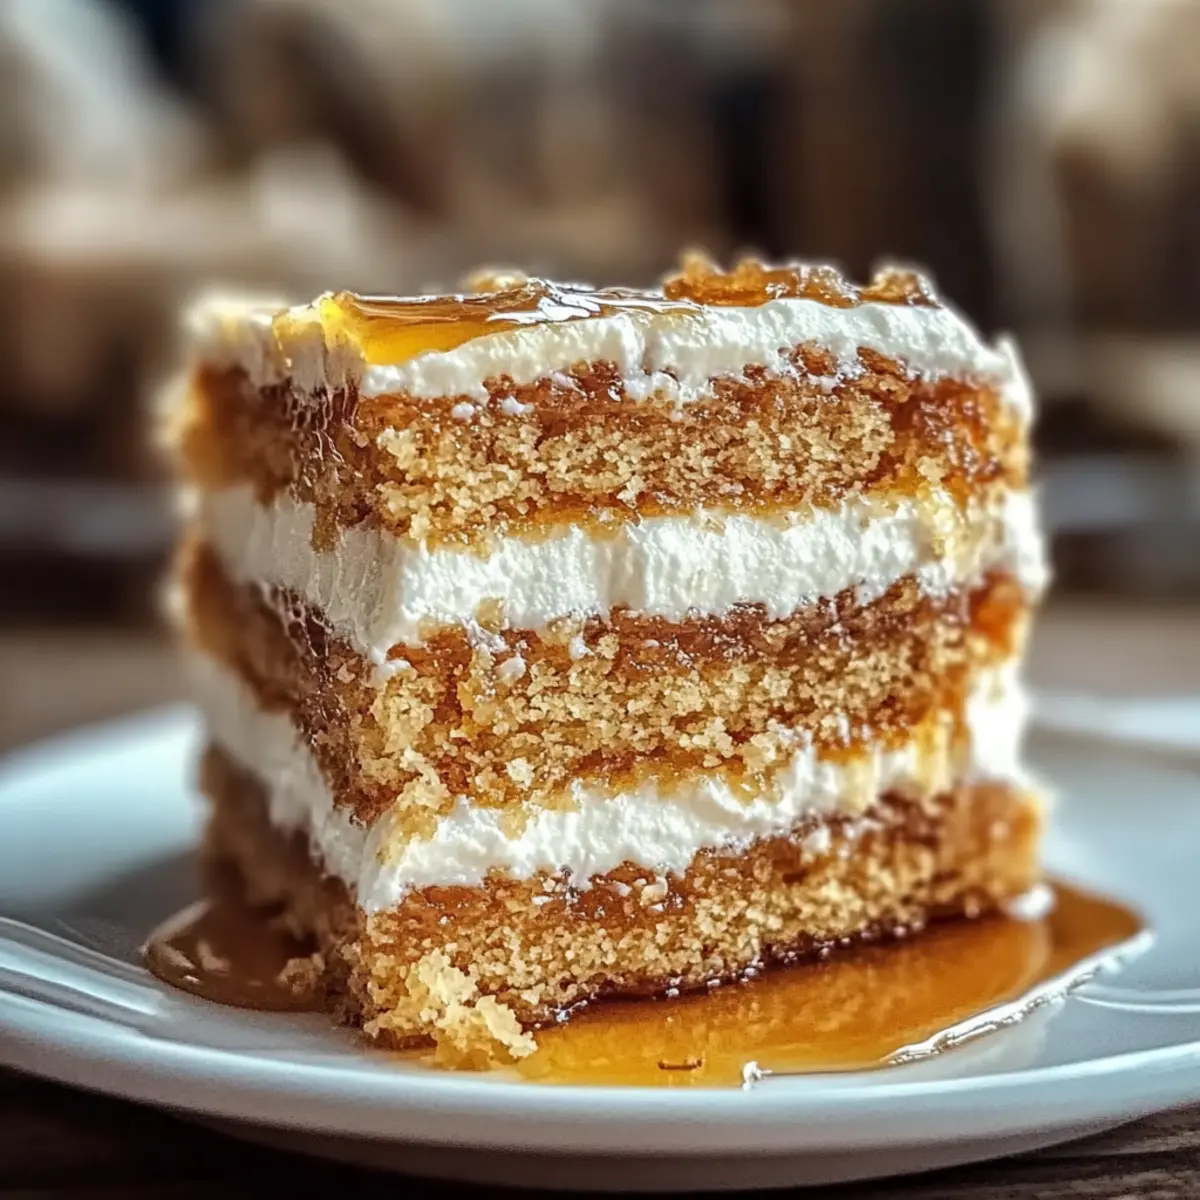
A foreign study once found that traditional cakes often carry memories, linking generations through taste. My journey with Russian Honey Cake, or Medovik, is no exception. As I layer each piece, the sweet aroma of honey fills my kitchen, whisking me away to family gatherings brimming with laughter and joy. This luscious Russian Honey Cake is more than just a dessert; it’s a celebration of tradition, crafted with delicate layers and a rich, creamy filling that’s sure to impress. Not only is this recipe a delightful treat that becomes more enchanting after chilling, but it also offers you a chance to showcase your own baking prowess at your next gathering. Are you ready to dive into the enchanting world of Medovik? Grab your apron, and let’s uncover the secrets of this timeless delight together!
Why Is Russian Honey Cake So Special?
Timeless Tradition: This Russian Honey Cake, or Medovik, embodies a rich cultural heritage, making it perfect for family gatherings or celebrations.
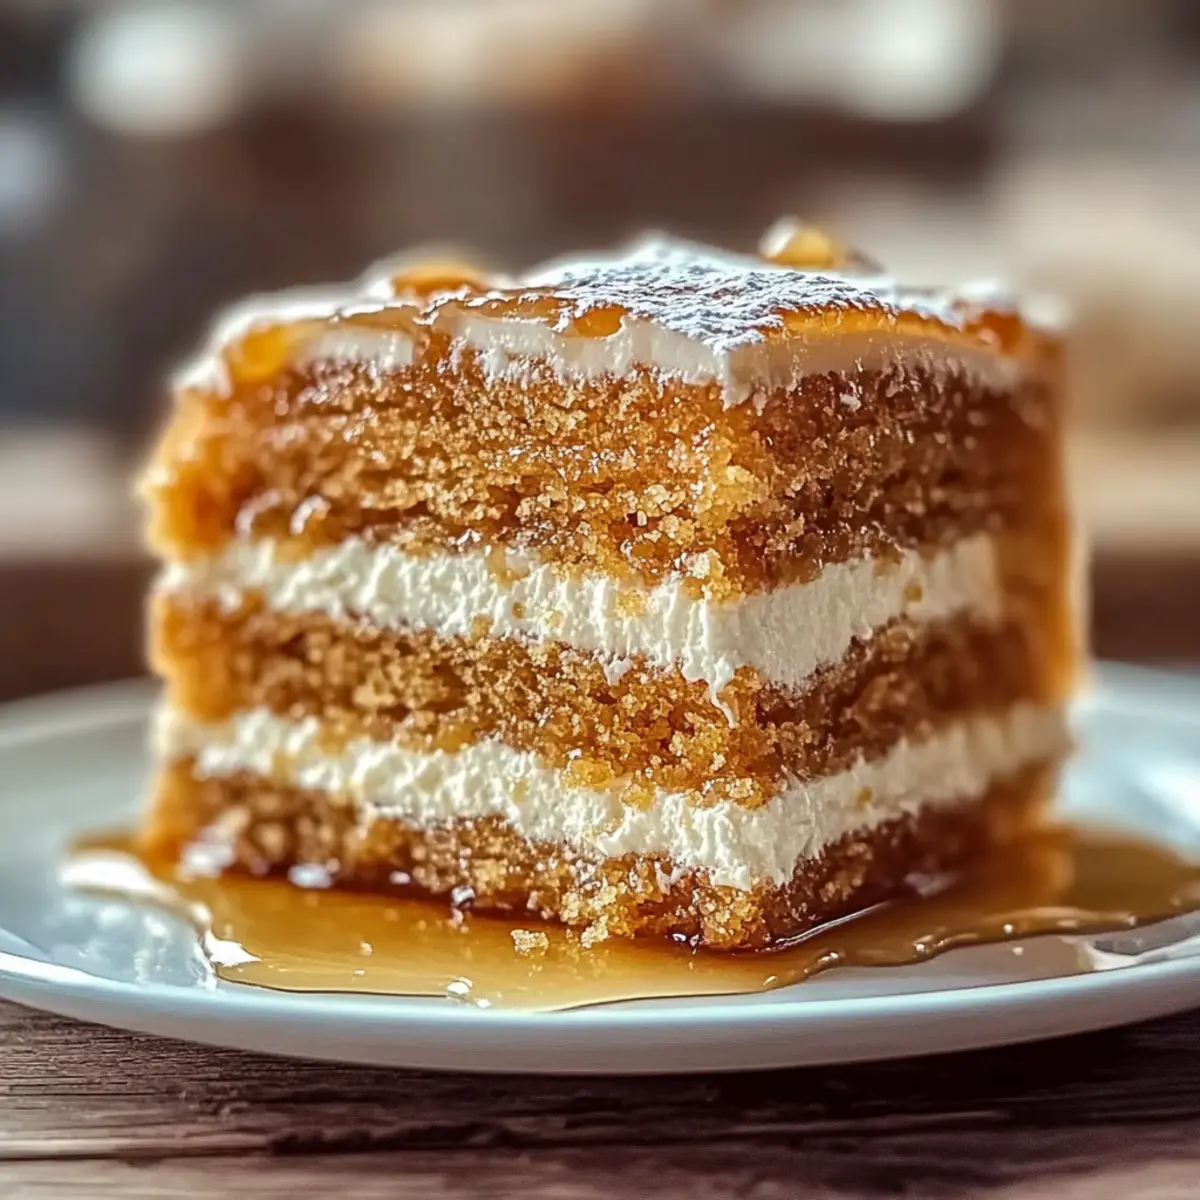
Layered Delight: The delicate layers create a stunning visual and textural contrast, while the creamy filling keeps every bite moist and indulgent.
Easily Customizable: Experiment with various flavors like almond or spices to craft your personal twist on this traditional treat.
Chill for Perfection: Refrigerating the cake not only enhances its flavors but also offers a stunning presentation, inviting your guests to dive in.
Crowd-Pleasing Treat: It’s a guaranteed showstopper at any event, blending nostalgia with a deliciously modern twist! If you love classic desserts, try pairing it with a cup of tea, or explore more delightful options like Lemon Cloud Cake to satisfy your sweet cravings.
Russian Honey Cake Ingredients
• Create your masterpiece with these essentials!
For the Cake Layers
- All-purpose flour – Provides structure to the cake layers; whole wheat can add a nutty flavor.
- Granulated sugar – Adds sweetness and can be partially replaced with honey for a richer taste.
- Unsalted butter (softened) – Enriches the dough while ensuring a tender texture; use room-temperature butter for easier mixing.
- Honey – The star ingredient that sweetens and moistens; go for lighter varieties like clover or wildflower.
- Eggs – Essential for moisture and richness; large, fresh eggs at room temperature yield the best results.
- Baking soda – Acts as a leavening agent for light, airy layers.
- Ground cinnamon – Adds warm, comforting flavor; optional but recommended for a deeper taste.
- Salt – A key ingredient that enhances the overall flavor; ensure you measure accurately.
For the Cream Filling
- Sour cream – Adds a tangy flavor that beautifully complements the sweetness of the cake.
- Heavy cream – Whipped and blended with sour cream to create a rich and creamy filling; adjust sweetness as desired.
- Powdered sugar – Sweetens and stabilizes the cream filling; add to taste.
- Vanilla extract – Enhances the flavor profile; always opt for pure extract for the best results.
For Garnish
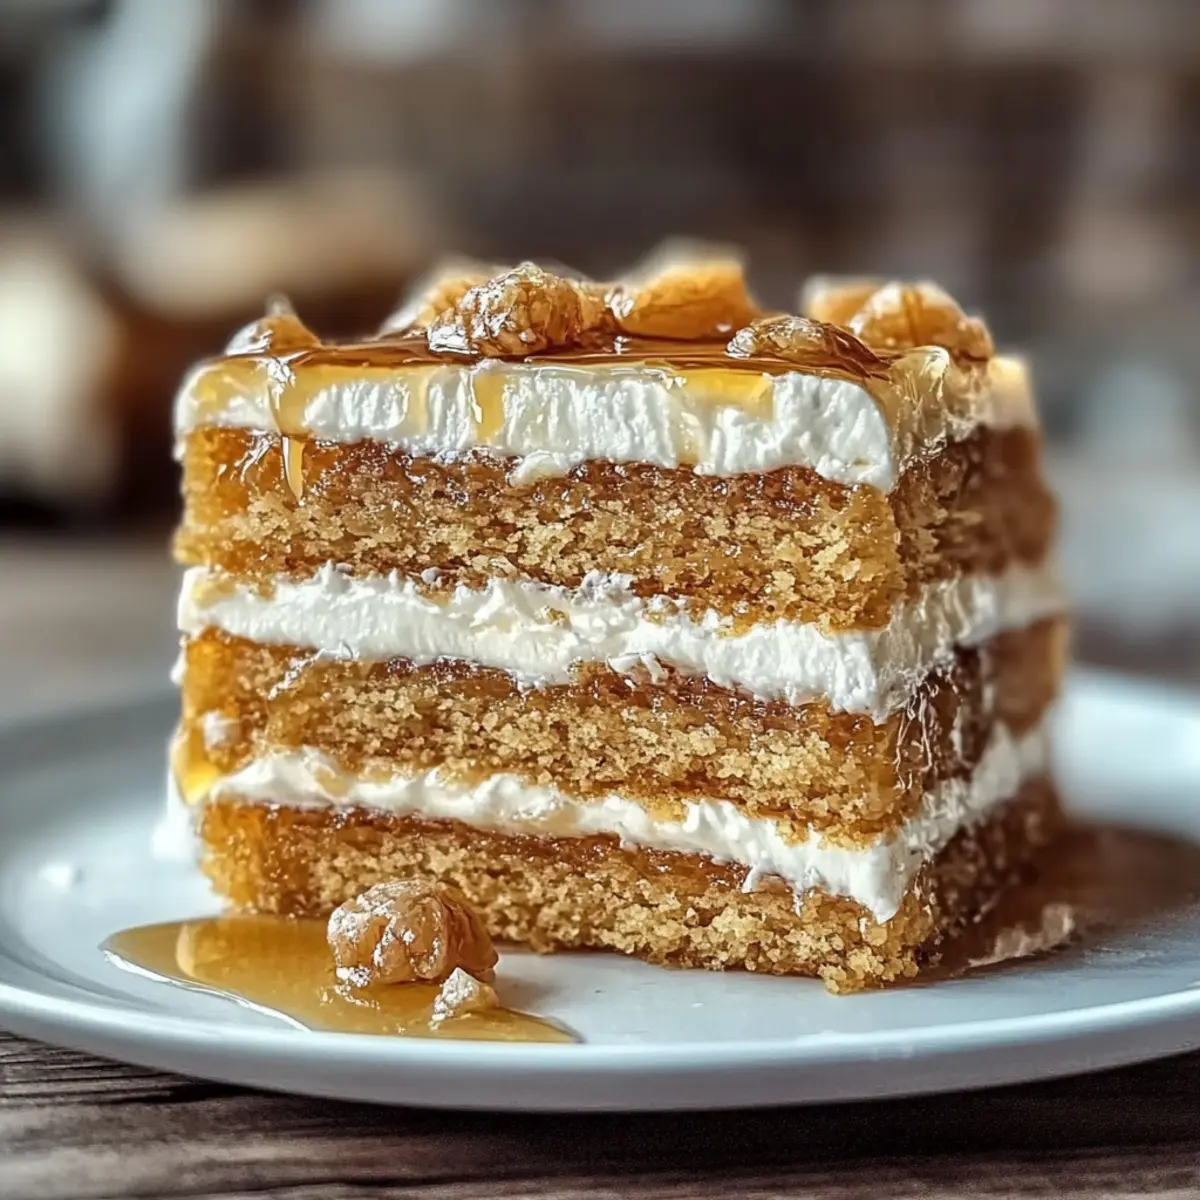
- Crushed walnuts or almonds – Adds texture and visual appeal; entirely optional, but a lovely touch!
- Honey drizzle – Enhances sweetness and presentation; consider adding it before serving for a charming finish.
Enjoy crafting your Russian Honey Cake, a treat that invites everyone to gather around the table!
Step‑by‑Step Instructions for Russian Honey Cake
Step 1: Preheat Oven
Begin by preheating your oven to 350°F (175°C). Line two baking sheets with parchment paper, creating a non-stick surface for your cake layers. This step is crucial as it ensures even baking for your delicate honey cake layers, so your kitchen fills with that sweet aroma right from the start.
Step 2: Make Dough
In a large mixing bowl, cream together 1 cup of softened unsalted butter, 1 cup of granulated sugar, and ¾ cup of honey until the mixture becomes light and fluffy. Add in 3 large eggs one at a time, mixing well after each addition. This creates a rich, moist dough base that is essential for your Russian Honey Cake.
Step 3: Combine Dry Ingredients
In a separate bowl, whisk together 4 cups of all-purpose flour, 1 teaspoon of baking soda, 1 teaspoon of ground cinnamon, and a pinch of salt. Gradually fold this dry mixture into the wet ingredients, forming a soft dough. Be patient during this step; it’s important for achieving the perfect texture in your cake layers.
Step 4: Divide and Roll
Once the dough is ready, divide it into 8 equal portions. Lightly flour your surface and roll each portion into approximately 1/8 inch thick layers. Cut the rolled dough into circles or your desired shape for baking. Aim for even thickness to ensure all layers bake uniformly and achieve that delightful golden hue when finished.
Step 5: Bake Layers
Place the cut-out dough circles onto the prepared baking sheets, ensuring they don’t touch. Bake each tray for about 5-7 minutes, or until the edges turn light golden. Keep a close eye; overbaking can lead to dry layers! Once baked, let the circles cool completely on wire racks.
Step 6: Prepare Cream Filling
In a mixing bowl, whip 1 cup of chilled heavy cream along with 1 cup of sour cream, ½ cup of powdered sugar, and 1 teaspoon of vanilla extract. Beat until soft peaks form, creating a rich and velvety texture. This cream filling will bring a sumptuous contrast to the tender cake layers of your Russian Honey Cake.
Step 7: Assemble Cake
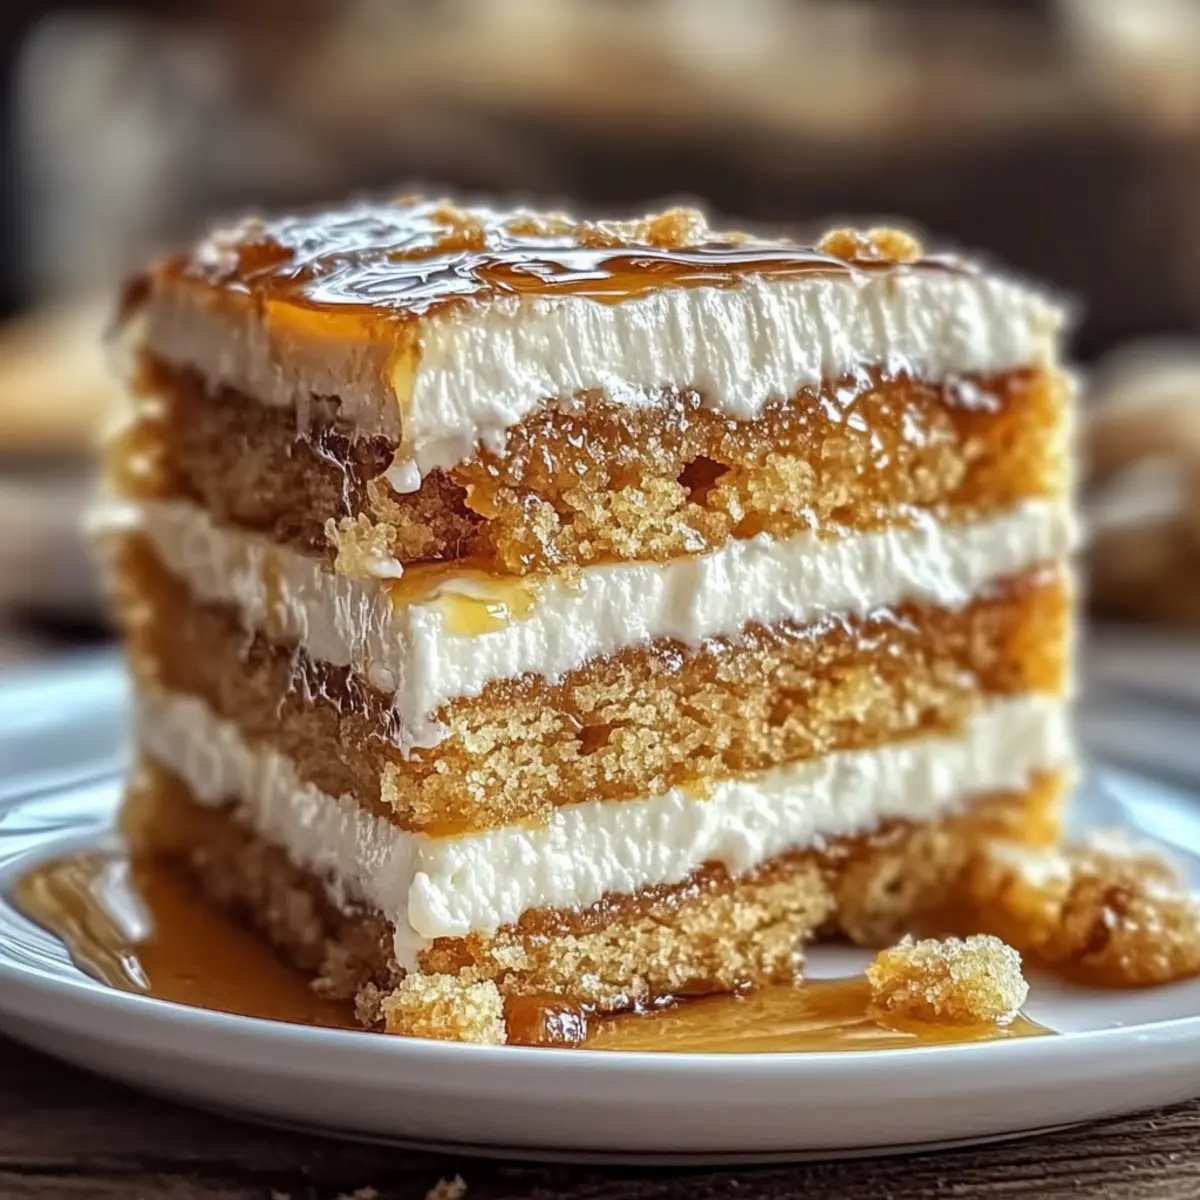
To build your Russian Honey Cake, begin by spreading a generous layer of the cream filling between each baked layer. Stack the layers carefully, allowing the cream to seep slightly into each layer. Once assembled, cover the entirety of the exterior with any remaining cream, creating a smooth, inviting finish for your cake.
Step 8: Chill
Refrigerate the assembled cake for at least 6 hours, preferably overnight. This chilling time is essential for the flavors to meld beautifully and for the cake to set properly. The longer it sits, the more harmonious the flavors will become, making the slices even more delectable when served.
Step 9: Garnish and Serve
Before serving, add a delightful touch with crushed walnuts or almonds on top, if desired. Drizzle honey over the cake for an extra dose of sweetness and visual appeal. Now, your Russian Honey Cake is ready to be sliced and shared, perfect for a family gathering or a special occasion!
Make Ahead Options
These Russian Honey Cake layers are perfect for meal prep fans! You can prepare the cake layers and cream filling up to 24 hours in advance. Simply make and bake the layers, then let them cool completely before storing them in an airtight container at room temperature. The cream filling can be whipped and stored in the refrigerator, ensuring it remains fresh and ready to use. When you’re ready to assemble, layer the cream between the cakes, cover with any remaining filling, and refrigerate for at least 6 hours (preferably overnight) to let the flavors meld. By prepping ahead, you’ll save time on busy days while still serving a show-stopping Russian Honey Cake that’s just as delicious!
Tips for the Best Russian Honey Cake
-
Consistency is Key: Ensure your dough is rolled to an even thickness, which helps in achieving uniformly baked layers for your Russian Honey Cake.
-
Watch the Timer: Baking times can vary; keep an eye on your cake layers to avoid over-baking. They should turn a light golden, not brown!
-
Cool Completely: Allow all layers to cool on wire racks before frosting. This step prevents the cream filling from slipping and makes for beautiful, clean slices.
-
Refrigeration Matters: Chilling your assembled cake not only deepens the flavors but also firms it up for easier slicing, ensuring a perfect presentation.
-
Garnish With Care: If adding nuts or honey drizzle, do it just before serving to maintain texture and visual appeal without sogginess.
What to Serve with Russian Honey Cake
Indulging in a slice of Russian Honey Cake brings warmth and sweetness to any gathering, making it essential to complement it perfectly.
-
Fresh Berries: Their tartness beautifully balances the cake’s sweetness, adding a pop of color and freshness. Serve a medley of strawberries, raspberries, and blueberries for a delightful contrast.
-
Strong Coffee: The rich, bold flavors of coffee elevate the honey cake experience, enhancing its creamy filling with each sip. A robust brew elevates the sweetness and creates a comforting pairing perfect for dessert.
-
Vanilla Ice Cream: The creaminess of vanilla ice cream pairs wonderfully with the honey layers, providing a velvety texture that enhances each bite. Imagine a warm slice topped with a scoop slowly melting into sweet harmony.
-
Spiced Tea: Serve a hot cup of chai or herbal spiced tea to envelop your senses in warmth. The spiciness of the tea complements the cinnamon notes in the cake, creating a cozy escape with every mouthful.
-
Chocolate Sauce Drizzle: A warm drizzle of chocolate adds a rich, indulgent twist that contrasts the light honey flavors. This unexpected pairing creates a decadent dessert experience, elevating the overall taste profile.
-
Almond Cookies: Light and crispy almond cookies offer a crunchy contrast, making for a delightful duo. The nutty flavor ties beautifully with the texture of the honey cake, inviting you to savor every moment.
-
Fruit Tart: A bright, tangy fruit tart serves as a beautiful counterpart, heightening the visual appeal of your dessert table. The fresh fruit brings brightness that complements the honey cake and excites the palate.
-
Sparkling Wine: A glass of sparkling wine adds a celebratory touch, its bubbles refreshing your palate after each rich bite. The lightness of the wine enhances the overall dessert experience, making every slice even more enjoyable.
Russian Honey Cake Variations & Substitutions
Want to personalize your Russian Honey Cake? Here are some delightful twists to make it uniquely yours!
- Dairy-Free: Substitute sour cream and heavy cream with coconut cream for a rich, vegan-friendly filling.
- Gluten-Free: Use a blend of gluten-free flour like almond or coconut flour for those avoiding gluten without sacrificing flavor.
- Nutty Flavor: Incorporate ground walnuts or pecans into the cream filling for an extra depth of flavor and delightful crunch.
- Spicy Twist: Add a pinch of ground ginger or nutmeg to the dough for a warm, aromatic layer that elevates the cake’s profile.
- Citrus Zing: Infuse the cream filling with lemon or orange zest for a refreshing contrast to the sweetness of honey.
- Fruity Delight: Fold in fresh berries or sliced fruit to the cream filling for a burst of freshness that lightens the cake.
- Chocolate Elegance: Drizzle melted dark chocolate over the top for an indulgent finish that perfectly complements the honey sweetness.
- Flavored Extracts: Experiment with almond or hazelnut extracts in the cream filling to create a unique flavor experience that surprises your guests.
Feel free to explore these variations, and don’t forget to enjoy a slice of your stunning creation alongside a cup of tea or coffee! You might also love it served with a piece of Lemon Cloud Cake for a delightful dessert duo!
How to Store and Freeze Russian Honey Cake
Fridge: Store the assembled Russian Honey Cake in an airtight container in the refrigerator for up to 7 days. The flavors will continue to improve and meld as it rests.
Freeze: You can freeze individual layers of the Russian Honey Cake wrapped in plastic wrap and foil for up to 3 months. Thaw layers in the fridge before assembling.
Reheating: If preferred, reheat individual slices in the microwave for about 15-20 seconds, allowing the cake to warm without losing its texture.
Serving Tips: Always serve chilled for the best flavor experience, enhancing the cake’s creamy filling and delicate honey layers.
Russian Honey Cake Recipe FAQs
What type of honey should I use for the Russian Honey Cake?
I recommend choosing lighter varieties of honey, such as clover or wildflower. These types provide a subtle sweetness that enhances the cake without overwhelming it. Always opt for high-quality honey to ensure the best flavor and texture in your Medovik.
How do I store leftover Russian Honey Cake?
Store any leftover Russian Honey Cake in an airtight container in the refrigerator for up to 7 days. The flavors actually improve over time as they meld together, making each slice even more delicious after a day or two. Just be sure to keep it well-sealed to prevent it from drying out!
Can I freeze Russian Honey Cake layers? If so, how?
Absolutely! You can freeze individual layers of the Russian Honey Cake. Simply wrap each layer tightly in plastic wrap, then in aluminum foil, to avoid freezer burn. They can be stored like this for up to 3 months. When you’re ready to use them, thaw the layers in the refrigerator overnight before assembling with the cream filling.
What should I do if my cake layers are uneven after baking?
If you find your cake layers are uneven, don’t worry—this can happen! To fix this, allow the layers to cool completely, then use a serrated knife to carefully trim the edges for a cleaner finish. This will give you a more uniform shape when stacking them with cream, and nobody will notice the difference!
Is there a gluten-free option for the Russian Honey Cake?
You can make a gluten-free version of the Russian Honey Cake by substituting the all-purpose flour with a gluten-free all-purpose blend. Be sure to choose a blend that includes xanthan gum or add it separately; this will help maintain the cake’s desired texture. Just keep in mind that the taste and structure may vary slightly.
Can I modify the cream filling for dietary restrictions?
Certainly! For a lighter or dairy-free option, try using coconut cream in place of heavy cream and sour cream. Make sure the coconut cream is chilled beforehand, then whip it as you would for the original filling. This creates a creamy texture while satisfying those with dairy sensitivities.
Savory Russian Honey Cake: A Timeless Delight to Cherish
Ingredients
Equipment
Method
- Preheat your oven to 350°F (175°C) and line two baking sheets with parchment paper.
- In a large mixing bowl, cream together the softened unsalted butter, granulated sugar, and honey until light and fluffy. Add in eggs one at a time, mixing well after each addition.
- In a separate bowl, whisk together all-purpose flour, baking soda, ground cinnamon, and salt. Gradually fold this mixture into the wet ingredients to form a soft dough.
- Divide the dough into 8 equal portions, roll each into approximately 1/8 inch thick layers, and cut into circles.
- Bake the circles for about 5-7 minutes, or until the edges turn light golden. Let cool completely on wire racks.
- In a mixing bowl, whip the heavy cream, sour cream, powdered sugar, and vanilla extract until soft peaks form.
- Spread cream filling between each baked layer, stack carefully, and cover the exterior with remaining cream.
- Refrigerate the assembled cake for at least 6 hours, preferably overnight.
- Before serving, garnish with crushed nuts and a drizzle of honey.
Leave a Reply