
As the aroma of grilling beef fills the air, my heart races with anticipation for one of my favorite weeknight dinners—Beef Yakiniku. This Japanese-style grilled delight is not only quick to prepare but also bursting with a savory-sweet marinade that transforms tender, thinly sliced steak into a captivating dish. The beauty of this recipe lies in its versatility; you can indulge in a rich, protein-packed meal that pairs beautifully with steamed rice and fresh vegetables. Plus, with gluten-free options readily available, it’s perfect for anyone looking to elevate their dinner game without the fuss. Are you ready to uncover the secrets of achieving a perfectly caramelized crust that’ll have your taste buds dancing? Let’s dive into this flavorful adventure together!

Why is Beef Yakiniku a Must-Try?
Quick and Easy: With minimal prep and cooking time, you’ll savor a delicious meal in no time.
Flavor Explosion: The savory-sweet marinade transforms basic beef into a rich, mouthwatering delight.
Versatile Options: Add your favorite veggies or swap meats to create your own unique spin.
Gluten-Free Friendly: Easily adaptable, you can swap soy sauce with tamari for a gluten-free version without sacrificing flavor, making it perfect for everyone.
Crowd-Pleasing: Ideal for weeknight dinners or entertaining friends, it’s a dish that brings people together, unlike fast food meals.
Elevate your dinner plans tonight with this mouthwatering Beef Yakiniku! If you’re interested in exploring more beef dishes, consider trying my Slow Braised Beef or Chilli Beef.
Beef Yakiniku Ingredients
Here’s everything you need for a tantalizing Beef Yakiniku dish that will captivate your taste buds!
For the Beef
• Flank or skirt steak – Tender and flavorful, ideal for quick cooking. Note: Sirloin or ribeye can also work beautifully.
For the Marinade
• Low-sodium light soy sauce – Adds umami goodness and moisture. Substitution: Tamari or coconut aminos are great gluten-free alternatives.
• Gochujang – This Korean red chili paste brings heat and depth. Substitution: Use sriracha or chili paste if gochujang is unavailable.
• Mirin – A sweet rice wine that balances the marinade; can be omitted if you need.
• Minced ginger – Provides an aromatic touch; fresh is always best!
• Garlic powder or garlic paste – Elevates the flavor profile; adjust garlic paste to taste for a potent boost.
• Sesame oil – Adds a delightful nutty flavor, enhancing the dish’s overall taste.
• Neutral oil (like avocado or rapeseed) – Prevents sticking while cooking.
• Light brown sugar – Aids in caramelization while adding sweetness; can swap with coconut sugar if needed.
With these ingredients on hand, you’re all set to create a memorable Beef Yakiniku experience that’ll have everyone asking for seconds!
Step‑by‑Step Instructions for Beef Yakiniku
Step 1: Prepare Marinade
In a medium mixing bowl, whisk together ¼ cup of low-sodium soy sauce, 2 tablespoons of gochujang, 2 tablespoons of mirin, and 1 tablespoon of minced ginger. Add 1 teaspoon of garlic powder, 1 tablespoon of sesame oil, 1 tablespoon of neutral oil, and 1 tablespoon of light brown sugar. Ensure all ingredients are fully incorporated, creating a rich, fragrant marinade that will infuse your Beef Yakiniku with savory flavors.
Step 2: Marinate Beef
Place 1 pound of thinly sliced flank or skirt steak into the marinade, ensuring each piece is well-coated for maximum flavor. Cover the bowl with plastic wrap and refrigerate for at least 2 hours, allowing the beef to absorb the savory-sweet notes. For best results, consider marinating overnight for deeper flavor and tenderness, setting your Beef Yakiniku up for a delicious outcome.
Step 3: Preheat Pan
Before cooking, prepare an oven-safe bowl to keep your cooked beef warm. Heat a wok or large skillet over high heat until it begins to smoke—this ensures that the beef will sear beautifully. Drizzle in a bit of neutral oil to prevent sticking, making sure the pan is hot enough to seal in the moisture and flavors of your marinated beef.
Step 4: Cook Steak
In two batches, add half of the marinated beef to the hot wok, searing undisturbed for approximately 3 minutes. This allows for an enticing caramelized crust to form. After that, stir and cook for an additional 2–3 minutes until the beef is browned and cooked through. Carefully transfer the cooked beef to the preheated bowl, keeping it warm while you repeat this process with the remaining beef.
Step 5: Serve
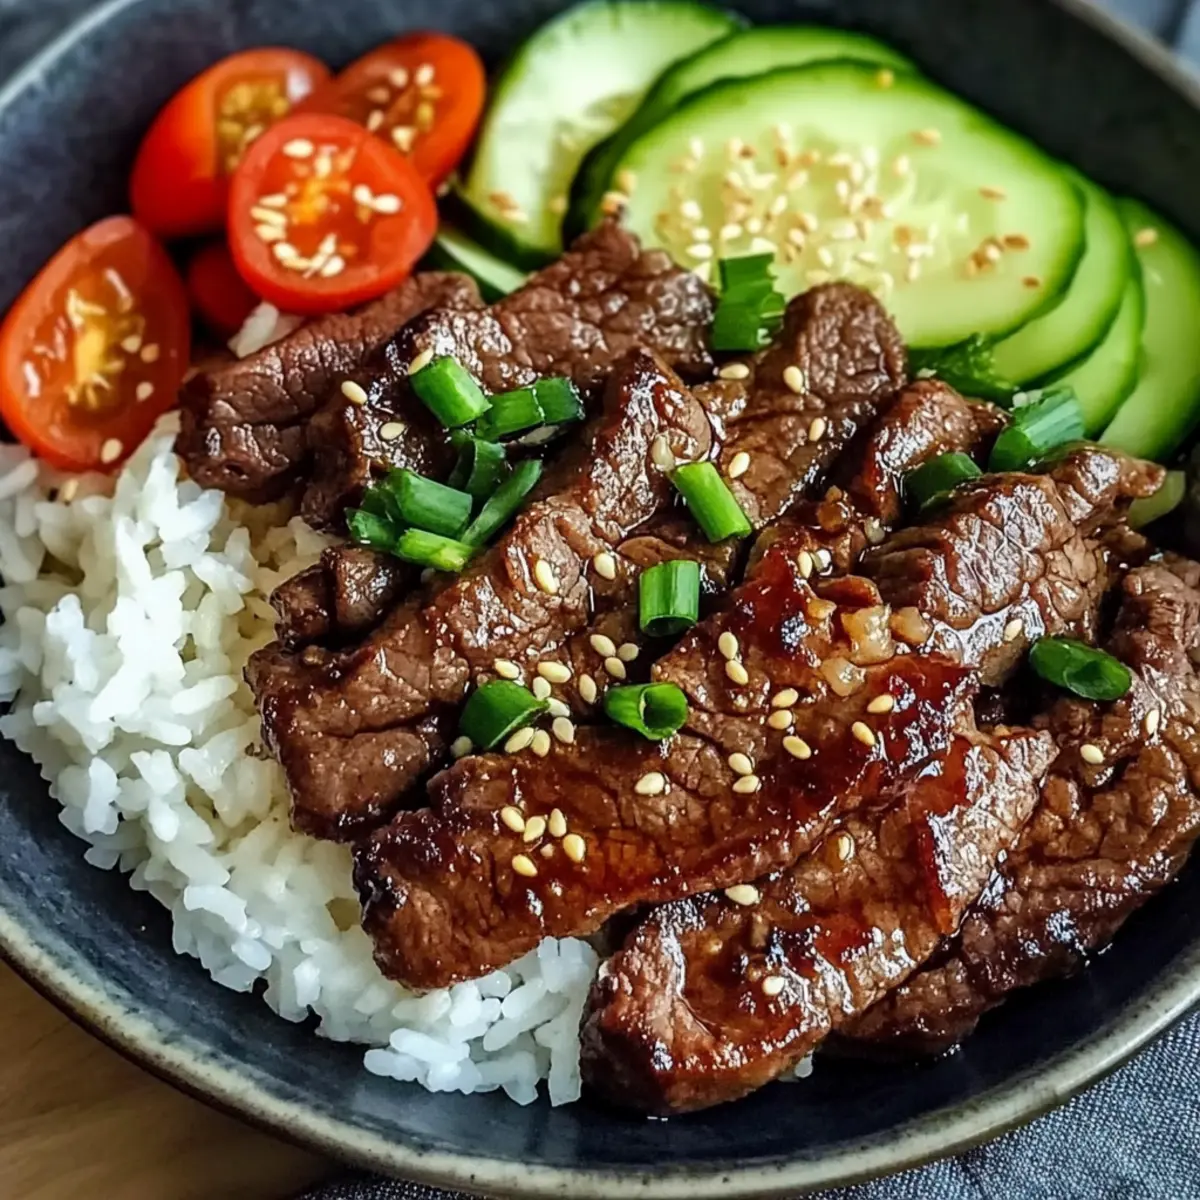
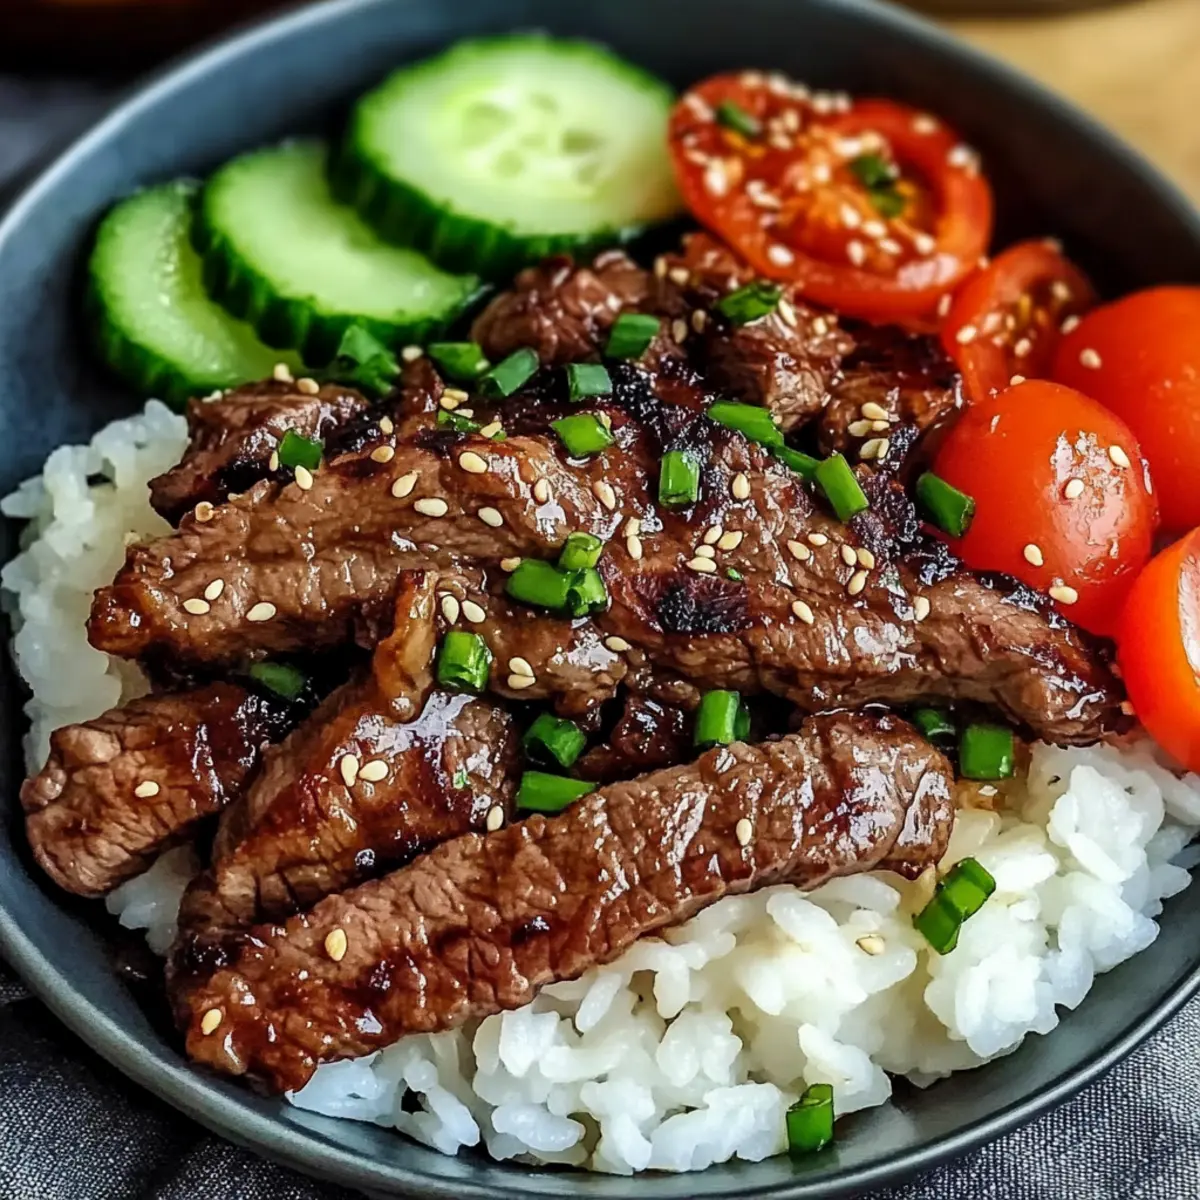
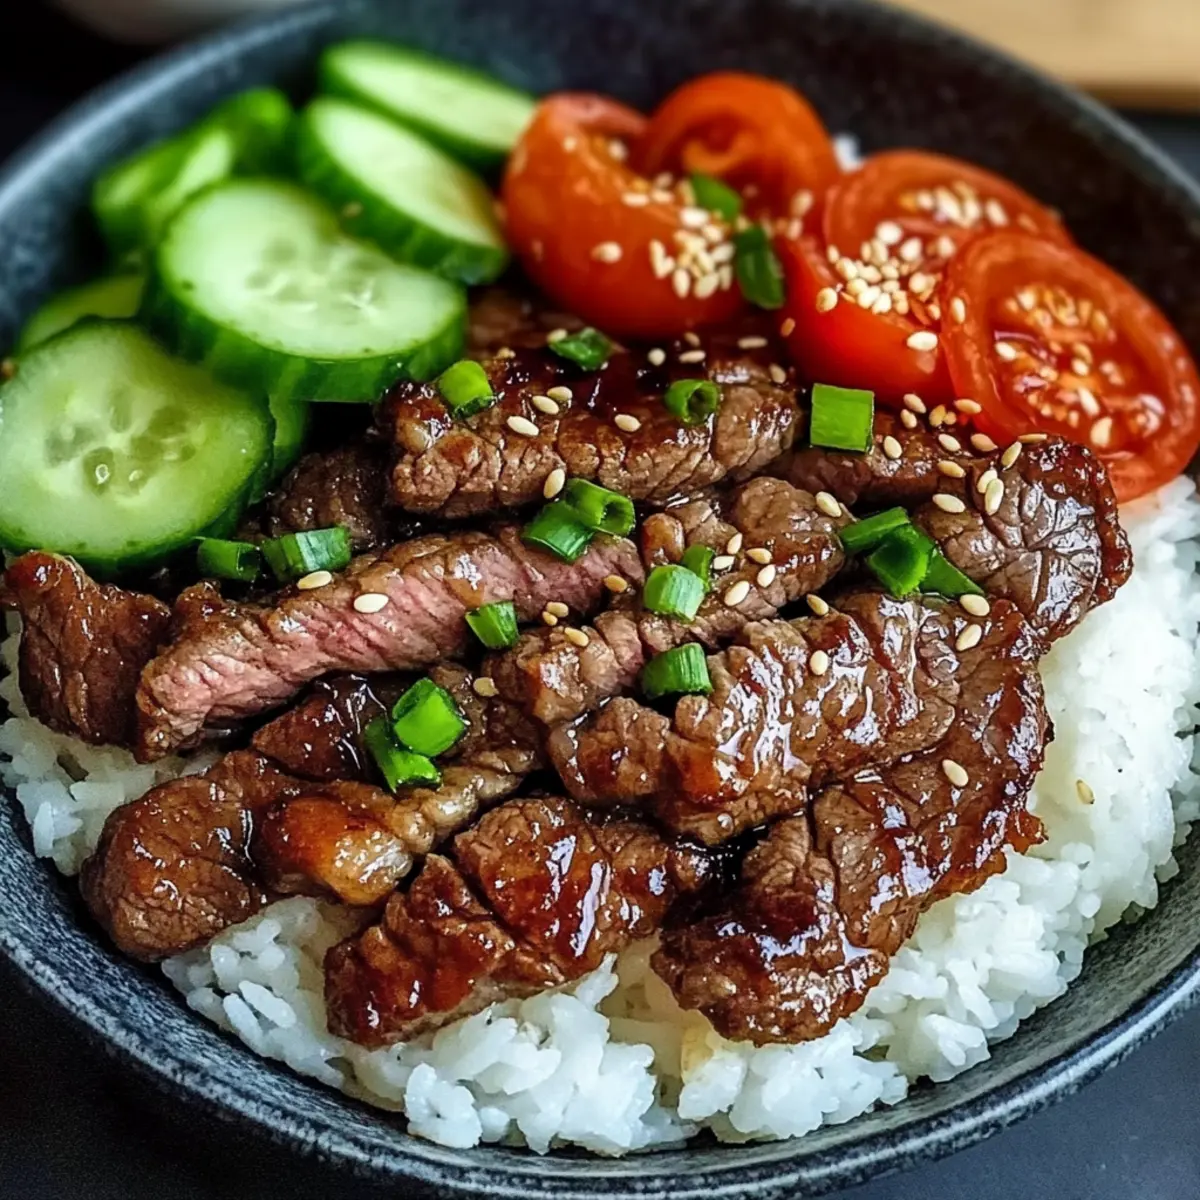
Once all the beef is cooked, garnish with sesame seeds for an extra touch of flavor and visual appeal. Serve your Beef Yakiniku immediately alongside fluffy boiled rice, incorporating fresh, vibrant sides like chopped cucumber and tomato for a perfectly balanced meal. The appealing aroma and rich flavors will surely have everyone eagerly gathering around the table.
Expert Tips for Beef Yakiniku
-
Slice Thinly: Freeze your steak for 20–30 minutes to make slicing against the grain easier and achieve tender pieces.
-
Marinate Longer: For deeper flavor, marinate your beef for up to 24 hours. It’s worth the wait!
-
Avoid Overcrowding: Cook the beef in batches to prevent steaming; it allows for proper caramelization and preserves that lovely texture.
-
Monitor Heat: Ensure your pan is adequately heated before adding the beef; this creates that irresistible sear and enhances the flavor profile of your Beef Yakiniku.
-
Experiment with Veggies: Don’t hesitate to toss in some quick-cooking vegetables like bell peppers or onions in the last minutes of cooking for added flavor and nutrients.
Beef Yakiniku Variations & Substitutions
Feel free to explore different twists on this delicious Beef Yakiniku and make it your own with these exciting ideas!
-
Vegetable Additions: Stir-fry bell peppers, snap peas, or mushrooms along with the beef for added texture and nutrition. They’ll soak up the marinade and enhance the overall flavor of the dish.
-
Grilling Option: For a delightful smoky taste, try cooking the marinated beef on a hot grill or grill pan. This adds a beautiful char, making it even more enticing.
-
Make-Ahead: For a richer flavor, marinate the beef up to 24 hours in advance. This will deeply infuse the beef with the savory-sweet sauce, making each bite memorable.
-
Gluten-Free Alternative: Use tamari or coconut aminos instead of soy sauce to ensure your meal stays gluten-free without compromising on that umami flavor.
-
Sweetness Switch: Swap light brown sugar with honey or agave syrup for a different sweet profile. Both alternatives offer a wonderful sweetness that complements the beef beautifully.
-
Heat Level Variation: Adjust the spiciness by adding more or less gochujang, or substitute it with milder sriracha if you prefer a gentler kick.
-
Different Proteins: Substitute the beef with chicken thighs or tofu for a delicious alternative. Each protein brings its unique flavor, making it versatile for everyone.
If you enjoy this recipe, consider trying my French Onion Beef or Chinese Beef Broccoli for more exciting beef dishes to add to your culinary repertoire!
What to Serve with Quick and Flavorful Beef Yakiniku
Your fragrant Beef Yakiniku deserves a well-curated meal that balances flavors and textures, elevating your dining experience.
- Steamed Rice: A classic companion, fluffy rice absorbs the savory-sweet sauce beautifully, making every bite delightful.
- Fresh Cucumber Salad: Light and refreshing, a cucumber salad brings a crisp texture and balances the rich flavors of Beef Yakiniku, adding a garden-fresh touch.
- Grilled Vegetables: Adding grilled bell peppers or asparagus introduces a smoky char, playing off the marinated beef’s sweetness while complementing its savory notes.
- Miso Soup: A warm bowl of miso soup enhances the meal with umami depth, ensuring a comforting and holistic Japanese dining experience.
- Sesame Spinach: Lightly seasoned spinach sautéed with sesame oil not only adds vibrant color but also provides a nutty contrast, making it a perfect green side.
- Japanese Beer or Sake: Pairing your dish with a refreshing Japanese beer or a smooth sake elevates the experience, enhancing the savory notes of the beef.
- Mochi Ice Cream: For dessert, creamy mochi ice cream offers a delightful ending with its chewy texture and sweet flavor, leaving everyone with a satisfied palate.
- Pickled Radishes: Bright and tangy, pickled radishes cleanse the palate and add zest, making them an engaging counterpoint to the rich meat.
- Chilled Green Tea: A soothing glass of chilled green tea refreshes your senses and pairs seamlessly with the umami-packed flavors of Beef Yakiniku.
How to Store and Freeze Beef Yakiniku
-
Room Temperature: For best taste and safety, it’s advisable to enjoy Beef Yakiniku immediately after cooking. If left out, consume within 2 hours.
-
Fridge: Store any leftovers in an airtight container in the refrigerator for up to 3 days. Reheat gently in a skillet over low heat or in the microwave until warmed through.
-
Freezer: For longer storage, freeze cooked Beef Yakiniku in a freezer-safe container for up to 2 months. Thaw in the fridge overnight before reheating for best results.
-
Reheating: When ready to enjoy, gently reheat in a pan or microwave; adding a splash of water can help maintain moisture and prevent drying out.
Make Ahead Options
Beef Yakiniku is perfect for meal prep enthusiasts! You can marinate the beef up to 24 hours in advance, ensuring the flavors deepen for a more succulent dish. To prepare ahead, simply whisk together your marinade ingredients and coat the thinly sliced steak, then cover and refrigerate it. For optimal quality, make sure to store it in a leak-proof container to prevent any mess and maintain freshness. When you’re ready to serve, just preheat your pan and cook the marinated beef as instructed. This way, you’ll enjoy a delicious, homemade meal with minimal effort, saving valuable time on busy weeknights!
Beef Yakiniku Recipe FAQs
How do I choose the right cut of beef for Yakiniku?
Absolutely! For the best results, I recommend using flank or skirt steak, which are tender and flavorful. If those aren’t available, sirloin or ribeye are excellent substitutes. Look for cuts that are well-marbled, as this will enhance the flavor and juiciness of your dish.
How should I store leftovers of Beef Yakiniku?
Leftover Beef Yakiniku can be stored in an airtight container in the refrigerator for up to 3 days. I often gently reheat it in a skillet over low heat to preserve its tenderness. If you’re short on time, the microwave also works; just take care not to overheat it!
Can I freeze Beef Yakiniku?
Yes, you can! To freeze, place the cooked Beef Yakiniku in a freezer-safe container or a resealable bag, making sure to remove as much air as possible. It will keep well for up to 2 months. When you’re ready to enjoy it again, thaw it overnight in the fridge and reheat gently to keep it moist and flavorful.
What should I do if the beef ends up tough?
If you find your Beef Yakiniku is tough, it might be due to not slicing against the grain or overcooking. Always slice thinly against the grain for tender bites. As for cooking, ensure your pan is hot enough to properly sear the steak without letting it steam. If it’s overcooked, use a marinade with acidic ingredients next time to help tenderize the meat.
Can I make Beef Yakiniku gluten-free?
Very! To make Beef Yakiniku gluten-free, simply swap regular soy sauce for tamari or coconut aminos. Additionally, ensure any pre-packaged ingredients, like gochujang, are labeled gluten-free. You can still enjoy all the delicious flavors without the gluten!
How do I know when the beef is properly cooked?
To achieve perfectly cooked beef, use a meat thermometer if you have one! Aim for an internal temperature of 130°F (54°C) for medium-rare, or 140°F (60°C) for medium. If you prefer to rely on texture, cook until the beef is nicely seared on the outside but still tender and juicy on the inside, usually around 5–7 minutes total cooking time.
Savor the Joy of Beef Yakiniku: Quick & Irresistible Recipe
Ingredients
Equipment
Method
- In a medium mixing bowl, whisk together ¼ cup of low-sodium soy sauce, 2 tablespoons of gochujang, 2 tablespoons of mirin, and 1 tablespoon of minced ginger. Add 1 teaspoon of garlic powder, 1 tablespoon of sesame oil, 1 tablespoon of neutral oil, and 1 tablespoon of light brown sugar to create a rich marinade.
- Place 1 pound of thinly sliced flank or skirt steak into the marinade, ensuring each piece is well-coated. Cover and refrigerate for at least 2 hours.
- Heat a wok or large skillet over high heat until it begins to smoke. Drizzle in a bit of neutral oil.
- In two batches, add half of the marinated beef, searing for approximately 3 minutes then stirring and cooking for an additional 2–3 minutes until browned.
- Garnish with sesame seeds and serve immediately with steamed rice and fresh vegetables.
Leave a Reply