
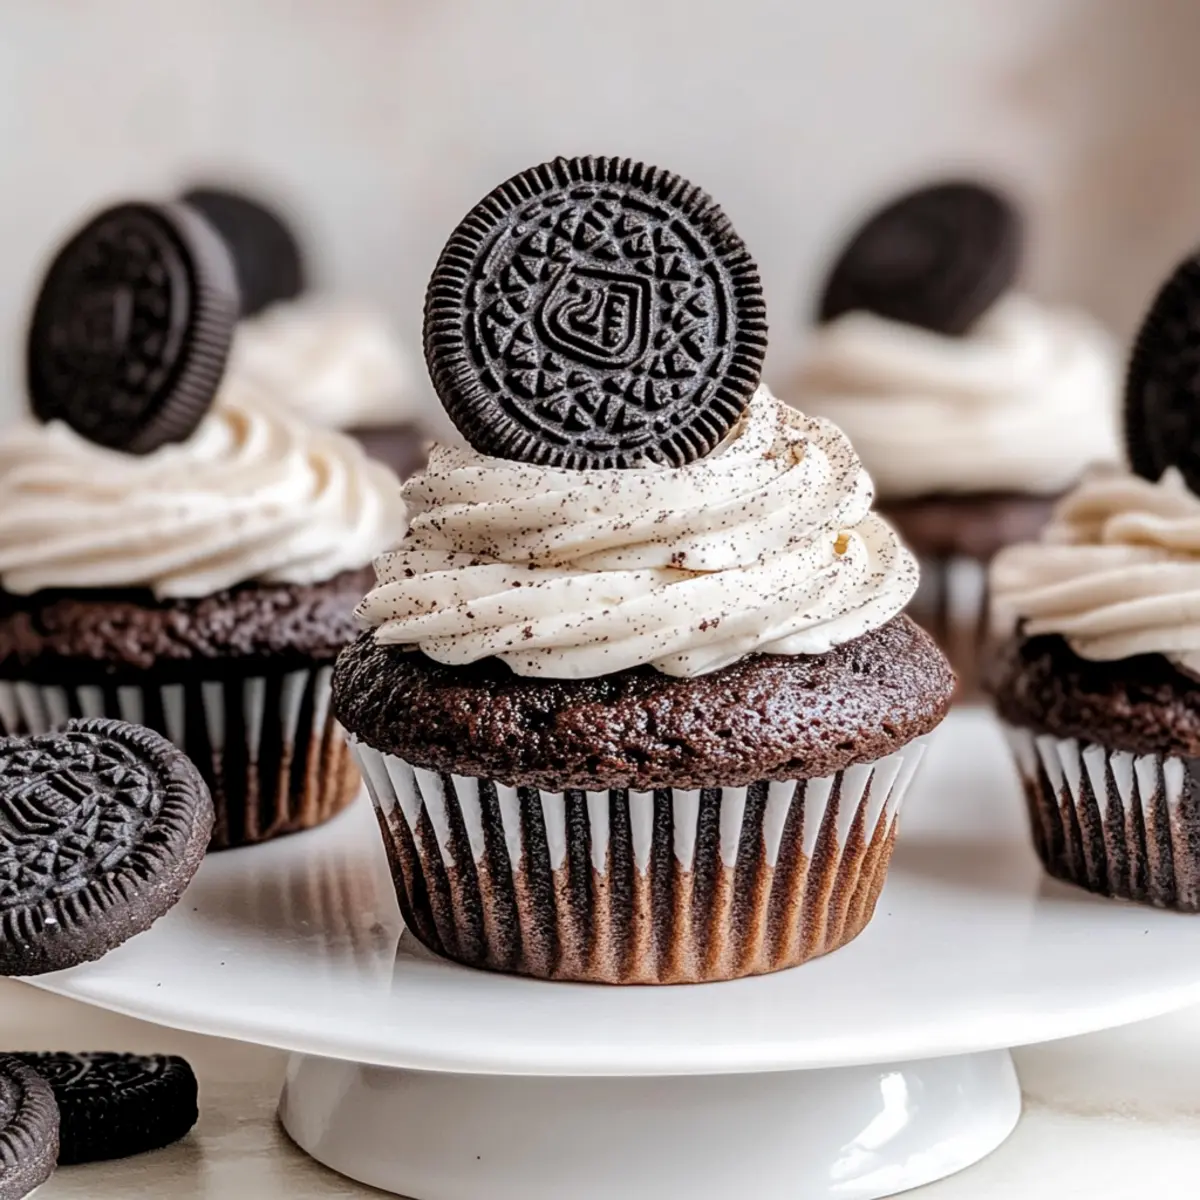
There’s something magical about the first bite of a chocolate cupcake that melts in your mouth, but imagine that magic amplified with the beloved taste of Oreos. These Oreo Cupcakes, draped in luscious Oreo buttercream, are not just another dessert; they’re a delectable celebration in every bite! Perfectly baked to fluffy perfection, each cupcake marries rich chocolate with the delightful crunch of Oreos, making them a true crowd-pleaser. Plus, they’re surprisingly easy to whip up, ensuring you’ll have more time for laughter and love at your next gathering. Ready to bring joy to your kitchen and smiles to your friends? Let’s dive into making these irresistible treats together!
Why are Oreo Cupcakes so irresistible?
Decadent Flavor: Each bite of these cupcakes offers a perfect harmony of rich chocolate and delightful Oreo crunch, ensuring an explosion of taste that delights the senses.
Super Easy to Make: The steps are simple, making it perfect for bakers of all skill levels. You won’t need advanced techniques to achieve bakery-worthy results!
Crowd Favorite: These cupcakes are a guaranteed hit at parties and gatherings, quickly disappearing from the dessert table. Everyone loves Oreos!
Versatile Treat: Feel free to experiment with flavors! Use mint or peanut butter Oreos for a fun twist. Check out our Variation Ideas for more inspiration!
Perfect for Any Occasion: Whether it’s a birthday, picnic, or just a regular day, these cupcakes will elevate any celebration with their eye-catching look and scrumptious taste!
Oreo Cupcake Ingredients
For the Cupcakes
• Boiling Water – Increases moisture and softens cocoa powder; essential for texture.
• Granulated Sugar – Sweetens the batter and aids moisture retention; brown sugar can add a deeper flavor.
• Dutch Processed Cocoa Powder – Provides a rich chocolate flavor and dark color; unsweetened cocoa can be a substitute, but flavor may vary slightly.
• All-Purpose Flour – Gives structure to the cupcake; for gluten-free options, use a gluten-free flour blend.
• Instant Espresso Powder – Enhances the chocolate flavor; omit if sensitive to coffee.
• Baking Powder and Baking Soda – Leavening agents for rise; ensure they’re fresh for optimal results.
• Salt – Balances sweetness and elevates flavors; substitute with sea salt or kosher salt for variety.
• Sour Cream – Ensures moisture and tenderness; plain yogurt is a good substitute.
• Vegetable Oil – Adds moisture and keeps the cupcakes soft; olive oil or melted coconut oil works too.
• Large Eggs – Provides stability and structure; no substitutes recommended.
• Vanilla Extract – Adds depth of flavor; pure vanilla is preferable when possible.
For the Oreo Buttercream Frosting
• Butter – Essential for a smooth texture; vegan butter can be used for a dairy-free version.
• Powdered Sugar – Sweetens and thickens the buttercream; no direct substitute available, but homemade can be made by blending granulated sugar until fine.
• Whole Milk – Adjusts the consistency of the buttercream; cream or dairy-free milk can also be used.
• Oreo Cookies – Adds both flavor and crunch; can be replaced with other sandwich cookies for a fun twist.
Embark on this delightful baking journey to create these mouthwatering Oreo cupcakes that are bound to become a favorite!
Step‑by‑Step Instructions for Oreo Cupcakes
Step 1: Preheat the Oven
Preheat your oven to 160ºC (320ºF) while you prepare your cupcake pan. Line a 12-cup muffin or cupcake pan with colorful paper liners, creating a delightful backdrop for your Oreo cupcakes. This initial preparation sets you up for a smooth baking process, readying both your oven and pan for the delicious batter to come.
Step 2: Mix the Dry Ingredients
In a large mixing bowl, whisk together the dry ingredients: granulated sugar, Dutch processed cocoa powder, all-purpose flour, instant espresso powder, baking powder, baking soda, and salt. This combination will create a flavorful base for your cupcakes. Ensure the mixture is well-blended and free of lumps, which will help achieve that perfect, fluffy texture.
Step 3: Combine the Wet Ingredients
In a separate bowl, whisk together the wet ingredients: sour cream, vegetable oil, large eggs, and vanilla extract. Slowly stir in the boiling water; this critical step ensures a smooth batter and enhances moisture. The mixture should be well combined, creating a glossy consistency that hints at the decadence ahead in your Oreo cupcakes.
Step 4: Combine Wet and Dry Mixtures
Gradually pour the wet mixture into the bowl of dry ingredients, mixing gently with a spatula or whisk until just combined. Be careful not to overmix; it’s okay if a few small lumps remain. This ensures your Oreo cupcakes stay light and fluffy. Once the batter is smooth, it’s time to fill your lined cupcake pan.
Step 5: Fill and Bake the Cupcakes
Spoon the cupcake batter into each liner, filling them about two-thirds full for ideal rising. Bake in your preheated oven for 20-23 minutes, or until a toothpick inserted into the center comes out clean. You will know they are ready when they bounce back slightly when touched. Allow them to cool in the pan for a few minutes before transferring them to a wire rack.
Step 6: Prepare the Oreo Buttercream Frosting
While the cupcakes cool, crush your Oreo cookies into fine crumbs using a food processor or by placing them in a zip-top bag and rolling with a rolling pin. In a mixing bowl, beat softened butter until creamy, then gradually add powdered sugar, vanilla extract, and whole milk. Mix on low speed until combined and fluffy; fold in the Oreo crumbs until fully integrated, creating your decadent frosting.
Step 7: Frost the Cupcakes
Once the cupcakes are completely cooled, it’s time to frost them! Use a piping bag fitted with your favorite tip or a simple spatula to generously spread the creamy Oreo buttercream on each cupcake. For a touch of elegance, garnish with additional whole Oreos or a sprinkle of crushed Oreos on top. Your delicious Oreo cupcakes are now ready to impress!
What to Serve with Oreo Cupcakes
There’s nothing quite like a sweet celebration that pairs perfectly with these chocolatey gems, elevating any gathering into something special.
- Cold Milk: The classic companion to Oreo cupcakes, it balances the rich flavors and adds a refreshing finish to every bite.
- Vanilla Ice Cream: A scoop of creamy vanilla serves as a delightful contrast to the rich chocolate and Oreo, creating a harmonious dessert experience. This combination is perfect for hot summer days or cozy nights.
- Fresh Berries: Juicy strawberries or raspberries add a burst of freshness that lightens up the rich sweetness of the cupcakes while providing a beautiful pop of color on the plate.
- Chocolate Sauce: Drizzling warm chocolate sauce over the cupcakes intensifies the chocolate flavor while adding an extra layer of indulgence that chocolate lovers simply can’t resist.
- Coffee: A piping hot cup of coffee perfectly complements the flavors of these cupcakes, enhancing their richness while providing a cozy atmosphere for your gathering.
- Bourbon Caramel Sauce: An adult twist that adds caramel’s sweet richness, enhanced with hints of warm bourbon, making for a decadent topping that’s sure to impress.
- Whipped Cream: A dollop of lightly sweetened whipped cream can add a lightness to each bite, melding beautifully with the dense flavor of the cupcakes.
- Chocolate Milkshake: For those indulgent moments, enjoy the Oreo cupcakes alongside a thick chocolate milkshake for a nostalgic treat that brings smiles to faces of all ages.
- Fruit Tart: A slice of fruit tart provides a refreshing contrast, balancing the richness of the cupcakes and adding vibrant brightness to your dessert spread.
Tips for the Best Oreo Cupcakes
-
Room Temperature Ingredients: Ensure all ingredients, especially eggs and dairy, are at room temperature for a smoother batter and more evenly baked Oreo cupcakes.
-
Gentle Mixing: Avoid overmixing the batter to prevent dense cupcakes. Mix just until combined for a light texture that melts in your mouth.
-
Cool Before Frosting: Allow the cupcakes to cool completely before applying frosting. This prevents the buttercream from melting and losing its shape.
-
Perfectly Filled Liners: Fill cupcake liners about two-thirds full to allow for proper rising and prevent overflow, ensuring nicely rounded top cupcakes.
-
Crush Oreos Properly: Crush Oreos into fine crumbs for the frosting to blend smoothly. Larger chunks may not mix well and can lead to uneven frosting texture.
Oreo Cupcakes Variations & Substitutions
Feel free to explore these scrumptious alternatives that add pizzazz to your delightful masterpiece.
- Gluten-Free: Substitute all-purpose flour with a gluten-free flour blend to enjoy these cupcakes without the gluten.
- Dairy-Free: Use non-dairy milk and vegan butter for the frosting to make it completely suitable for dairy-free diets.
- Mint Chocolate: Swap regular Oreos for mint-flavored Oreos for a refreshing twist that brings a festive flavor to your cupcakes.
- Add Texture: Fold in mini chocolate chips into the batter for an extra chocolatey surprise in every bite; they make every cupcake even more delightful!
- Peanut Butter Bliss: Mix creamy peanut butter into your buttercream for a nutty flavor that will complement the Oreo perfectly and satisfy peanut butter lovers!
- Boozy Kick: A splash of coffee liqueur in the frosting creates an adult-version dessert that offers a rich depth of flavor—perfect for gatherings.
- Fruit Infusion: Fold crushed raspberries or strawberries into the frosting for a fruity freshness to balance the rich chocolate; it’s a delightful burst of flavor!
- Cocoa Nibs: For a crunchy element, add cocoa nibs to the cupcake batter or as a topping to the frosting for an extra touch of intensity.
Feel empowered to make these delicious modifications. If you’re interested in incorporating different flavors, consider trying our Variation Ideas for even more inspiration! You won’t regret it!
Make Ahead Options
These Oreo Cupcakes are an ideal choice for meal prep enthusiasts looking to save precious time during busy weeknights! You can prepare the cupcake batter up to 24 hours in advance and refrigerate it in an airtight container to maintain freshness. Additionally, the cupcakes themselves can be baked a day ahead; simply store them in an airtight container at room temperature. For the Oreo buttercream, it’s best to make it fresh, but you can prepare the Oreo crumbs and store them in a sealed bag for up to 3 days. When you’re ready to serve, frost the cooled cupcakes with the buttercream and enjoy these delightful treats just as delicious as when freshly made!
Storage Tips for Oreo Cupcakes
Room Temperature: Keep unfrosted Oreo cupcakes in an airtight container at room temperature for up to 1-2 days to maintain their soft texture and flavor.
Fridge: Store frosted cupcakes in the refrigerator to prolong freshness, but they are best enjoyed within 3-4 days. Let them come to room temperature before serving for optimal taste.
Freezer: You can freeze unfrosted Oreo cupcakes for up to 3 months. Wrap each cupcake tightly in plastic wrap and place them in an airtight container to prevent freezer burn.
Reheating: For frozen cupcakes, thaw overnight in the fridge before enjoying, or microwave for a few seconds to bring back their lovely softness.
Oreo Cupcakes Recipe FAQs
How do I select the right Oreo cookies for the frosting?
Absolutely! When selecting Oreo cookies, opt for the classic version for the best taste and texture. If you’re feeling adventurous, consider using flavored Oreos, like mint or peanut butter, to add a unique twist to your buttercream frosting.
How should I store my Oreo cupcakes?
For unfrosted Oreo cupcakes, store them in an airtight container at room temperature for up to 1-2 days. Once frosted, it’s best to keep them in the refrigerator, where they’ll stay fresh for 3-4 days. Always allow the refrigerated cupcakes to come to room temperature before serving for the best flavor and softness.
Can I freeze Oreo cupcakes and how?
Absolutely! To freeze unfrosted Oreo cupcakes, wrap each one tightly in plastic wrap and place them in an airtight container. They can be frozen for up to 3 months without losing their deliciousness. When ready to enjoy, simply thaw them overnight in the refrigerator or microwave for a few seconds to return their delightful softness.
What should I do if my cupcake batter is too thick?
If your batter seems too thick, you can add a little extra boiling water (a tablespoon at a time) to loosen it up until it reaches a smooth, pourable consistency. This ensures the cupcakes remain moist and light after baking.
Can I make these cupcakes allergen-friendly?
Very! For a gluten-free version, simply substitute all-purpose flour with a gluten-free flour blend. For a dairy-free option, use plant-based yogurt and vegan butter. Also, be cautious with Oreos, as some varieties may contain allergens. Always check ingredient labels to fit your dietary needs!
How can I tell when my cupcakes are perfectly baked?
The best way to check for doneness is to insert a toothpick into the center of a cupcake. If it comes out clean or with a few moist crumbs, your Oreo cupcakes are ready! They should also gently bounce back when touched. Be careful not to overbake, as this can lead to dryness.
Irresistible Oreo Cupcakes with Creamy Buttercream Frosting
Ingredients
Equipment
Method
- Preheat your oven to 160ºC (320ºF) and line a cupcake pan with paper liners.
- In a large bowl, whisk together dry ingredients: sugar, cocoa powder, flour, espresso powder, baking powder, baking soda, and salt.
- In another bowl, whisk wet ingredients: sour cream, oil, eggs, and vanilla. Slowly stir in boiling water.
- Combine the wet and dry mixtures, mixing gently until just combined.
- Fill cupcake liners about two-thirds full and bake for 20-23 minutes, until a toothpick comes out clean.
- Allow cupcakes to cool in the pan for a few minutes before transferring to a wire rack.
- For frosting, crush Oreo cookies and mix softened butter, powdered sugar, vanilla, and milk until fluffy. Fold in Oreo crumbs.
- Frost cooled cupcakes with Oreo buttercream and garnish with additional Oreos if desired.
Leave a Reply